As an Amazon Associate, we earn from qualifying purchases. Some links on this site are affiliate links at no extra cost to you. Our recommendations are based on thorough research and editorial judgment.

Troubleshooting Low Volume Issues in Podcast Recordings
Troubleshooting low volume in podcast recordings can be tricky, but it’s doable! First, check your microphone quality—go for a good condenser mic with a cardioid pattern. Keep it 4-6 inches from your mouth. Poor room acoustics? Try adding soft furniture or foam panels to absorb sound. Use audio editing software for normalization and compression to boost levels in post-production. If you stay mindful of these tips, you’ll enjoy clearer sound. Stick around for more handy tricks!
Key Takeaways
- Ensure proper microphone quality and positioning, ideally 4-6 inches from your mouth, to enhance sound capture and clarity.
- Check and adjust the gain levels in your audio interface to prevent quiet recordings or distortion.
- Evaluate room acoustics; use soft furnishings and acoustic panels to minimize background noise and echoes.
- Utilize audio editing software features like normalization and compression to boost audio levels during post-production.
- Regularly inspect and maintain all recording equipment, including cables and connections, for optimal performance.
Identifying Low Volume Issues
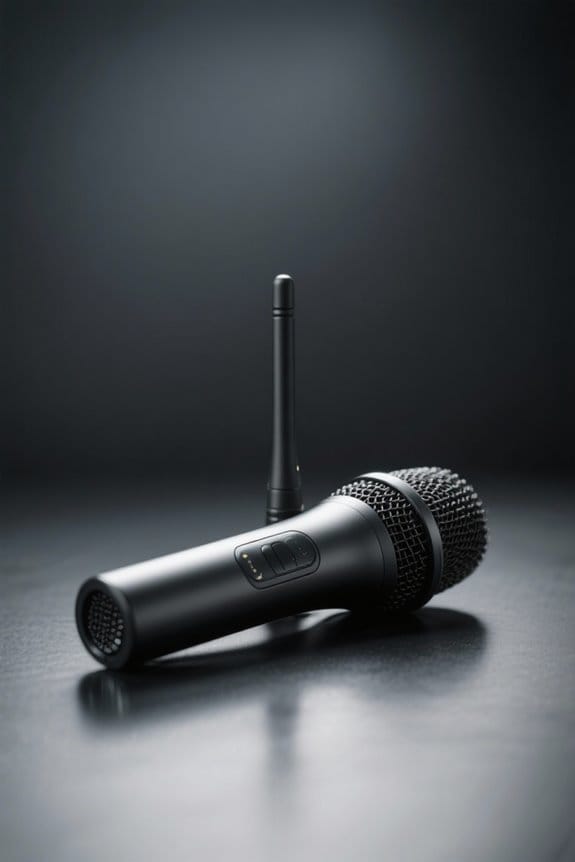
Identifying low volume issues in podcast recordings can feel like trying to locate a needle in a haystack—and nobody wants to waste time searching, right? One main culprit might be inadequate microphone quality. Cheap USB mics often can’t compete with robust XLR setups, leading to inconsistent volume. Mic placement is essential too; even a slight shift can make a huge difference.
Now, consider the environment. Background noise, like traffic or air conditioning, can overpower the desired audio, pushing perceived volume down. Echo and reverb also steal the spotlight, making voices sound weaker. Finally, if you wrestle with those pesky low-volume spots in your audio file, post-production tools like normalization can work wonders, restoring balance. So, gear up and start troubleshooting! The Shure SM7B microphone requires substantial gain boost of around 60dB for optimal performance, which could explain some low-volume recording issues if not properly addressed.
Common Causes of Low Volume in Podcast Recordings

When recording a podcast, low volume can be a real downer. Several factors can contribute to this frustrating issue. First, improper microphone positioning can lead to a weaker sound quality; speakers often sit too far from the mic or don’t face it directly, which results in muted audio. Then there’s the microphone type itself; condenser mics may deliver better sensitivity than dynamic ones but can require careful gain adjustments. Additionally, if the recording space is too large or echo-prone, background noise can overpower soft-speaking elements, reducing the overall volume. Finally, don’t forget to check your audio interface settings—low gain levels may be sabotaging your recordings, so a little tweak here can make a big difference! Modern microphones like the Shure MV7+ feature Voice Isolation Technology that can help maintain consistent audio levels while minimizing background noise interference.
Evaluating Microphone Quality and Placement

A solid microphone makes all the difference in podcasting! For quality podcast production, a high-quality condenser microphone is often the go-to choice, offering superior sensitivity for vocal recordings. Ideally, place the microphone 4-6 inches away from your mouth. This distance helps capture your voice while cutting down low volume issues. Don’t forget a pop filter; it minimizes plosive sounds, ensuring cleaner audio. During setup, check that the gain level is just right—too low can lead to quiet recordings, while too high might cause distortion. High-resolution recording capabilities of up to 24-bit/96 kHz ensure professional-grade audio quality. Ultimately, regularly maintain your microphone and audio interface. Trust us, testing your gear before each session can save you from those dreaded technical bloopers. Happy recording!
Recommended Products

CANON USA AUTHORIZED - INCLUDES FULL USA WARRANTY | CANON EOS R6 MARK III Full-Frame Mirrorless Camera: The Professional Hybrid Tool. You demand speed, resolution, and cinema-grade versatility. The R6 Mark III delivers. This camera is engineered for professionals who cannot compromise on stills or video performance.

Audio Interface Value Bundle with UA Sphere LX Modeling Microphone
Importance of Room Acoustics in Recording
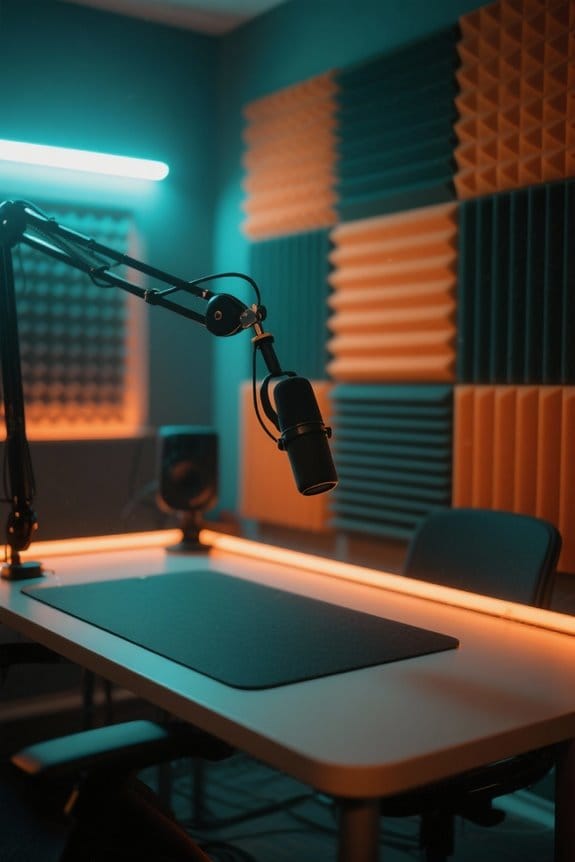
Room acoustics play an essential role in achieving crystal-clear audio for podcast recordings. Poor room acoustics can create unwanted echoes and muddled sounds. In a small podcast studio, hard surfaces might reflect sound waves, causing confusion for listeners. To fix this, soft furnishings like carpets and curtains are game-changers. They absorb sound, reducing reverb and enhancing vocal clarity. Plus, placing microphones away from walls lets you dodge problematic reflections. Think of it as creating a cozy sound hug—very inviting! Using high-density acoustic panels with an NRC rating above 0.9 can dramatically improve sound absorption and minimize echo in your recording space. Ultimately, evaluating your recording space and treating it properly can lead to huge improvements in audio quality. So, if you want listeners to hear every word, invest some time in your room acoustics. It’s worth it!
The Role of Audio Editing Software in Volume Correction

Releasing the full potential of podcast recordings often hinges on effective audio editing software. Programs like Riverside can transform audio by tackling low volume issues with normalization and compression techniques. Think of it as giving your voice a volume boost without losing any oomph! Tools such as Automatic Gain Control and the Levelator automate adjustments, making life easier for podcasters. Real-time monitoring allows users to quickly spot and fix quiet sections. Plugins like the “Leveller Effect” can balance audio levels smoothly, so you don’t end up blasting listeners out of their seats. With all these features, audio editing software guarantees your Podcast Audio is crystal clear and enjoyable—no more shushing or straining to hear! For optimal recording quality, consider using interfaces like the Focusrite Scarlett Solo which offers impressive 120dB dynamic range and studio-grade converters for professional-level sound.
Recommended Products
![WavePad Audio Editing Software - Professional Audio and Music Editor for Anyone [Download]](https://m.media-amazon.com/images/I/B1fcLEGCs6S._SL500_.png)
Full-featured professional audio and music editor that lets you record and edit music, voice and other audio recordings

Complete digital audio workstation software for music production, beat making, mixing, and sequencing.
![MixPad Free Multitrack Recording Studio and Music Mixing Software [Download]](https://m.media-amazon.com/images/I/71ltIxIuz1L._SL500_.jpg)
Create a mix using audio, music and voice tracks and recordings.
Techniques for Normalizing Audio Levels
When a podcast episode sounds inconsistent, it can leave listeners frustrated and longing for balance. Normalizing audio levels is an essential technique that adjusts the amplitude of audio tracks to a target peak level, ideally around -10dB or -6dB for podcasts. Most editing software has a handy “Normalize” effect that automatically boosts those quieter segments, providing a smoother listening experience. Plus, tools like “Levelator” make this process super simple with an easy-to-use interface—no rocket science degree required! Additionally, employing auto gain control can maintain volume consistency across different audio segments. Just remember, regularly analyzing audio regions guarantees both voices and audience sounds stay clear and balanced, keeping those ear-drums happily engaged. Who doesn’t want that? Using a microphone with voice isolation capabilities, like the Shure MV7+, can significantly improve audio quality by reducing unwanted background noise before normalization is even needed.
Recommended Products

Over 20 hours of operation using two standard AA batteries. Mounts directly to tripod or DSLR

Pair of wireless stereo speakers with transmitter offers cable-free range of up to 300 feet
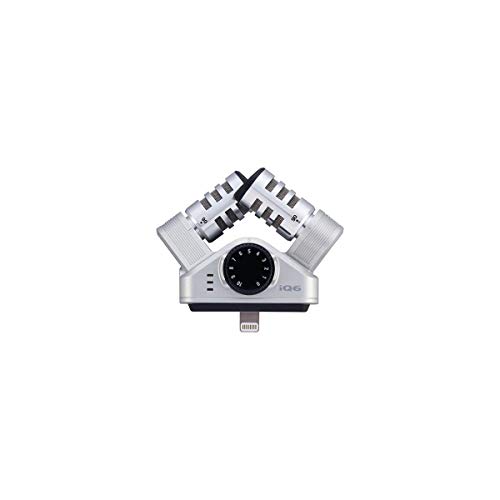
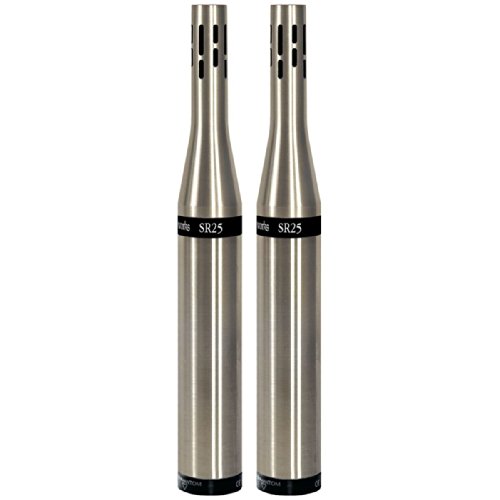
The same condenser microphones as the world-famous H4n
Utilizing Compression for Improved Volume Consistency
Harnessing the power of compression can transform podcast audio from uneven to engaging. Compression works by reducing the dynamic range; it brings down louder sounds while boosting softer ones, ensuring a more balanced audio file’s overall volume. By tweaking settings like threshold, ratio, attack, and release, creators can customize this effect. For gentle adjustments, a low ratio, say 2:1, can smooth out minor volume inconsistencies. However, if major disparities arise, a higher ratio, like 4:1 or more, is your friend. Most audio editing platforms offer built-in compressors for effective control. When paired with normalization, compression can further enhance volume uniformity. So, why let your podcast sound like a rollercoaster? Use compression for a consistently pleasant listening experience! Zero-latency monitoring capabilities allow you to hear these compression adjustments in real-time while recording your podcast.
Recommended Products
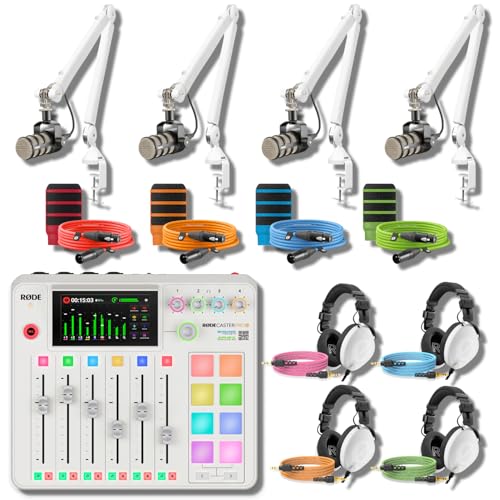
ALL-WHITE 4-HOST RIG — REFERENCE HEADPHONES AT EVERY CHAIR: A multi-host podcast needs more than four broadcast mics on white arms — every host needs studio-grade monitoring, not entry cueing cans. This bundle pairs the RodeCaster Pro II White console with 4 PodMic mics, 4 PSA1+ White arms, 4 NTH-100 White headphones, 4 color NTH cables, 4 color XLR cables, and 4 WS14 pop filters in Orange, Green, Pink, and Blue. Podcast producers and panel hosts — assign a color per host, start recording today.

Fully integrated audio production studio for podcasters, streamers, musicians and content creators

Class-leading AD-converter resolution with a dynamic range of 136 dB
Monitoring and Adjusting Levels During Recording
After exploring how compression can help even out audio levels, it’s time to focus on another key aspect: monitoring and adjusting levels during recording. To capture clear sound, monitoring audio with meters is essential. Aim for vocal peaks between -12dB and -6dB; that’s the sweet spot! Position microphones about 4 to 6 inches from mouths—too far, and you risk low volume. Using pop filters and windshields can minimize those pesky plosive sounds that lead to unpredictability. It’s also smart to wear headphones for real-time monitoring; they let hosts catch low volume issues as they happen. And don’t skip pre-recording tests—finding ideal mic placement ahead of time can save a lot of headaches later. Consider investing in a stand with non-slip pads to prevent unwanted movement that could affect your audio levels. Happy recording!
Recommended Products

Optimized closed-back design with 53mm transducers for greatest-in-class headroom and dynamic range

Rode Rodecaster Pro II is a fully integrated audio production studio for podcasters, streamers, musicians and content creators

FLAGSHIP SOUND QUALITY: Get the sound of Symphony Mk ii right on your desk with our legendary A/D and D/A conversion that delivers ultra-low distortion and provides a transparent window into the sonic landscape of your mix and recordings.
Best Practices for Ensuring Optimal Audio Quality
Ideal audio quality is essential for a successful podcast, and there are several best practices to keep in mind. First, invest in a high-quality microphone; if you use subpar equipment, you’ll definitely notice it in your audio. Aim to maintain a speaking distance of 4-6 inches from the mic for clarity. Consider adding a pop filter to avoid those annoying plosive sounds. During your recording sessions, regularly check audio levels to prevent clipping, which can sound worse than a cat screeching. Finally, conduct pre-recording tests in your setup to catch any pesky acoustic issues. For optimal vocal capture, choose a microphone with a cardioid pickup pattern to minimize unwanted background noise and enhance overall sound quality. Following this guide to podcast audio quality can make a difference, helping your listeners enjoy every word you say—without distractions that ruin the moment!
Frequently Asked Questions
Why Is My Podcast Recording so Quiet?
The podcast recording’s quietness resembles a whisper amidst a crowd. Issues may stem from inadequate microphone settings or ineffective volume enhancement techniques. Ensuring proper mic placement and utilizing appropriate settings are essential for achieving ideal audio levels.
Why Are My Audio Recordings so Quiet?
Audio recordings may be quiet due to improper microphone settings that fail to capture sound effectively. Additionally, background noise can mask audio clarity, further contributing to diminished volume levels in the final recording.
Why Does My Record Sound so Quiet?
The recording, like a whisper trapped in a bottle, sounds quiet due to improper microphone settings and inadequate gain control. Adjusting these elements can release the vibrant audio, transforming soft echoes into clear, resonant voices.
Why Is My Audio Suddenly so Quiet?
The audio may suddenly become quiet due to improper microphone placement or fluctuating audio levels during recording. Adjusting microphone distance and ensuring consistent gain settings can help maintain ideal volume levels throughout the recording.