As an Amazon Associate, we earn from qualifying purchases. Some links on this site are affiliate links at no extra cost to you. Our recommendations are based on thorough research and editorial judgment.

Dealing With Audio Dropouts in Wireless Microphone Systems
Dealing with audio dropouts in wireless microphone systems can be tricky, but understanding the cause helps. Dropouts usually happen due to interference, low battery, or poor antenna placement. Start by isolating your equipment and using tools like the Shure Wireless Frequency Finder to avoid crowded channels. Keep antennas visible and open to minimize obstructions. Upgrading your gear can pay off, too. Stick around to explore effective troubleshooting tips for a more reliable performance!
Key Takeaways
- Regularly test microphone components and swap transmitters and receivers to identify specific sources of dropouts.
- Utilize Shure’s Wireless Frequency Finder to manage frequencies and avoid RF interference during performances.
- Ensure antennas are unobstructed and positioned within the same room as the microphone for optimal signal strength.
- Monitor signal indicators on receivers and use the SCAN function to find clearer frequencies when experiencing dropouts.
- Plan for future expansion of wireless systems by considering venue size and scalability options, ensuring adaptability for evolving performance requirements.
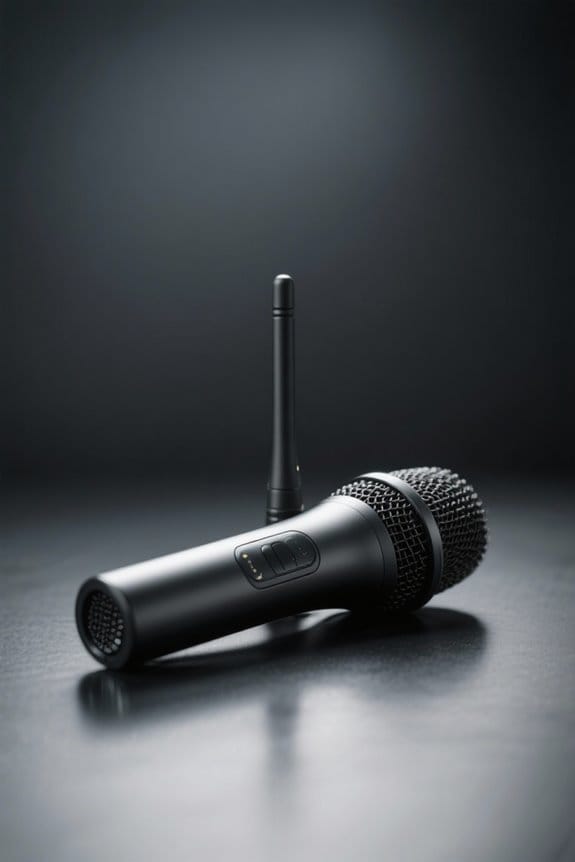
Understanding Wireless Microphone Dropouts
Wireless microphone dropouts can be a real headache. These pesky interruptions often stem from various factors affecting the RF environment. For instance, poor antenna placement can severely diminish signal strength, leaving audiences wondering if the performer has suddenly lost their voice! Interference from other wireless devices is also a sneaky culprit, making frequency scanning essential. Transmitters and receivers need to cooperate seamlessly, but low battery power may disconnect them at the worst possible moment. Regularly testing all components can help spot hidden issues. If you’re dealing with older gear, it’s wise to check whether they operate on prohibited bands, as this can lead to operational challenges that only add to your stress. Stay alert to keep the show rolling smoothly! Similar to how smart battery chargers employ thermal sensors to optimize performance, wireless microphone systems often include built-in monitoring features to maintain signal integrity.
Common Causes of Audio Dropouts

When it comes to audio dropouts, several culprits can cause frustration during a performance. One major cause is low battery power, which can lead to shaky connections and signal loss. Interference is another issue; nearby electronic devices or multiple wireless microphones on the same frequency can disrupt your audio flow. The positioning of your antennas matters too. If they’re obstructed or not in the same room as the receiver, signal reception drops, leading to those pesky dropouts. Regularly scanning for less crowded frequencies can help avoid environmental RF interference. Finally, monitoring indicators on your receiver, such as RF level, offers real-time insights into signal strength and dropout risks, keeping your sound smooth and professional. Models like the Hollyland Lark M2 offer an impressive wireless range of 300m, helping minimize dropout issues in larger spaces.
Step-by-Step Troubleshooting Guide
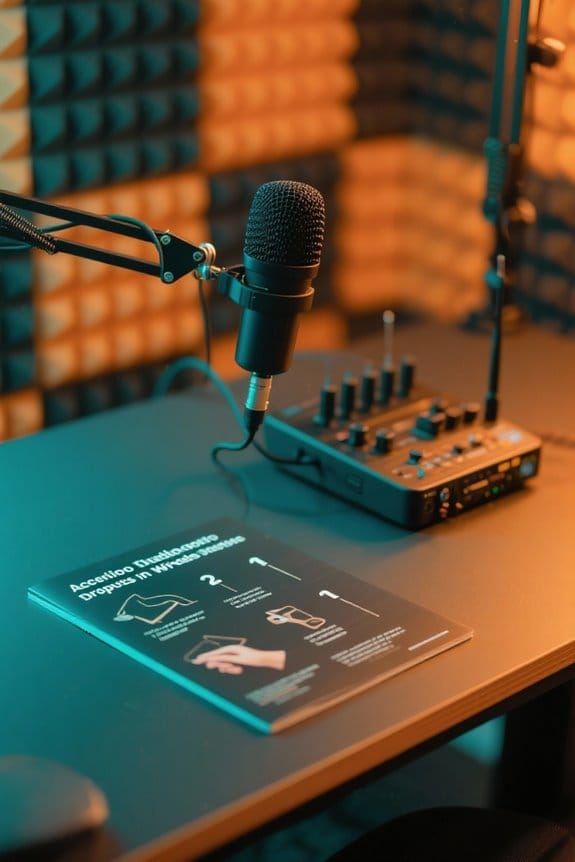
To get to the bottom of frustrating audio dropouts, a systematic approach is key. First, troubleshoot by isolating the wireless mic: turn off all other mics to eliminate interference. Next, monitor your receiver’s indicators closely during dropouts. Look for changes in the ready light or RF signal levels. You might find the problem is just frequency congestion! Utilize the SCAN function to find a clearer frequency. Don’t forget the setup! Test by swapping transmitters and receivers to identify the culprit. Also, make sure to achieve peak antenna placement. Position them in the same room as your mic, unobstructed, and within sight range. That’ll improve your signal reception, making those annoying dropouts a thing of the past! For optimal wireless performance, consider microphones with active noise reduction capabilities that can maintain clear audio transmission over distances up to 200 meters.
Recommended Products

30% greater active noise reduction than conventional aviation headsets. Connectivity Technology: Wired/Wireless

20.2 MP CMOS sensor and ISO 100-16000
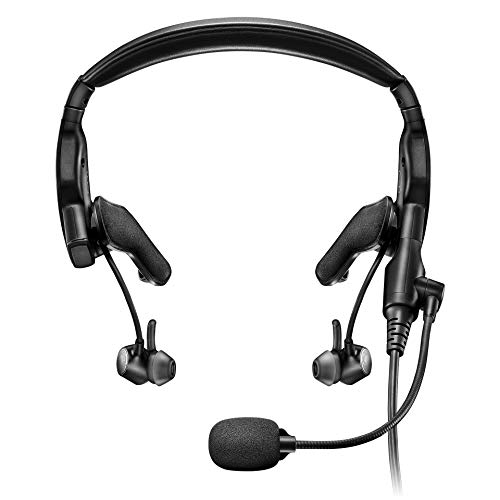
Proflight Series 2 includes a thinner, lighter and more flexible cable, updated tap control for talk-through communication, and an easily adjustable mic
Importance of Frequency Management

Effective frequency management is vital for anyone using wireless microphones, especially in busy performance spaces. In crowded environments, audio dropouts can strike when least expected. As a result, selecting ideal frequencies is essential. Tools like Shure’s Wireless Frequency Finder help users navigate the RF environment, identifying and avoiding interference from other devices. Regular frequency adjustments enhance performance, making these microphones reliable. Upgrading to newer wireless models that operate in less congested bands can further reduce dropouts. Additionally, effective antenna management, such as using RF Venue’s architectural antennas, boosts signal strength, especially in larger venues. Remember, a well-managed frequency strategy means fewer interruptions, and let’s be honest—nobody wants a mic that plays hide-and-seek! Similar to high sound quality standards in podcast editing, maintaining clear wireless signals is crucial for professional audio delivery.
Recommended Products

4-Pack includes 4-Motorola RDU4100 Two-Way Radios, 4 - 2400 mAh Li-ion Rechargeable Battery, 4 - 10 Hour Plug-In Charger, 4-Spring Loaded Belt Clip, 4-Antenna, 4-Speaker Mics HKLN4606

All the superior Original JBL Pro Sound you can handle

12 Full Function Inputs: 4 Mic, 4 Mic/Line (XLR/TRS Combo), 2 Stereo line (TRS), USB 2-track
Enhancing Signal Strength Through Antenna Placement

While many factors can impact wireless microphone performance, antenna placement is one of the most essential. Antennas should stay in the same room as the microphone to optimize signal reception and minimize dropouts. Remember, visibility helps, so keep antennas in direct line of sight for better signal strength. Now, reflective surfaces like metal can really mess things up—so steer clear of those to cut down on pesky signal interference. Plus, if you’re using multiple wireless microphones, proper spacing between antennas is a must for cleaner audio output. Finally, don’t forget about regular reevaluation of your setup! Changes in the environment can affect your RF signal quality, so keep those antennas in check. Happy mic-ing! For optimal vocal clarity, consider using microphones with a signal-to-noise ratio of 78 dB or higher to ensure pristine audio transmission.
Recommended Products
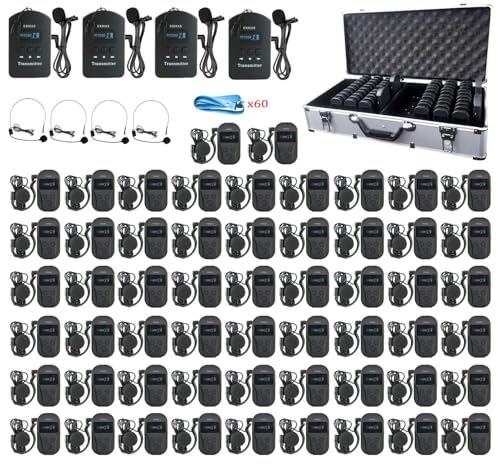
【Support two speakers talking simultaneously】EXMAX EXD-101 wireless tour guide system could transmit audio voice messages from a presenter to an audience. The presenter speaks into a microphone transmitter and the audience use lightweight earphone-receiver to hear the message.What makes it amazing is that receivers could hear voice messages from two transmitters on the same channel.When speaking to main microphone transmitter,the deputy transmitter could send background music to receivers.

【Receivers could hear voice from TWO transmitters simultaneously】EXMAX EXD-101 wireless sound transmission system could help the presenter transmit audio voice messages to an audience at a comfortable level without having to shout. What makes it amazing is that receivers could hear voice messages from two transmitters on the same channel,it means that audience could hear two presenters or tour guides’ talking in each group and the participants receivers quantity is unlimited.

【Advancing Performance Hybrid Architecture】--13th Gen Intel Core i7-1360P Twelve-Core CPU, Up to 5.0GHz. 13th Gen Intel Core processors advances performance hybrid architecture with up to 4 Performance-cores and up to 8 Efficient-cores, more powerful performance and smoother running. Easily handle browsing the internet, reading email, editing documents, home office, and more with ease, even for professional uses like photos editing, with a user experience close to a desktop computer.
Testing and Isolating Equipment for Issues
Identifying audio dropouts can feel like searching for a needle in a haystack. To troubleshoot effectively, isolate your equipment first. Start by removing the problematic receiver from the antenna distribution system and directly connect stock antennas for straightforward testing. Place the receiver 6 to 10 feet away from other devices to cut down on interference. Next, test the transmitter with a compatible receiver, like the TONOR TW-820, to see if the dropout continues. Use tools like Shure Wireless Workbench for detailed frequency analysis to confirm your microphone works without interference. Once you’ve verified equipment functionality in isolation, slowly reintroduce components while monitoring for any issues. Keep your sense of humor handy—it might just help relieve the tension of those pesky dropouts! Consider mounting your microphone on a stand with non-slip pads to eliminate any physical movement that could cause audio interruptions.
Recommended Products

[ Powerful Multipurpose RF Spectrum Analyzer ] The RF Explorer Pro combines the functionality of a Spectrum Analyzer, Signal Tracking Generator, and Power Meter, all in one user-friendly device. Whether you're a professional technician or an enthusiast, the RF Explorer Pro empowers you to perform precise all RF analysis and optimization

QUICK & EASY INSTALLATION - Most RVs are already prepped for the Vision S camera system, eliminating extensive drilling requirements. Installation is also quick and straightforward for non-prepped units. Not compatible with Vision S+ systems.

QUICK & EASY INSTALLATION - Most RVs are already prepped for the Vision S camera system, eliminating extensive drilling requirements. Installation is also quick and straightforward for non-prepped units. Not compatible with Vision S+ systems.
Environmental Considerations for Optimal Performance
Understanding environmental considerations is essential for achieving ideal performance from wireless microphone systems. Physical obstructions, like walls and furniture, can block RF signals, causing audio dropouts. Best antenna placement matters; make certain antennas are in the same room as the microphone and have a clear line of sight. Regular frequency scanning helps identify interference sources, guaranteeing better signal reception. Sometimes, moving outside or to less crowded areas reveals cleaner frequencies for use. After isolating environmental factors, gradually reintroducing components can help you pinpoint what’s causing issues. It’s like detective work, but without the magnifying glass! So, make these adjustments to minimize interference and boost your wireless audio experience. Your listeners will definitely thank you for it! Consider installing sound dampening curtains along walls and windows to reduce audio reflections and environmental noise that could interfere with your wireless system.
Future-Proofing Your Wireless Microphone System
How can one guarantee their wireless microphone system stands the test of time? Start by investing in wireless systems that operate within legal frequency ranges. This helps avoid future compliance headaches and boosts audio clarity. Incorporating antenna distribution solutions, like RF Venue’s Distro5, can greatly enhance signal strength and minimize interference.
Keeping tabs on the RF environment with monitoring tools like Shure’s Wireless Frequency Finder assures you’re ahead of potential issues. Plan for system growth, selecting setups that can handle extra channels as needs evolve. And don’t forget to use advanced tools, such as RF Venue’s Spectrum Recorder, to log RF activity. This data aids in performance optimization, keeping your setup reliable even in larger venues. For optimal audio quality, consider using equipment that supports high-resolution recording at 24-bit/192kHz sampling rates.
Recommended Products

HOW IT WORKS: ULX-D pushes wireless audio further. More streamlined. Higher density. Up to 47 systems running simultaneously within 6 MHz. That’s one reason it’s become the standard bearer for installed digital wireless. And you can hear it in crystal clear performances around the world.

Includes QLXD2/SM58, WL185, QLXD1, QLXD4, microphone clip, 2 zipper bags, 4 AA batteries, power supply, two 1/2 wave Antennas, 2 BNC cables, 2 BNC bulkhead adapters, rack mount kit, and user guide
PRISTINE 24-BIT SOUND: Hear every detail with crystal-clear audio and a dynamic range exceeding 118 dB, so your voice comes through exactly as intended.
Frequently Asked Questions
Why Does My Wireless Mic Keep Dropping Out?
Wireless mics can drop out due to poor battery life, inadequate transmission power, or environmental factors. Proper receiver placement, antenna gain, and user settings impact audio quality, frequency range, and transmission distance, with terrain obstacles also affecting performance.
How to Boost Wireless Microphone Signal?
To boost wireless microphone signal, optimize antenna placement and line of sight, conduct channel scanning for frequency selection, utilize signal boosters, consider terrain impact, enhance transmitter power, and improve receiver sensitivity for effective interference reduction.
What Three Things Can Go Wrong When Using a Wireless Microphone?
Three potential issues when using a wireless microphone include battery issues that affect audio quality, poor antenna placement leading to weakened signals, and signal interference caused by environmental factors or channel congestion reducing effective transmission distance.
How to Fix Wireless Mic Interference?
“An ounce of prevention is worth a pound of cure.” Wireless mic troubleshooting involves evaluating interference sources, optimizing signal frequency, ensuring coaxial cable quality, and employing effective mic placement and antenna diversity techniques for enhanced sound quality.