As an Amazon Associate, we earn from qualifying purchases. Some links on this site are affiliate links at no extra cost to you. Our recommendations are based on thorough research and editorial judgment.

Connecting XLR Microphones to Cameras and Recorders
Connecting XLR microphones to cameras and recorders is key for crisp audio. Use XLR to 3.5mm TRS cables to bridge the gap, but beware—sound quality might dip. For better results, opt for dual 1/4″ TS cables when linking to a mixer. Always check those gain levels; nobody wants muffled sound. Want to capture every detail? Monitor your audio with headphones. Stick around, and you’ll discover more ways to enhance your audio setup!
Key Takeaways
- Use XLR cables to connect microphones directly to cameras or recorders for optimal audio quality.
- For cameras, select 3.5mm TRS to Dual 1/4″ TS cables for better sound control when interfacing with mixers.
- Always set appropriate gain levels on both the microphone and camera to avoid distortion or low sound.
- Monitor audio output through the camera or mixer’s headphone jack in real-time to catch issues early.
- Record audio simultaneously on both the camera and a digital audio workstation (DAW) for easy syncing in post-production.
Cables You’ll Need
When it comes to connecting XLR microphones to cameras, having the right cables can make all the difference. An XLR to 3.5mm TRS cable is a common choice, but be aware, it may compromise audio quality because of your camera’s limited preamp capability. If you’re feeling fancy, consider a 3.5mm TRS to Dual 1/4″ TS cable instead, as it offers better control and clearer sound from a mixer. For those using an audio interface, a 3.5mm TRS to 1/4″ TRS cable is your go-to option. Just remember to set the gain levels correctly—too high, and you’ll sound like a booming monster! With the right connections, you’re on your way to capturing professional-grade audio. For optimal audio transmission quality, look for cables with oxygen-free copper conductors and gold-plated connectors.
Recommended Products

Versatile 1/8 to XLR Male: The unbalanced Male XLR to 3.5mm cable connects audio devices with a 3.5mm stereo output (iPhone, iPod, MP3 player, tablet, laptop, voice recorder) to the XLR input on mixing consoles or powered speakers. Perfect for musicians, DJs, and audio enthusiasts looking to link a variety of devices to professional audio equipment.

Mini to XLR audio cable connects a smartphone, tablet, laptop or computer to a mixing console or studio monitors; Connect to a mixing console with XLR inputs for editing; Play music from your computer on studio monitors with Left and Right XLR input channels with this dual XLR to 3.5mm cable

Unbalanced 1/8 to XLR cable connects a professional Microphone to a digital camcorder, DSLR camera, or computer sound card with a mini 3.5mm Mic IN port; Connect a condenser Mic to your camera or a handheld Mic to your PC for Karaoke; Step-down design of 3.5mm connector allows for connection to recessed camera Mic ports
Connecting a Blue Yeti to Your Camera
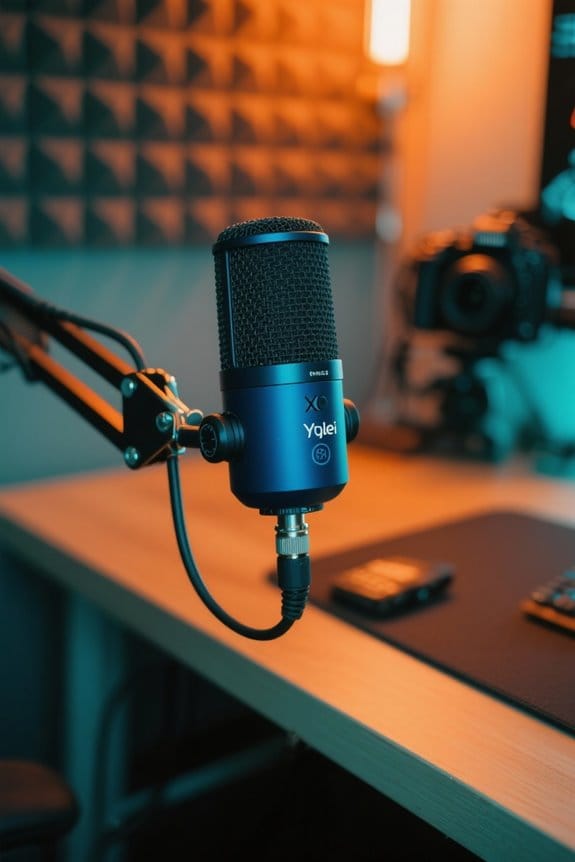
Connecting a Blue Yeti microphone to a camera can greatly enhance your audio quality, especially for vloggers, podcasters, and content creators. To get started, use a 3.5mm TRS to TRS cable to connect the microphone’s output to your camera’s input. Before recording, make sure to switch your camera settings from auto to manual. This allows for better control over audio levels. While you adjust the gain, monitor your audio with headphones to avoid any unwanted surprises. Remember, set the microphone input levels while speaking into the Blue Yeti to catch that crisp, clear audio without distortion. For the best results, record audio on both your camera and computer to make syncing in post-production a breeze! For optimal audio pickup, position the microphone at chest level placement to ensure consistent sound quality throughout your recording.
Connecting a Mixer to Your Camera

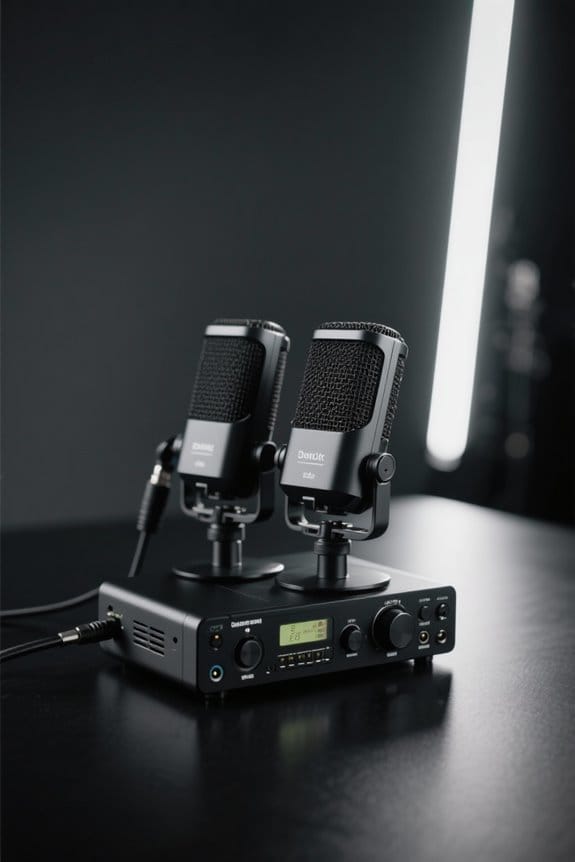
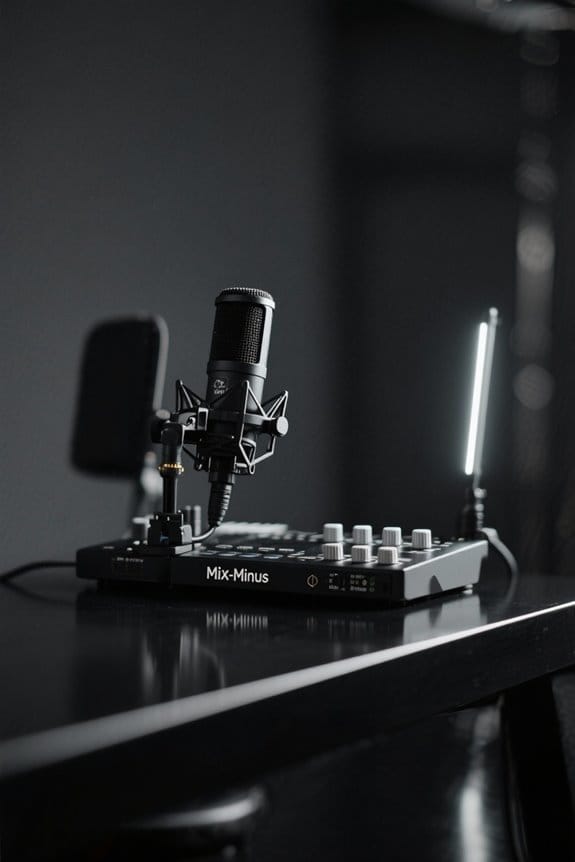
A solid way to elevate your audio game is by connecting a mixer to your camera. Start by plugging your microphones into the mixer using XLR cables. Next, use a 3.5mm TRS to Dual 1/4″ TS cable to link the mixer to your camera. You’ll want to set the appropriate gain levels on the mixer for clear sound. Monitoring audio output via the mixer’s headphone jack is essential; it lets you catch any pesky issues in real-time. Adjust the dual 1/4″ TS outputs appropriately as you keep an eye on the camera’s audio levels—nobody wants distortion! Finally, always stick with manual camera audio settings to finesse your recording from the mixer. Happy mixing! For optimal recording quality, consider using a mixer with zero-latency monitoring capabilities to prevent audio delays during your session.
Recommended Products
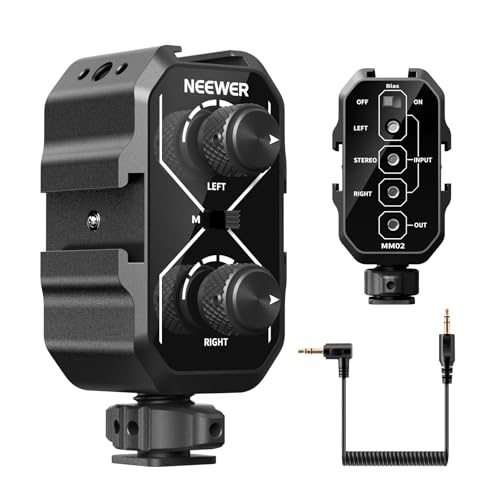
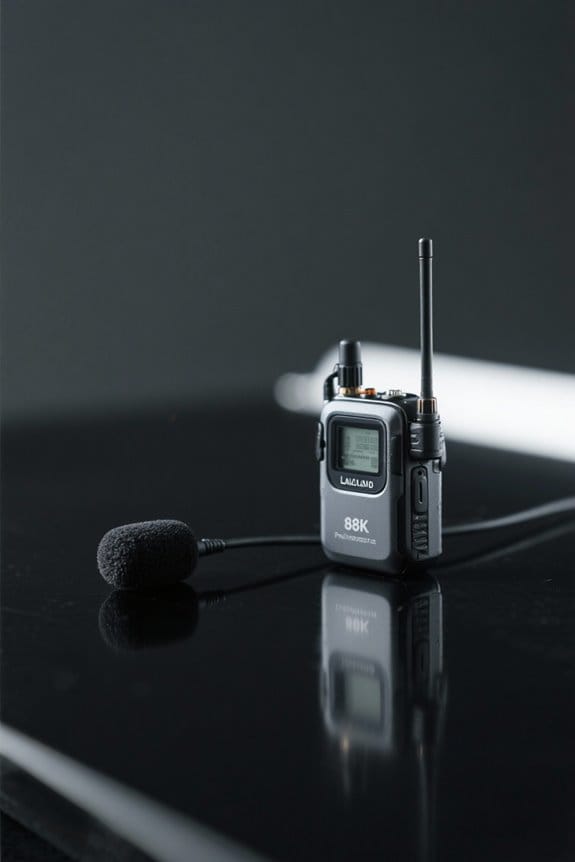
【Record with 2 Microphones】 This small microphone audio mixer can mount two microphones at the same time via its cold shoes and allow you to achieve professional and flawless audio quality for filming, vlogging, podcast, and interviewing
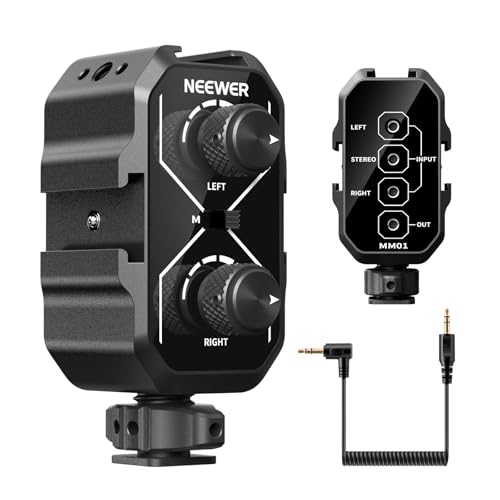
【Record with 2 Microphones】 This small microphone audio mixer can mount two battery powered microphones at the same time via its cold shoes and allow you to achieve professional and flawless audio quality for filming, vlogging, podcast, and interviewing

【Rich Connection Ports】 The Osee GoStream Deck video switcher comes with 4 HDMI inputs and 2 HDMI outputs, allowing you to connect four different media sources and two displays for MultiView and monitoring. It also includes 2 Type-C ports (input/output) for webcam input/output, SSD connection, and PC connectivity, 1 Ethernet port for live streaming and NDI HX input, 2 audio inputs and 1 headphone output for monitoring audio quality or recording, and 1 SD card slot for recording or playing files directly.
Connecting a USB Audio Interface to Your Camera

Upgrading audio quality can sometimes feel like a puzzle, especially when moving from a mixer setup. To connect a USB audio interface, use a 3.5mm TRS to 1/4″ TRS cable. This links the interface’s output to your camera’s microphone input, enhancing your audio considerably. Make certain to set the gain properly on the audio interface—too high and you’ll distort your sound, too low and it’ll be unnoticeable. Monitoring through headphones plugged into the interface helps guarantee clarity before recording. When shopping for an audio interface, pick one that supports a 48kHz sample rate; your ears will thank you! Studio-grade audio quality at 48kHz/24-bit recording ensures professional-level sound capture for your productions. So, connecting an XLR mic to an audio interface means serious sound quality upgrades—time to get serious about that audio!
Recommended Products

FEATURES / POWER SPECS : Extra Long 6 Feet USB 2.0 Type-A Male to Type-B Male Connection Cable / High-Speed Transfer Rates up to 480Mbps 28AWG/2C+26AWG/2C with Error-Free Performance
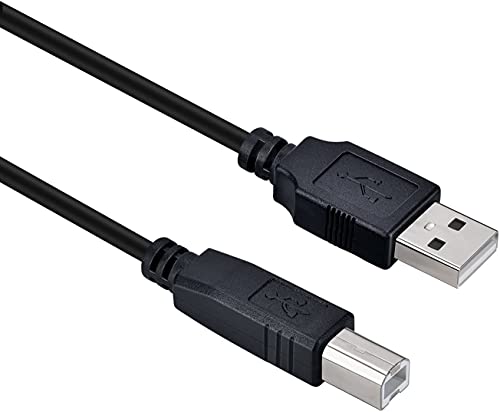
USB Type B replacement cord for devices like Printer, Scanner, Fax, Hard Drive Disk, Server, Keyboard, DAC, Development board, Digital Camera, Arduino, Silhouette Cameo Cutting Tool Machine

High-Speed Data Transfer: Enjoy lightning-fast data transfer rates of up to 4.8 Gbps with our USB Type C cable, perfect for connecting your audio interface to your PC
Syncing Your Audio in Post
Syncing audio tracks in post-production can feel like piecing together a jigsaw puzzle, but it doesn’t have to be intimidating. To achieve seamless syncing, record your audio on both your camera and a Digital Audio Workstation (DAW) set at 48kHz. As you start, give a quick clap—this creates a visual peak in the waveform, making syncing much simpler. Once you’ve imported the video and audio tracks into your editing software, you can align them precisely. Remember, keeping the same sample rate is essential to avoid sync issues. If you’re feeling overwhelmed, don’t fret! Many editing programs have automatic syncing features or visual waveform tools to help you. Zero-latency monitoring is crucial when recording to maintain perfect audio synchronization throughout your session. Happy editing and don’t forget—timing is everything!
Frequently Asked Questions
Can You Connect an XLR Mic to a Camera?
Connecting an XLR mic to a camera is often simpler than it seems. Various types of microphones require proper audio adapters to guarantee quality sound, as direct connections usually compromise audio fidelity. Quality matters in audio production.
How to Connect Mic to Camera When Recording?
To connect a microphone to a camera while recording, one must select appropriate microphone types and audio cables. Using compatible adapters or cables guarantees effective transmission of sound, thereby enhancing overall audio quality during capture.
What Do You Plug XLR Mics Into?
XLR microphones typically plug into audio interfaces, mixers, or dedicated recorders. Various audio cable types, including XLR to 3.5mm adapters, facilitate these connections, ensuring compatibility with devices designed for professional sound capture and quality performance.
How to Connect Mixer to a Camera to Record Audio?
To connect a mixer to a camera, one might use a small mixer type like the Yamaha MG10XU, linking it via a 3.5mm TRS to Dual 1/4” TS cable for ideal audio interface integration.