As an Amazon Associate, we earn from qualifying purchases. Some links on this site are affiliate links at no extra cost to you. Our recommendations are based on thorough research and editorial judgment.
Audio Specifications That Actually Matter for Content Creators
For content creators, understanding microphone types, polar patterns, and connectivity options is essential. Dynamic mics are tough, great for live sound, while condensers capture detailed audio, ideal for studios. Cardioid patterns reduce background noise, but omnidirectional ones pick up everything, perfect for group discussions. USB mics offer simplicity, while XLR connections enable professional quality. Durability is key—look for models that handle high sound pressure levels. Want to know how to optimize your recording environment? There’s more to explore!
Key Takeaways
- Choose a microphone type based on your recording environment; dynamic mics for live settings and condenser mics for studio work are ideal.
- Focus on polar patterns; cardioid mics reduce background noise while omnidirectional mics capture sound from all directions effectively.
- Consider connectivity options; USB mics offer simplicity for beginners, while XLR setups allow for higher quality and customization in professional settings.
- Look for microphones with high SPL handling and a signal-to-noise ratio of 78 dB or higher for clear audio performance in loud environments.
- Optimize your recording environment using acoustic treatment and proper mic placement to minimize unwanted noise and enhance overall audio quality.
Understanding Microphone Types
When it comes to choosing the right microphone, what really matters? First, consider the type. Dynamic microphones are tough and excel at recording loud sounds, making them perfect for live performances. On the flip side, condenser microphones shine in studios; they capture intricate audio details for that professional sound you crave.
Next, think about pickup patterns. Cardioid microphones focus on sound from the front and minimize background noise, ideal for solo recordings. However, if you’re discussing topics with a group, try an omnidirectional mic, which captures audio equally from all directions.
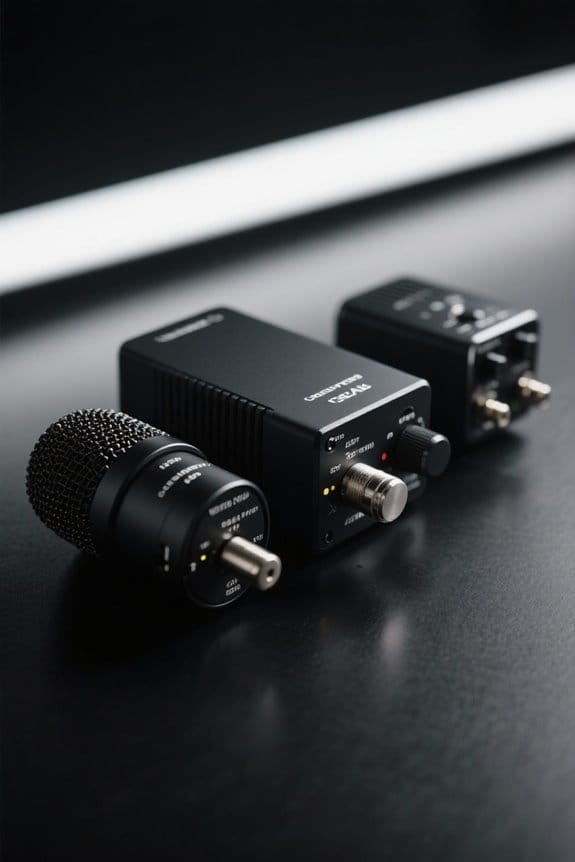
Don’t forget the frequency response! It’s essential for quality sound. Understanding these basics helps you select the microphone that fits your needs—and trust me, your recordings will thank you! For optimal mobile recording, lavalier microphones provide studio-quality 48kHz audio while maintaining exceptional portability.
Recommended Products

[INCREDIBLY SMALL] Weighing just 9g, LARK M2 wireless lavalier microphone is the lightest mini microphone on the market. With its lossless sound reproduction and top-of-the-line recording capabilities, it brings you unmatched recording performance. The wireless audio transmission can reach up to 1,000ft line-of-sight range. Perfect for filmmakers, vloggers, and podcasters.

[INCREDIBLY SMALL] Weighing just 9g, LARK M2 wireless lavalier microphone is the lightest mini microphone on the market. With its lossless sound reproduction and top-of-the-line recording capabilities, it brings you unmatched recording performance. The wireless audio transmission can reach up to 1,000ft line-of-sight range. Perfect for filmmakers, vloggers, and podcasters.

[INCREDIBLY SMALL] Weighing just 9g, LARK M2 wireless lavalier microphone is the lightest mini microphone on the market. With its lossless sound reproduction and top-of-the-line recording capabilities, it brings you unmatched recording performance. The wireless audio transmission can reach up to 1,000ft line-of-sight range. Perfect for filmmakers, vloggers, and podcasters.
Importance of Polar Patterns

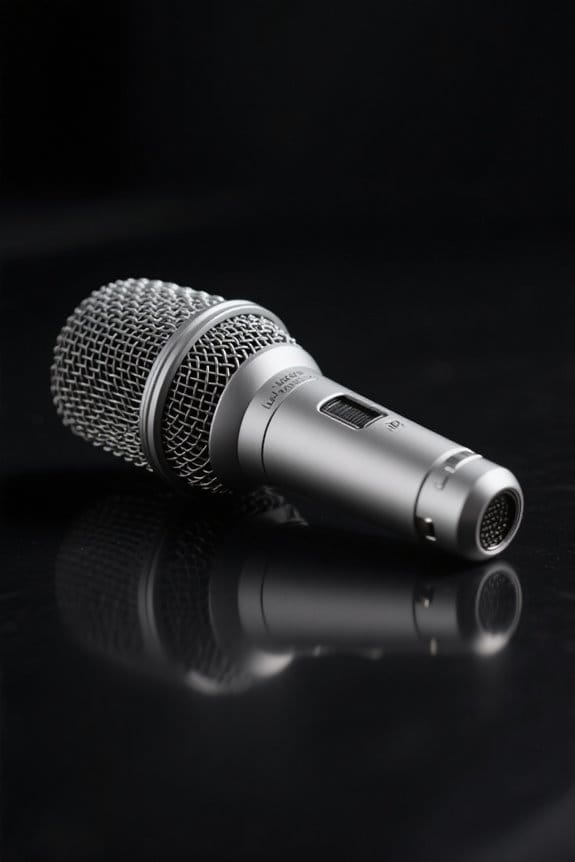
Polar patterns play an essential role in audio recording, often acting like a microphone’s personality. They define how a mic captures sound from different directions, directly influencing audio quality. The cardioid pattern excels at capturing sound from the front, making it ideal for solo performances, while the omnidirectional pattern picks up sound equally from all directions, perfect for group discussions.
Understanding these polar patterns helps select the right microphone, ensuring clarity and minimizing background noise. Shotgun mics, featuring supercardioid or hypercardioid patterns, are excellent for targeted sound capture in film and video, honing in on the desired sound source. By choosing the appropriate polar pattern, creators can greatly enhance their production quality—and who doesn’t want that? The TONOR Wireless System demonstrates this with its professional cardioid dynamic capsule specifically designed for superior noise reduction in various recording environments.
Recommended Products

[Natural Audio Clarity] Operated with frequency response of 50Hz-16KHz, the podcasting XLR mic delivers balanced audio range, likely to resonate with your audience. Directional cardioid dynamic microphone corded will not exaggerate your voice, while rejects unwanted off-axis noise for vocal originality and intelligibility during your PS5 gaming streaming video recording. (Tips: Keep the top of end-addressing XLR dynamic microphone AM8 facing audio source, and suggested recording range is 2 to 6 in.)

Enhanced Vocal Clarity: Tailored for vocal performances with a frequency response of 50Hz-15kHz, this cardioid dynamic microphone karaoke focuses on clarity and precision, making them perfect for singing and karaoke.

EXCEPTIONAL VOCAL CLARITY: This vocal microphone has a cardioid pickup pattern that isolates the main sound source while minimizing background noise and feedback, delivering clear and crisp vocal reproduction
Connectivity Options: USB vs. XLR
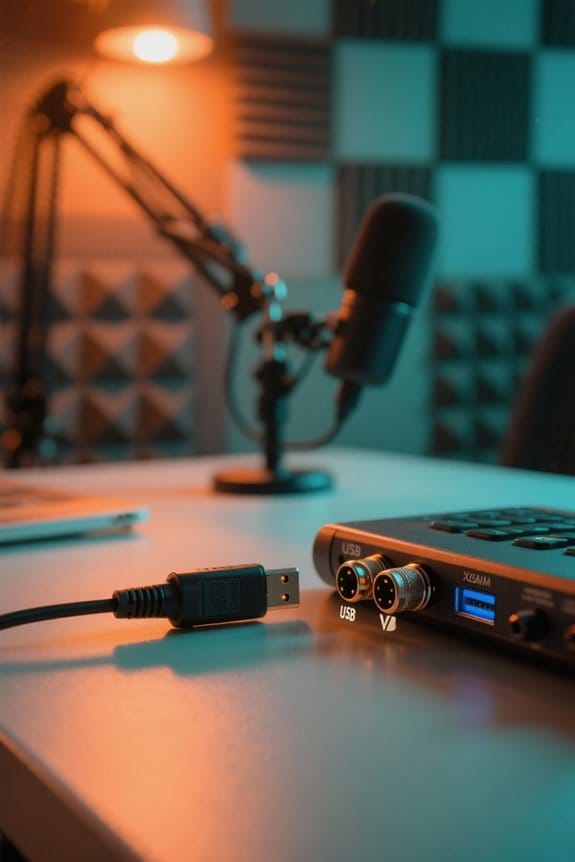
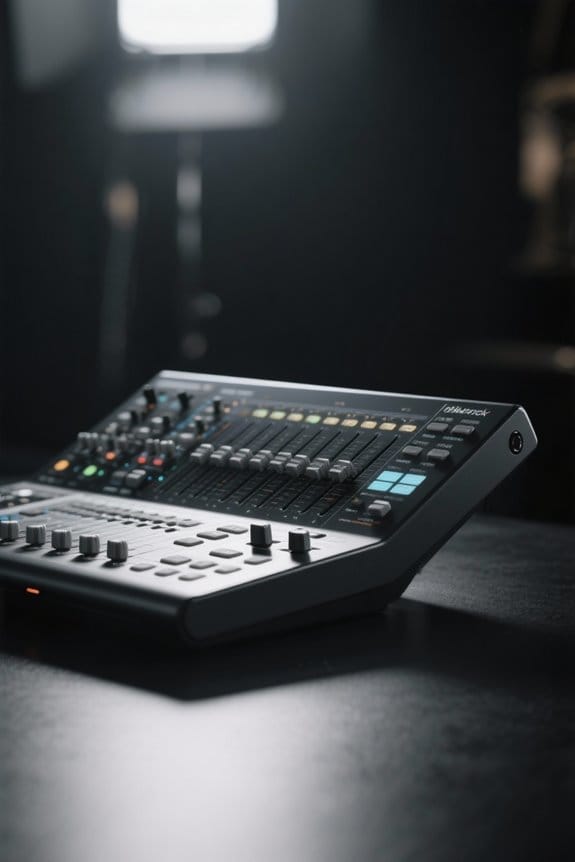
In today’s audio landscape, choosing between USB and XLR connections can feel like picking a favorite child—each has its strengths and weaknesses. USB connections are perfect for quick plug-and-play setups, letting you easily connect with computers and digital audio workstations. Many USB microphones come with built-in preamps, great for beginners who crave simplicity. On the flip side, XLR connections offer a balanced audio signal, essential for professional audio recording in studio settings. While they often require an external audio interface or mixer, this opens doors for customization and superior sound quality. So, if you’re looking for portability and affordability—go USB! But for those yearning for pro-grade performance, an XLR setup is calling your name. For optimal XLR performance, interfaces like the Focusrite Scarlett Solo deliver 120dB dynamic range for pristine studio-quality recordings.
Recommended Products

USB/XLR Connectivity: The A04 Gen2 is a super versatile condenser microphone for capturing rich. Thanks to its dual XLR & USB connections, it's just at home in the studio as it is plugged straight into audio interface or mixer. And connected to PC or phone for plug-and-play recording. If you want to connect Windows, iOS, PAD, phone by XLR mode, please make sure you have phantom power ready (Note: Not compatible with XBOX)

48V phantom power required: When using PM320S, you need to connect the microphone to a 48V phantom power/audio interface/mixer/preamplifier first, the microphone can work normally and get an excellent audio experience

USB/XLR Connectivity-AM8T comes with a dynamic microphone and a boom arm stand. Versatile PC gaming microphone kit with USB compatibility plug and play for PC in streaming or recording, without additional drivers. And also, while in XLR compatibility for mixer or sound card connection, the XLR studio vocal microphone is good at vocal, podcast, or musical instruments creation.
Durability and Handling Sound Pressure

Choosing the right microphone isn’t just about how you connect it; durability and handling sound pressure are equally important for content creators. High-quality microphones often boast SPL handling above 130 dB, perfect for loud instruments. Dynamic microphones excel in durability, making them ideal for live environments where they endure rough use. Content creators should look for models with robust metal housings instead of flimsy plastic; metal means better durability and longevity. Understanding a microphone’s maximum SPL rating helps prevent distortion and guarantees excellent audio quality, especially in high-volume recordings. After all, we don’t want to have our audio sounding like a chaotic rock concert, right? Keeping a mic intact while producing stunning sound is key to successful content creation! A signal-to-noise ratio of 78 dB or higher ensures pristine audio capture with minimal background interference.
Choosing the Right Microphone for Your Needs

What makes a microphone the right fit for a content creator? The microphone type is key—dynamic mics are tough for live settings, while condensers thrive in studio environments. Understanding polar patterns is essential; a cardioid pattern isolates your voice beautifully, but an omnidirectional mic suits group chats better. Suppose you’re using USB connections. In that case, versatile mics like the MV7+ provide USB-C and XLR outputs for all your streaming and podcasting needs. Frequency response matters, too; a range of 20Hz to 20kHz captures a full, rich sound. Don’t forget about proximity! Staying close enhances clarity and reduces background noise—like magic! So, choose wisely to make your audio shine, and your audience will thank you! For optimal audio quality, consider using oxygen-free copper cables and gold-plated connectors to minimize signal loss and interference.
Recommended Products

Plug-and-play simplicity – We understand that setting up a podcast session or live stream can be overwhelming but capturing pristine audio doesn’t have to be. With the Profile, one simple connection is all you need to achieve the sound you’re looking for

TRIFORCE 40 MM DRIVERS — Razer patented 3-part driver design pushes out exceptional highs, mids and lows that doesn’t muddy, providing a more dynamic listening experience for deeper immersion

MAKE YOUR VOICE THE CENTERPIECE: Whether you're gaming, livestreaming, podcasting, or chatting with teammates, the MV6 delivers focused vocal clarity with simple plug-and-play USB-C setup for PC and Mac.
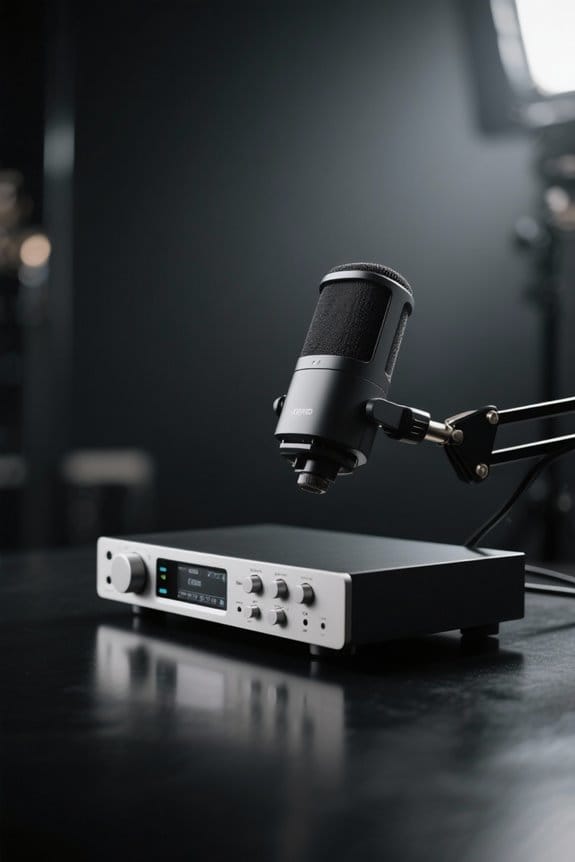
The Role of Pre-Amplifiers
Even the best microphone needs a helping hand to truly shine. This is where pre-amplifiers, or pre-amps, come into play. They take those weak audio signals, especially from dynamic microphones and ribbons, and boost them to a usable level. This is essential for achieving superior audio fidelity. Most condenser microphones require phantom power, but pre-amps enhance signals regardless. With built-in gain controls, you can tweak the settings to match your mic’s sensitivity, ensuring consistent audio levels. For those who seek even more control, external pre-amps offer advanced features like equalization and compression. Think of it as giving your audio capture process an upgrade. So, don’t skip the pre-amps—they’re the unsung heroes of sound quality! The zero-latency monitoring capabilities of modern audio interfaces ensure you can hear your pre-amp adjustments in real-time without any audio delays.
Enhancing Audio Quality With Accessories
Releasing the full potential of audio quality often means looking beyond just high-end microphones. Accessories play a significant role in this pursuit. A quality pop filter can drastically improve vocal clarity by reducing plosive sounds, like the hard “P” and “B.” Utilizing acoustic treatment, such as foam panels, can eliminate echo and reverberation, resulting in cleaner recordings. Investing in a sturdy microphone stand or boom arm keeps your mic stable, avoiding unnecessary noise—nobody wants a shaky recording! Outdoors? Don’t forget a windshield for your Lavalier Microphone to keep wind noise at bay. Finally, headphone monitoring is essential for catching issues live. These audio equipment upgrades can truly transform your professional audio recording experience without breaking the bank. Look for pop filters with dual-layer mesh design to maximize plosive sound reduction and ensure crystal-clear vocals in your recordings.
Recommended Products

DUAL-LAYER POP FILTER: The first screen blocks air blasts as any pop filter normally would; The gap in between then disperses any remaining air pressure, so by the time it passes the second screen, the blast is easily contained to produce great quality recordings

Double Layered Screen Pop Filters:The first screen blocks air blasts as any pop filter normally would; The gap in between then disperses any remaining air pressure, so by the time it passes the second screen, the blast is easily contained to produce great quality recordings.

Three-layer Screen Pop Filters:The newly upgraded three-layer structure provides superior airflow blocking and noise control, delivering high-quality recording results.It is an indispensable companion for professional recording studios.
Tips for Optimizing Your Recording Environment
Creating the right recording environment can make all the difference in your audio quality. Content creators should choose recording spaces with soft furnishings, like bedrooms, to minimize echo. Avoid hard-surfaced rooms, like kitchens—they’re acoustic nightmares! Close windows and silence background noise from fans and appliances to achieve high-quality audio recording.
Next, maintain a microphone distance of about 6-12 inches. This sweet spot helps reduce off-axis sound, making your voice clearer. Consider using acoustic treatment like blankets or foam panels, which can be surprisingly affordable, to dampen sound and enhance recording quality. With these tips, your audio will shine! Remember, a bit of effort goes a long way in creating an ideal recording environment, and no one wants to sound like they’re in a tin can. For content creators planning to store large audio files, a high-capacity SSD drive like the Samsung T7 4TB offers reliable, portable storage with impressive read/write speeds.
Frequently Asked Questions
What Should Be Prioritized When Producing Audio Content?
When producing audio content, priority should be given to equipment choices, noise reduction strategies, microphone types, appropriate audio formats, sound design techniques, and effective mixing strategies tailored to specific recording environments for maximum listener engagement.
What Is a Good Audio Level for Videos?
A good audio level for videos typically achieves ideal audio levels between -12 dB to -6 dB, emphasizing dynamic range importance, following peak level guidelines, adhering to loudness measurement standards, and ensuring consistency in volume to control background noise.
What Is the Best Audio Quality for Video?
The best audio quality for video combines appropriate audio codecs comparison, recording equipment essentials, and sound editing techniques. Microphone types overview and background noise reduction are vital, alongside audio format recommendations and playback device considerations for ideal results.