As an Amazon Associate, we earn from qualifying purchases. Some links on this site are affiliate links at no extra cost to you. Our recommendations are based on thorough research and editorial judgment.
How to Achieve Broadcast-Quality Audio at Home
To achieve broadcast-quality audio at home, start with essential gear like a good audio interface and a quality condenser mic—think around $100 to $200 each. Optimize your room acoustics using soft materials like foam panels to reduce echoes, and position your mic close to your sound source for clarity. Don’t forget to monitor your levels while mixing with EQ and compression for balance. Curious about more tips to elevate your audio game? Stick around!
Key Takeaways
- Invest in a high-quality audio interface and condenser microphone to ensure clear sound capture.
- Optimize your recording space with soft materials and acoustic treatment to minimize echoes and background noise.
- Position your microphone close to the sound source and use dynamic cardioid mics for focused audio capture.
- Employ effective mixing techniques such as EQ, panning, and compression for a balanced final mix.
- Regularly reference professionally mastered tracks to maintain industry-standard loudness and clarity in your audio.
Understanding Broadcast-Quality Audio
Broadcast-quality audio is like the secret sauce for pristine sound. It’s all about capturing every detail to create an immersive experience for listeners. This type of audio quality features a wide frequency response, accurately reproducing lows, mids, and highs. The dynamic range should minimize distortion, making it sound like a live performance, minus the rough edges. To achieve this, you’ll need some pro-grade gear, like high-quality microphones and audio interfaces, which don’t come cheap but can be worth it. Why? Because the tools you use truly matter. Plus, don’t forget your recording environment! Hard surfaces can lead to echoes that can ruin everything. So, treat your space wisely for that magical broadcast quality sound. For optimal clarity and professional results, aim for high-resolution recording support of 24-bit/192kHz and a dynamic range of at least 106 dB.
Recommended Products

DIGIC X PROCESSOR WITH 8K VIDEO: Offers outstanding definition and realism with 16x the resolution of FHD video and an ISO range of 100-51200 (expandable to 102400) for crisp and vibrant photos and movie-theater-quality videos at up to 8K/60P

NVIDIA GeForce RTX 5080 Graphics: This Alienware Aurora R16 gaming desktop tower PC experiences breathtaking visuals with the RTX 5080 16GB GDDR7 GPU, powered by NVIDIA’s Blackwell architecture. Enjoy real-time ray tracing, DLSS 4, and advanced AI features that deliver ultra-smooth gameplay, cinematic realism, and a competitive edge in every title

World’s first 1.0-inch type stacked Exmor RS imaging sensor, Flexible 4K and Full HD recordings (XAVC Long GOP at 100Mbps), HFR 120 fps Super Slow Motion (continuous), Clear Image Zoom (24x for HD, 18x for 4K)
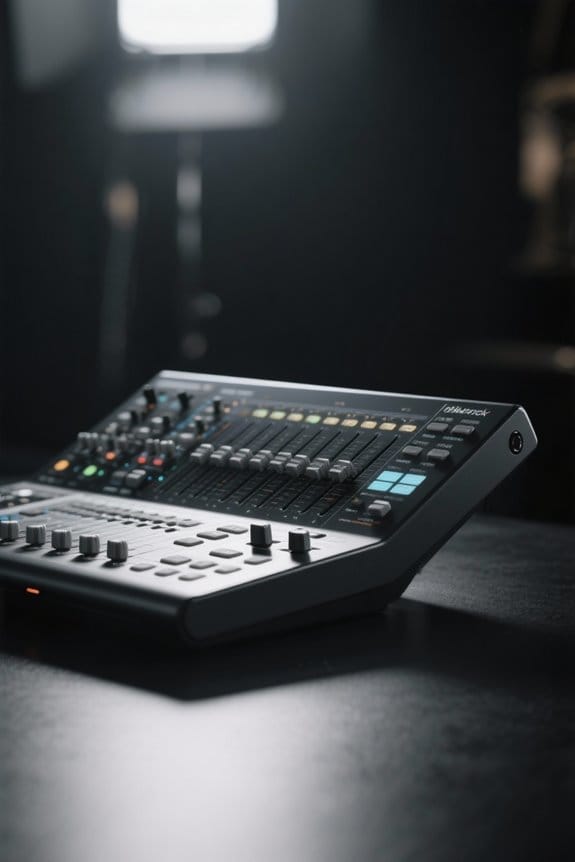
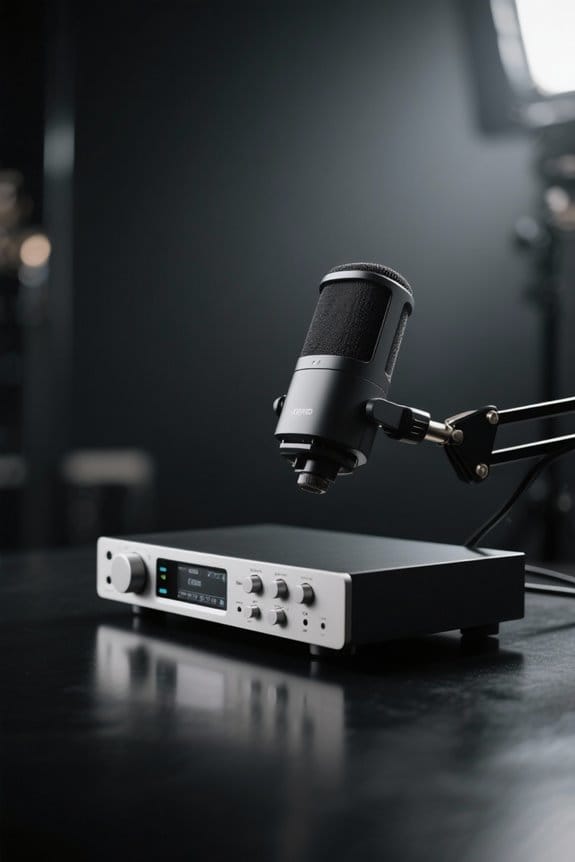
Essential Equipment for Home Recording

Recording high-quality audio at home isn’t just about having a fancy microphone; it’s about having the right gear to support your creative goals. A quality audio interface is vital, as it converts those analog signals from condenser mics into digital audio, ensuring crisp clarity. Without a solid interface, you might as well be recording with a potato! Additionally, investing in good condenser mics will help capture clear, natural sounds. Also, don’t forget a pair of studio monitors with a flat frequency response — they’re essential for accurately mixing and mastering your tracks. To minimize pesky background noise, consider accessories like pop filters and shock mounts, which can improve your recording quality markedly. Using high-purity oxygen-free copper in your XLR cables and adapters helps maintain sound clarity while reducing electromagnetic interference. Happy recording!
Recommended Products

For Recording Studios and Touring

Two XLR mic/line inputs with phantom power for condenser microphones

Audio Interface Value Bundle with UA Sphere LX Modeling Microphone
Optimizing Room Acoustics

Sound quality is all about the space it’s in. To optimize room acoustics in a recording studio, focus on soft materials like blankets or foam panels—they’re your best friends here. Hard surfaces create echoes, so the goal is to reduce reflections. Think about adding bass traps or diffusers to tackle those pesky reverberations. Also, don’t forget speaker placement; putting speakers strategically can really make a difference in sound delivery. If you’re short on space, a closet stuffed with soft items could be your secret hideaway for quality audio. Consider using pyramid designed panels which maximize sound diffusion while adding stylish aesthetic appeal to your space. With some effort and the right materials, you can turn any room into a fantastic recording space—just don’t forget to leave some room for air and creativity!
Recommended Products

Modern Wood Wall Panel Design: These wood panels for wall feature a clean 3D slat structure that enhances interior walls with depth and texture, delivering a refined, professional look for residential and commercial spaces.

DESIGN – 6-panel acrylic enclosure with interlocking panel structure

Acoustic Room Treatment Kit with Eight Control Columns
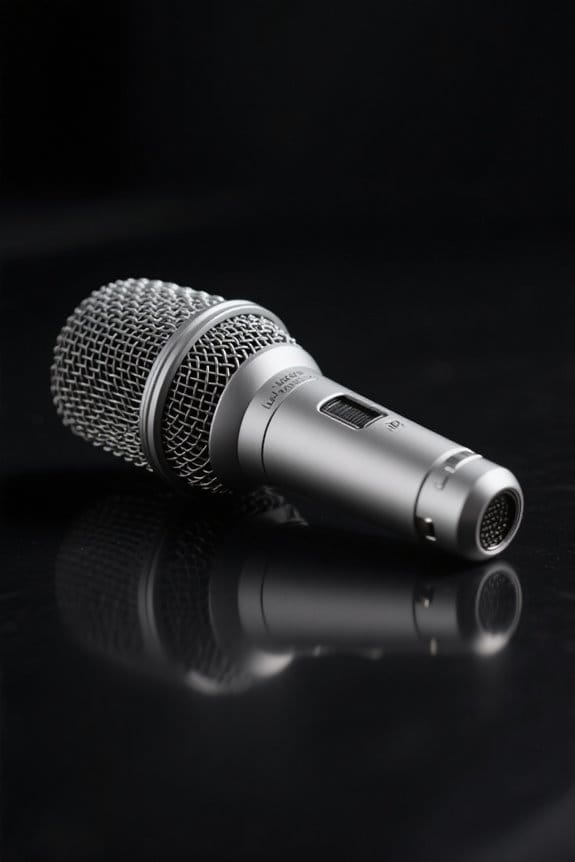
Techniques for Recording Clarity

Getting clear audio is like finding the sweet spot in a favorite song—balance and precision are key. To achieve that clarity, position the microphone close to the speaker but keep a consistent distance. This minimizes background noise, enhancing your recording’s quality. Opt for a dynamic cardioid microphone, like the ATR2100, which focuses on your voice while ignoring unwanted sounds—bonus points for reducing your neighbor’s lawnmower audio! Always record five seconds of silence first to capture that pesky room tone. Soft surfaces or foam panels can help absorb echo, making a world of difference. Finally, perform sound checks and monitor your audio levels closely. Keeping everything within an ideal range will guarantee a clean, distortion-free recording. Happy recording! For optimal lavalier microphone placement, secure the device at chest level position to ensure consistent and professional-quality sound pickup.
Recommended Products

Cardioid Condenser Microphone

Large-diaphragm Cardioid Microphone in Wooden Jeweler's Box with 20Hz-20kHz Frequency Range

Excellent feedback rejection
Effective Mixing and Mastering Practices

Mixing and mastering are the final touches that can elevate good recordings to great ones. First, balance your tracks with mixing techniques like panning, EQ, and compression. These tools help each sound shine while keeping harmony intact. Don’t forget about spatial placement—think about where you want your instruments to “live” in the mix! When it comes to mastering, aim for consistent loudness that matches industry standards. This stage is your chance to boost dynamic range, keeping your audio crisp and distortion-free. Plus, reference professionally mastered tracks in your genre for guidance. If you’re unsure, investing in mastering software or an expert can be a game-changer. After all, no one wants their hard work sounding like a tin can! Consider using multitrack recording capabilities to add depth and richness to your podcast’s overall sound quality.
Recommended Products

VERSATILE DJ PERFORMANCES -Standalone 4-deck playback for versatile DJ performances. Mix and match different media sources to match your playing style.

PROFESSIONAL-GRADE AD/DA CONVERTER: The Amari Reference-Grade AD/DA Converter delivers unmatched 24-bit, 384 kHz conversion for premium audio quality. Ideal for critical listening, mastering, and archiving, this AD/DA converter studio audio device ensures pristine sound reproduction for audiophiles and professionals alike.

Hear next generation audio conversion with the widest dynamic range and lowest distortion of any Apollo
Frequently Asked Questions
How to Record Good Quality Audio at Home?
To record good quality audio at home, one must consider microphone selection, optimize room acoustics, and utilize reliable audio interfaces. Paying attention to these elements guarantees clarity and professionalism in the final audio output.
What Is the 3 to 1 Rule When Recording?
The 3 to 1 rule dictates proper microphone placement, requiring microphones to be three times farther apart than their distance from sound sources. This technique enhances clarity, particularly in varied recording environments with diverse room acoustics.
Is There a Way to Enhance Audio Quality?
Enhancing audio quality involves selecting appropriate microphone types, optimizing room acoustics, and utilizing audio software options. Implementing these strategies markedly improves clarity and reduces unwanted background noise, resulting in a more professional sound capture.
How Do Youtubers Get Such Good Audio?
Youtubers achieve remarkable audio through diverse audio equipment options, employing proper microphone placement techniques and soundproofing methods. An impressive 70% utilize external interfaces, enhancing clarity and minimizing ambient noise for superior audio experiences.