As an Amazon Associate, we earn from qualifying purchases. Some links on this site are affiliate links at no extra cost to you. Our recommendations are based on thorough research and editorial judgment.

Understanding Broadcast Audio Specifications and Requirements
Understanding broadcast audio specifications is essential for creating enjoyable content. Proper loudness, typically between -23 to -25 LKFS, guarantees consistent sound that won’t make viewers reach for the remote. Non-compliance can lead to rework, or worse, missed opportunities. Different platforms like Netflix or Spotify have their own loudness standards, so knowing their preferences is key. File formats matter too, with ProRes QuickTime being the gold standard. Stick around to discover more about Dolby formats and audio mixing techniques!
Key Takeaways
- Target loudness levels for broadcast content should range between -23 to -25 LKFS for optimal viewer experience.
- True Peak levels must remain under -2 dBTP to avoid distortion and maintain audio quality.
- Familiarize yourself with platform-specific loudness standards to ensure compliance and successful distribution.
- Utilize tools like NUGEN Audio’s Loudness Toolkit for accurate loudness management and validation before final delivery.
- Organize your audio tracks clearly to enhance mixing efficiency and maintain high-quality sound production.
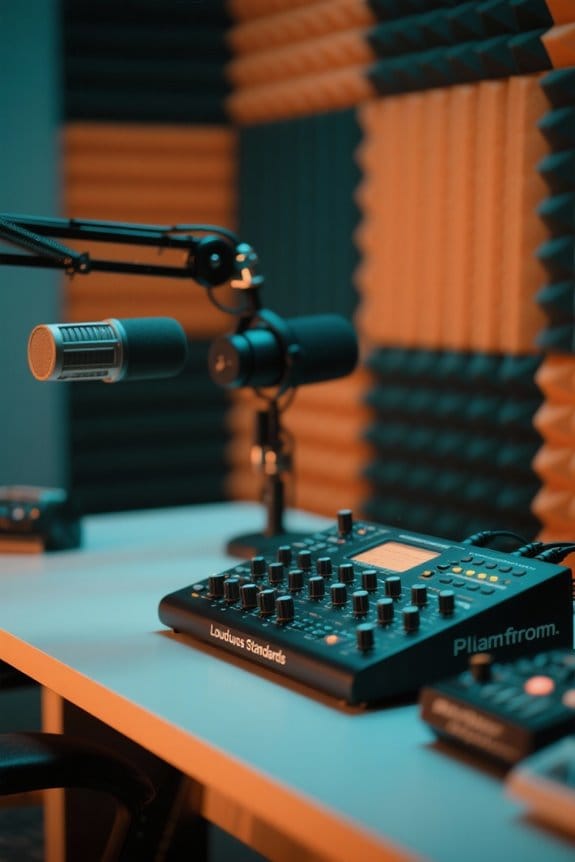
Importance of Loudness in Broadcast
Loudness in broadcast is more than just a number; it’s a key element in creating a pleasant viewing experience. Proper Audio Loudness guarantees a consistent sound level, making the show enjoyable. The CALM Act sets forth loudness standards for television, keeping commercials from blasting viewers out of their seats. Programs typically target a range between -23 to -25 LKFS, which aligns with audience preferences. Different platforms have their own specific loudness standards; for example, BBC aims for -23 LUFS with a bit of wiggle room. Tools like NUGEN Audio’s Loudness Toolkit help broadcasters measure and maintain these levels accurately. Following loudness standards isn’t just vital; it’s essential for quality control and viewer satisfaction. After all, no one likes sudden volume spikes! Modern dual-mode precision recording technology, like that found in professional voice recorders, helps maintain consistent audio levels during broadcast production.
Risks of Non-Compliance

While it might seem tempting to overlook audio specifications, doing so can lead to some significant bumps in the road. Non-compliance with loudness standards can result in rejection or muting of submitted content—definitely not the way to impress potential audiences. If the final mix isn’t up to par, creators might face hefty penalties or costly rework fees, adding chaos to the process. Automated normalization relies on a clean final mix, so poor audio might not sound great once processed. With various platforms having their own loudness rules, failing to comply can hurt reputations and even lead to lost opportunities. Remember, consistent issues could paint a pretty unflattering picture of a creator, and nobody wants to be that person! Using a cardioid polar pattern microphone can significantly reduce background noise and improve compliance with broadcast standards.
Loudness Standards by Platform
Ignoring audio specifications can lead to a lot of headaches, but it’s time to get familiar with the specific loudness standards across various platforms. The BBC sets a loudness level of -23 LUFS, with True Peak limited to -1 dBTP. Meanwhile, streaming giants like Disney+, HBO, and STARZ prefer a dialog-gated loudness of -27 LUFS ±2, keeping True Peak at -2 dBTP. Netflix follows suit, emphasizing consistency using dialog intelligence gating. Spotify, on the other hand, offers users three choices: -14 LUFS for normal, -11 LUFS for loud, and -19 LUFS for quiet, all capped at a True Peak of -1 dBTP. Knowing these standards is essential for any audio producer aiming for success. Don’t miss out! Similar to audio standards, modern LED brightness levels can be adjusted from 1% to 100% to achieve optimal illumination for different environments.
Tools for Compliance

A handful of powerful tools can make compliance with audio standards feel much less intimidating. NUGEN Audio’s Loudness Toolkit, for example, offers precise tools for managing loudness effectively. Its VisLM feature provides real-time monitoring, enabling accurate compliance checks against industry standards—think of it as your trusty Loudness Meter friend. Meanwhile, LM-Correct is a speedy offline tool favored by pros, ensuring audio meets required loudness levels before that all-important final delivery. These tools fit right in with major Digital Audio Workstations (DAWs) and Non-Linear Editing (NLE) systems like Adobe Premiere and Final Cut, making life easier for creators. Thorough audio checks with these nifty tools are essential for passing quality control and ticking all those broadcaster requirements! The latest zero-latency monitoring capabilities, found in modern audio interfaces like the M-AUDIO M-Track Duo, ensure seamless real-time feedback during broadcast recording sessions.
Recommended Products

High-Resolution VFD Sound Level Meter: The AK2515 analyzer boasts a 25x15 resolution VFD display, ensuring accurate frequency band representation. It also includes a precise clock display, utilizing an SD3078 built-in crystal oscillator for ±3.8ppm accuracy, with a monthly error within 10 seconds, providing both functionality and style.

USEFUL TOOL IN YOUR WORK & LIFE – This sound level meter is a great tool for checking, monitoring or controlling the sound level of any environments. It is widely applicable for personal, families, business, studies, industrial and etc.
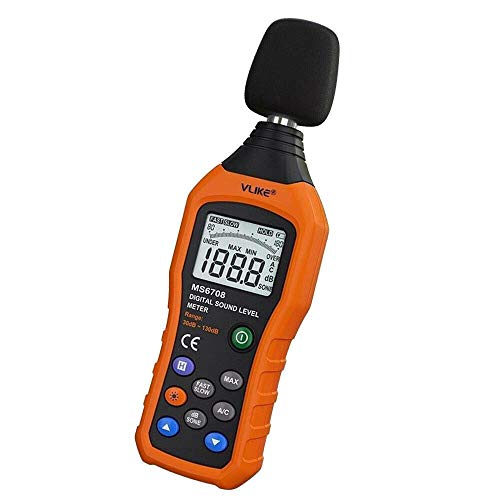
The sound level meter is an instrument used to real-time measure the sound level,such as sound level around factories,workshops,schools,residential,offices,road,audio etc (Battery not include), Can not keep and generate a report directly from the device
Final Compliance Checklist
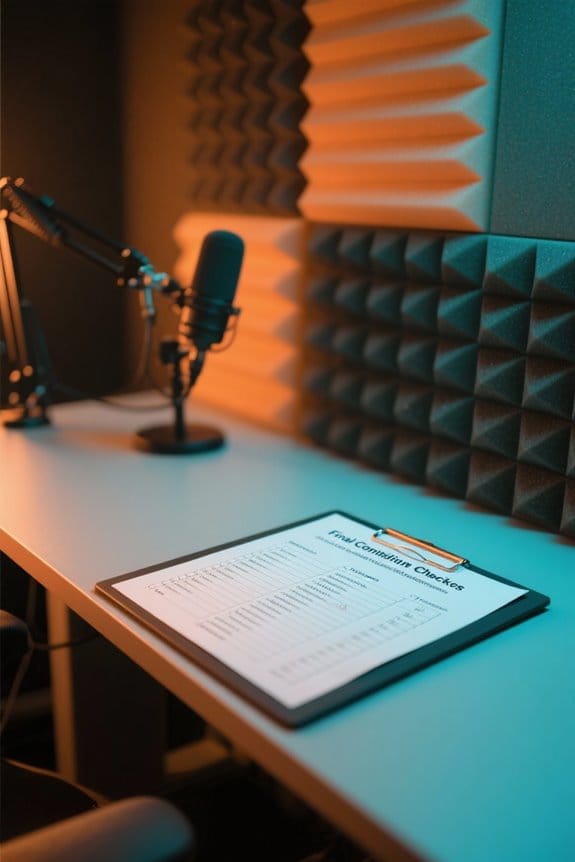
Getting audio just right for broadcast can feel like a high-stakes game, but a final compliance checklist makes it manageable. First, target loudness levels should hit -23 to -25 LUFS, aligning with platform specs. Next, check that True Peak levels stay under -2 dBTP; this prevents annoying distortion when folks hit play. Keep in mind that Loudness Range (LRA) must fit the content type, which can vary by genre. Oh, and don’t forget about metadata—correctly embedding it helps guarantee a smooth experience for listeners. Using tools like LM-Correct or VisLM helps validate all these criteria, sealing the deal before the final audio delivery. Consider it your audio safety net! For optimal recording quality, implementing a cardioid pickup pattern helps minimize unwanted background noise while maintaining vocal clarity.
Mixing Requirements and Quality Control
Audio mixes aren’t just about slapping sounds together; they need to sing in harmony, just like a well-tuned band. Each audio stem—dialogue, sound effects, and music—must reach 0 dB to maintain consistency. That’s where quality control (QC) comes in. QC testing guarantees your mixes meet broadcast standards, avoiding those pesky rejection fees. Aim for voiceovers around -14 to -12 dB, with peaks under -10 dB. Sound effects? They should sit snugly at -20 to -14 dB. Remember, each platform has its own loudness requirements. For instance, the BBC prefers -23 LUFS. So, while mixing requires precision, a pinch of fun and creativity keeps it enjoyable. Happy mixing—it’s a tune worth getting right! Using an interface with zero-latency monitoring capabilities ensures real-time feedback during your recording sessions, helping maintain precise audio levels throughout the mix.
Recommended Products

[XLR Mic Input] One XLR microphone input interface is set on the gaming audio mixer, which is great to up your audio quality with your XLR setup. The XLR mixer is a stepping stone to upgrade your live streaming. Audio mixer offered built-in 48V phantom power which opens up more choices for mics. Directly use it with your condenser microphone but do not solve added peripherals. (NOT available for USB mic)

“Go live” desktop rig for online broadcasters gives you instant control over your audio

Pro performance with great pre-amps - Achieve a brighter recording thanks to the high performing mic pre-amps of the Scarlett 3rd Gen. A switchable Air mode will add extra clarity to your acoustic instruments when recording with your Solo 3rd Gen
Audio Track Organization
When it comes to audio track organization, clarity is everything. Properly labeling audio tracks, like A1 for presenter audio and A2 for interview audio, helps everyone stay on the same page. It’s recommended to duplicate tracks, ensuring flexibility and a clean mix. Now, here’s where it gets interesting: the ME mix, vital for international deliveries, should drop presenter and interview levels by about 12 to 15 dB. This keeps your maximum level just right. Remember, differentiating between timeline audio tracks and your mastered channels is key. Mixing techniques differ, and common sense is essential—especially during those dramatic audio moments. Nobody wants a heart-pounding sound explosion! So, keep your organization tight, and your audio will shine in any production. Voice amplifier microphones can help capture clear audio while reducing unwanted background noise for optimal sound organization.
Workflow and Technical Setup in FCP
Proper workflow and technical setup in Final Cut Pro can make or break an editor’s day. To set up for a robust audio experience, you’ll need to configure your Sequence Settings for four audio channels. This helps avoid the dreaded doubling of audio levels, which can muddle your sound mix. Keeping a keen eye on your monitoring channels guarantees clarity. After exporting, it’s essential to re-import your audio tracks back into FCP to check for any hiccups and maintain broadcast quality. Also, remember to distinguish between QuickTime conversion and export; one mixes down audio, while the other keeps tracks separate. A well-organized layout with clearly labeled tracks makes mixing smoother—perfect for making sure that voices shine and not muffled chaos! Using a heavy-duty mic stand with non-slip pads ensures stable audio capture during lengthy recording sessions.
Recommended Products
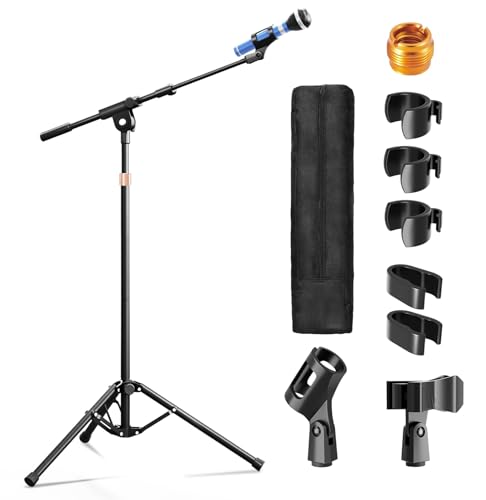
【Steady Tripod Stand】The heavy duty microphone stand base legs are 16"/40cm long, with a range of 11.8"- 27.6"/30-70cm expanded and contracted between the legs, which is longer than others to hold the microphone firmly in place, and the non-slip foot covers prevent mic tripod stand from moving around

Adjustable Height & Solid: The height of the microphone stand with boom arm is adjustable from 28.1 inches to 89.8 inches by adjusting the knobs, perfect for people in all age groups. It features upgraded supporting structures for better load-bearing capacity, holding your microphone in position.

All-in-One Design for Content Creators: This microphone floor stand features a built-in Phone/Tablet holder, allowing you to mount your microphone and recording device simultaneously. for streaming, podcasting, recording, and live performances
Delivery and File Format Considerations
Delivering files in the right format can save a lot of headaches later, especially in the fast-paced world of broadcasting. Most files are delivered on hard drives, with ProRes QuickTime being the gold standard. This choice guarantees correct audio channel output, essential for professional standards. Producers should consult dubbing facilities to dodge potential audio specification pitfalls. Misunderstanding ProRes timeline settings versus uncompressed settings can hurt sound quality during exports. When not using a DigiBeta deck, professionals are recommended for file transfers, or renting dubbing equipment to stay compliant. Clarity in audio output is imperative. Adjustments during the delivery process help meet strict broadcaster specs, guaranteeing both producers and teams achieve ideal results with minimal fuss. For optimal audio clarity in broadcast environments, consider installing acoustic ceiling tiles rated with high NRC values to reduce unwanted echo and reverb during recording sessions.
Recommended Products

Superior Acoustic Performance: Our 2x2 drop ceiling tiles offer excellent sound absorption and noise reduction, creating a quieter environment. Ideal for use in suspended ceiling systems, these ceiling tiles 24x24 are perfect for offices and studios.

Commercial standard - Class A fire-rated,low-emission, waterproof, washable, flexible and durable. No sag, rot, rust and breakage

Commercial standard - Class A fire-rated,low-emission, waterproof, washable, flexible and durable. No sag, rot, rust and breakage
Dolby Formats and Stem Types
With audio formats constantly evolving, understanding Dolby’s offerings can feel like learning a new language. Dolby Pro Logic II, for example, encodes audio into a 5-channel mix known as LT/RT. This format works perfectly on standard stereo systems while also enabling surround sound decoding. On the other hand, Lo/Ro simplifies a 5.1 mix into stereo, avoiding Dolby encoding altogether.
Stems play an essential role in this landscape. They include types like M&E (Music & Effects), which excludes dialogue to suit promotional needs or international versions. Understanding these stem types is key to adhering to broadcast standards and ensuring your loudness units meet clarity expectations. After all, clear audio can save you a lot of headaches—and you wouldn’t want that! For optimal vocal clarity in professional broadcasts, consider using a dynamic cardioid microphone that effectively isolates voice while minimizing background interference.
Recommended Products

**XLR CONNECTION ONLY — REQUIRES AN AUDIO INTERFACE.** Does NOT plug directly into a computer via USB. Pair with a RØDECaster Pro II, RØDECaster Duo, AI-1, AI-Micro, or any third-party audio interface with phantom or XLR input.

Mic features polar pattern and frequency response tailored for intelligible vocal reproduction
Three Audio Enhancement Modes: Supports three distinct audio enhancement modes:Bass Roll-off mode, Vocal Clarity Mode and Mid-Range Emphasis. Easily select the appropriate EQ mode for different recording environments, making your recordings more effortless
Budget Constraints and Professional Involvement
Steering through budget constraints in audio production can feel like walking a tightrope. Many producers find themselves cutting corners, often opting not to hire professional sound mixers. This can lead to diminished audio quality, which broadcasters won’t accept. Experienced sound professionals stress that sticking to strict technical specs is essential to avoid expensive revisions later. Sure, static rates for audio mixing might seem appealing, but a tight budget can backfire. Inexperienced editors, armed solely with software like FCP, might struggle through complex audio tasks. That’s where professional involvement really shines. Skilled audio engineers know the tricks and nuances necessary for industry-standard sound quality. Ultimately, investing wisely in audio post-production can make or break your broadcast’s success—don’t skimp!
Understanding Stereo Vs Surround Sound
How can one truly grasp the differences between stereo and surround sound? In a stereo mix, audio comes through two channels, delivering sound effects that feel flat compared to a surround sound experience. A discrete 5.1 surround sound mix has three front channels and two rear channels, plus a subwoofer, making it much more immersive. This means sounds can come from all directions, enhancing the overall listening experience. Editors must know how to create effective downmixes for stereo outputs, especially when working with formats like Dolby Pro Logic II. Clear communication about these audio specifications is key, ensuring compatibility across various playback systems. So, whether it’s for a movie night or a game, the right setup can make all the difference!
Frequently Asked Questions
What Is the Standard for Broadcast Audio?
The standard for broadcast audio emphasizes audio clarity and loudness levels between -23 to -25 LKFS across various transmission formats, ensuring content is delivered consistently while avoiding distortion, thereby meeting industry compliance expectations and maintaining professionalism.
What Is the 3 to 1 Rule Sound Recording?
The three to one rule is a crucial recording technique ensuring microphones are positioned at least three times farther apart than their distance from the sound source, preventing phase issues and enhancing overall audio clarity during recordings.
What Is the LUFS Standard for Broadcasting?
The LUFS standard for broadcasting typically targets loudness measurements between -23 to -24 LUFS. This guideline aids in managing audio dynamic consistency, ensuring a balanced listening experience across various platforms and devices during playback.
What Are the Different Broadcasting Standards?
Various broadcasting standards encompass audio codecs and formats. Particularly, the BBC targets -23 LUFS, while streaming services like Netflix and Disney+ typically set targets around -27 LUFS, ensuring ideal sound quality across diverse platforms.


