As an Amazon Associate, we earn from qualifying purchases. Some links on this site are affiliate links at no extra cost to you. Our recommendations are based on thorough research and editorial judgment.

De-Essing Explained: Removing Harsh Sibilance From Recordings
De-essing is an essential audio technique designed to tame harsh sibilance in vocal recordings. Sibilance, those sharp “s” and “sh” sounds, can be annoying, especially around 4 kHz to 10 kHz. To tackle this, a de-esser dynamically reduces those pesky frequencies without losing vocal warmth. Typically, a reduction of about 5 to 10 dB does the trick. With a little practice and the right tools, you can achieve smooth recordings that sound professional. Stick around to learn more effective tips!
Key Takeaways
- De-essers dynamically reduce harsh sibilant frequencies typically found between 3 kHz to 10 kHz in vocal recordings.
- Adjusting parameters like threshold and ratio on a de-esser helps minimize sibilance without altering vocal clarity.
- Looping sibilant-heavy sections can aid in fine-tuning gain reduction, generally targeting 5 to 10 dB.
- Using both split-band and wide-band de-essing techniques grants greater control over sibilant sounds in mixes.
- Testing mixes on various playback systems ensures hidden sibilance issues are identified and resolved for a polished sound.
Understanding Sibilance in Audio
Sibilance can be quite a sneaky little nuisance in audio production. It refers to those sharp, high-pitched sounds from consonants like “s,” “sh,” and “ch” that pop up in vocal recordings. These harsh sibilant frequencies usually occur between 4 kHz to 10 kHz. You might not notice them in everyday speech, but when recorded, they can be distracting. To reduce sibilance, it’s vital to evaluate microphone placement and recording techniques. Keeping a consistent distance from the mic and adjusting angles can substantially help. In a digital audio workstation, addressing sibilance is important, as it enhances vocal performance and maintains a balanced mix. Remember, no one wants their sweet serenade to become a sibilant symphony! Using a microphone with a signal-to-noise ratio above 70 dB can help minimize unwanted background noise while addressing sibilance issues.
The Impact of Sibilance on Vocal Recordings

Harsh consonant sounds can turn a great vocal performance into a cringe-worthy ordeal. Sibilance often appears as harsh vocals, creating annoying peaks at sibilant frequencies between 2 kHz and 8 kHz. These intense sounds stand out in recorded vocals, leading to an unbalanced mix that can ruin the listening experience. It’s especially noticeable during solo playback—where every “s” and “sh” clangs loudly—compared to when the music’s mixed. Using a good microphone helps, but placement matters too; standing too close can emphasize those pesky sibilant frequencies. Finally, recording in untreated spaces? That’s a surefire way to amplify sibilance issues, highlighting why acoustic treatment can make all the difference in achieving smoother sound and clearer performances. Using a mic with high SPL handling capabilities, like the AKG Pro Audio P170 which handles up to 155 dB, can help manage harsh sibilant peaks during recording.
Techniques to Prevent Sibilance in the Recording Stage

When it comes to capturing that perfect vocal take, a few simple techniques can really make a difference. Keeping an 8-inch distance between the vocalist’s mouth and the microphone helps reduce sibilance in audio recording. Positioning the mic slightly off-axis also works wonders, as it lowers the harsh high-frequency sounds. Don’t forget a pop filter! It considerably cuts down both sibilant tones and plosives. If you’re feeling adventurous, try the Pencil Trick—cover that mic diaphragm with a pencil and rubber band to adjust its frequency response. Choosing a less sensitive dynamic mic can also minimize those pesky sibilant sounds. With these tips, you’ll be on your way to smoother vocal recordings—who knew recording could be this fun? A cardioid pickup pattern helps focus on the sound directly in front while minimizing unwanted background noise that could contribute to sibilance.
Recommended Products
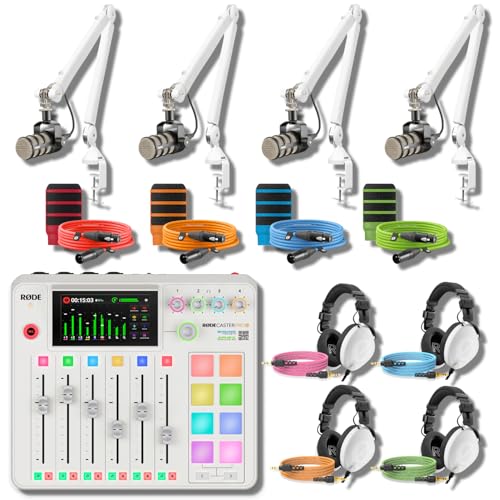
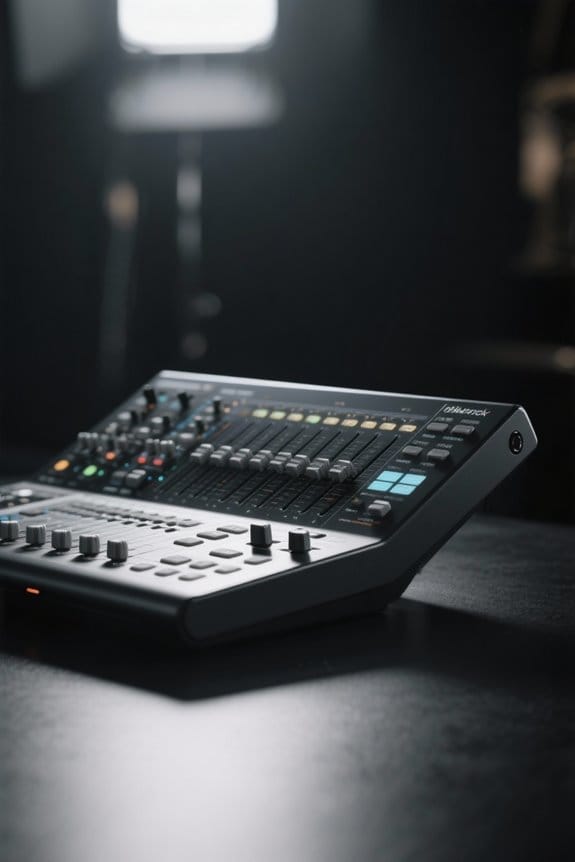
ALL-WHITE 4-HOST RIG — REFERENCE HEADPHONES AT EVERY CHAIR: A multi-host podcast needs more than four broadcast mics on white arms — every host needs studio-grade monitoring, not entry cueing cans. This bundle pairs the RodeCaster Pro II White console with 4 PodMic mics, 4 PSA1+ White arms, 4 NTH-100 White headphones, 4 color NTH cables, 4 color XLR cables, and 4 WS14 pop filters in Orange, Green, Pink, and Blue. Podcast producers and panel hosts — assign a color per host, start recording today.

2 x C414 XLS Sonically Matched Pair - Engineered for highest linearity and neutral sound for beautifully detailed recording of vocals and any acoustic instrument

Studio microphone with timeless, premium sound
Managing Sibilance in the Mixing Process

Capturing that perfect vocal can be a great start, but managing how it sounds in the mix is where the magic really happens. Dealing with sibilance requires some finesse, especially in that pesky frequency range of 3 kHz to 10 kHz. This is where a de-esser comes in handy, dynamically reducing high frequencies without turning your vocals into mush. Looping sibilant-heavy sections helps fine-tune threshold and gain reduction—generally between 5 to 10 dB is ideal. You can also mix split-band and wide-band de-essing for greater control. Don’t forget about manual techniques, like volume automation, for precise adjustments. It’s smart to check your mixes on different playback systems, too; sibilance can be a sneaky beast, hiding in plain sight! Using a phantom power supply can help ensure your condenser microphone captures cleaner vocals with less sibilance from the start.
Recommended Products

Simultaneously use up to three vocal processors from the voice, harmony and effect sections

Co-developed with Antares Audio Technologies to bring together everything you need for a polished, modern vocal sound, in the studio or live
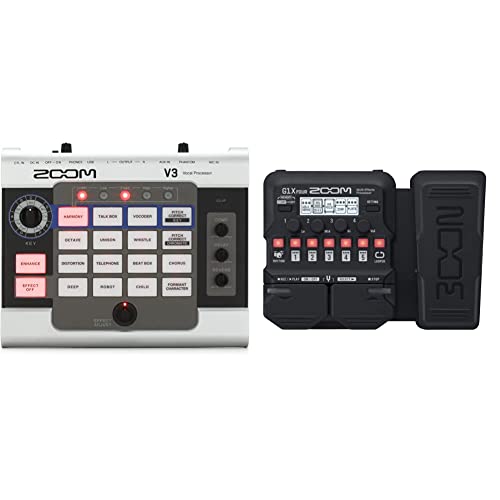
Product 1: 16 Built-In Effects Pads + Delay, Reverb and Compression
Utilizing De-Essers for Effective Sibilance Reduction

Tackling sibilance can feel like trying to catch a slippery fish, but utilizing de-essers makes it much easier. A de-esser is a specialized audio tool that targets sibilant sounds in recordings, usually within specific frequencies between 3 kHz and 10 kHz. By adjusting parameters like threshold and ratio, you can expertly dial down those harsh sounds without losing the natural vocal tone. Advanced options, like the M-De-esser, use clever detection algorithms to keep things clear, minimizing any awkward artifacts. Typically, you’re looking at a reduction of about 5 to 10 dB. Just remember to keep an eye on input levels, ensuring the whole mix shines rather than gets drowned out. After all, nobody wants to lose the song in the sizzle! For optimal vocal clarity, consider pairing your de-esser with ultra-low-noise preamps found in modern audio interfaces like the RDE RDECaster Pro II.
Recommended Products

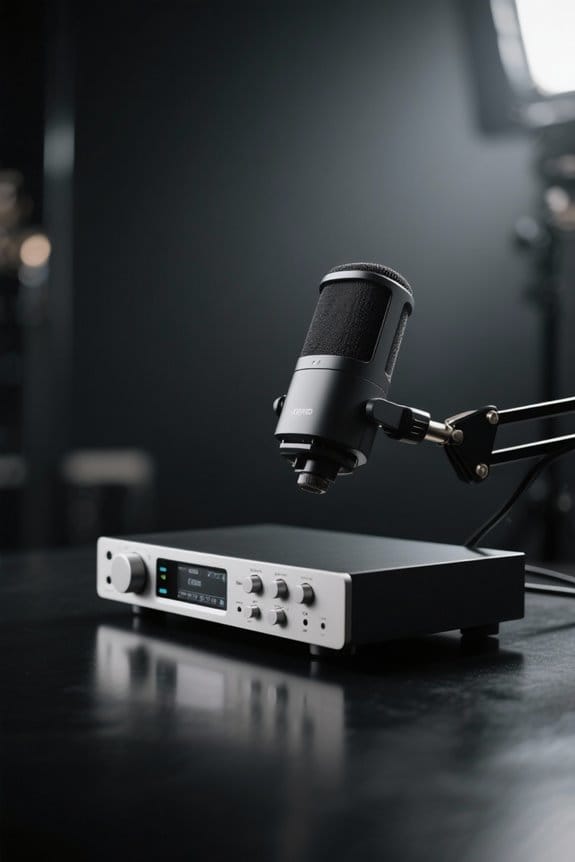
TWO MICS IN, TWO HEADPHONES OUT — THAT SIMPLE – Plug in two USB mics and get started instantly, making the P2 the simplest way to record a two-person podcast anywhere without complicated setup.
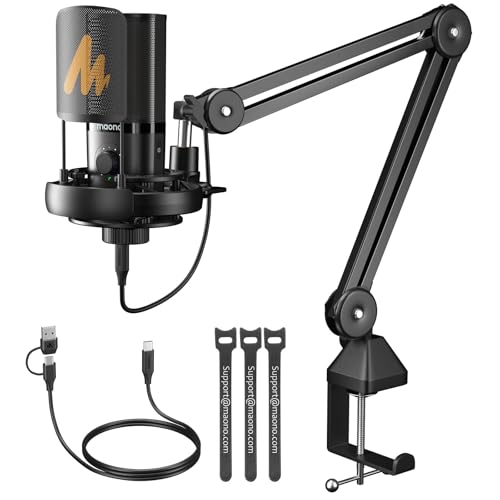
STUDIO SOUND QUALITY: The MAONO PM450 Series microphones are the top-tier choice in MAONO's renowned podcast microphone lineup. Designed to be compact and efficient, suitable for studios of any size. With customized professional chips, powerful DSP functions, and a 48kHz/24bit sampling rate deliver HiFi sound quality. The MAONO PM450S microphone covers a wide frequency range from 20Hz to 20kHz, capturing rich bass, warm and clear mid-range, and smooth treble tones for both vocals and instruments

TWO MICS IN, TWO HEADPHONES OUT — THAT SIMPLE – Plug in two USB mics and get started instantly, making the P2 the simplest way to record a two-person podcast anywhere without complicated setup.
Manual Techniques for Tackling Sibilance
Manual techniques for tackling sibilance can feel a bit like maneuvering through a maze of sharp turns. For example, using manual volume automation allows engineers to reduce sibilance in the recording by fine-tuning individual sibilants by 5-10 dB. First, they’ll need to observe dense spikes in the waveform, which help pinpoint those pesky sibilant moments. Another option is to split the track—isolating sibilance onto a separate one lets you use a De-Esser more effectively. Adding volume envelopes can also refine those sharp peaks, smoothing them out while keeping the vocal’s natural feel. Sure, it’s a labor-intensive process, but the precision you gain is worth the extra effort— no strange artifacts here! Using an interface with zero-latency monitoring capabilities ensures you can hear these adjustments in real-time while making precise corrections to the audio.
Recommended Products

The two switches are completely isolated from the ground, and there will be no current sound and noise

The two switches are completely isolated from the ground, and there will be no current sound and noise
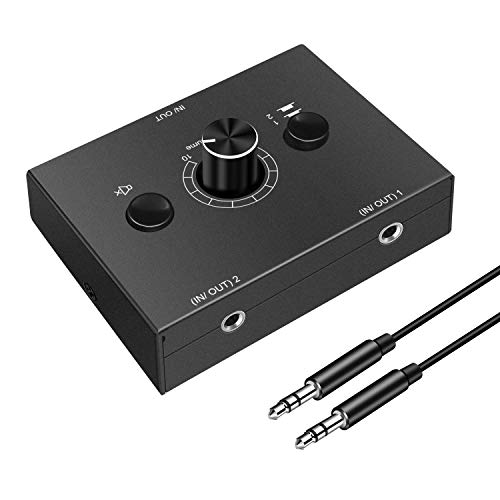
3.5mm Stereo Audio Switcher: Bidirectional switching Splitter Audio Sharing active speakers and headphones
Addressing Plosives in Vocal Tracks
While sibilance can be a nuisance in vocal recordings, plosives present their own set of challenges. These pesky bursts of air often sneak in when someone pronounces “p” or “b,” creating low-frequency spikes that can distort the human voice. To tackle plosives effectively, proper microphone placement is key. Positioning the microphone off-axis or using a pop filter works wonders in reducing their impact. Plosives usually fall between 20Hz and 150Hz, potentially overwhelming the mix and muddling audio clarity. When mixing, applying a high-pass filter can help eliminate those troublesome low frequencies without sacrificing the quality of the performance. If you’re extra fancy, some de-esser plugins specifically target plosives, keeping everything crystal clear. So, don’t let plosives ruin your sound! Using oxygen-free copper cables ensures optimal signal integrity when recording vocals through professional microphones.
Smart Solutions for Sibilance and Plosive Management
When it comes to achieving clear vocal recordings, managing sibilance and plosives can feel like a juggling act. Smart:deess offers smart solutions that harness AI technology for dynamic suppression of these pesky issues. Its spectral de-essing capabilities let users target specific sibilant frequencies with precision, while also keeping plosive disturbances at bay. You can easily adjust the sibilance suppression dial, fine-tuning to eliminate the nasty hisses without losing much-loved tonal integrity. Plus, the plosive suppression function tackles those low-frequency spikes, ensuring your vocals sound crisp and clean during mixing. With user-friendly tutorials and community support, Smart:deess makes understanding sibilance and plosive management feel less like a chore and more like a walk in the park. Similar to how warm white light creates a cozy atmosphere in cabinet lighting, finding the right balance of sibilance reduction creates a more pleasing and natural vocal sound.
Recommended Products

The VE-1 brings professional studio-quality vocal ambience to your fingertips.

All-in-One Solution: AVE-100 vocal processor with pitch correction, harmony, echo, and reverb effects, supports 48V phantom power. Microphone amp without complex setup, ideal for singers at any level, streamers, and producers.

The FV01 vocal effects Corrector is primarily a pitch-correction pedal that offers everything from pitch correction to full-blown effects overload when your input is a microphone.
Best Practices for Achieving Clear Vocal Sound
Achieving clear vocal sound goes beyond just fixing sibilance and plosives. The secret lies in effective microphone placement. By keeping an 8-inch distance from the mouth, exaggerated sibilance can be reduced. Tilt that mic away or use a pop filter—it’s like a magic shield against harsh sounds! High-quality de-essers, such as Fabfilter Pro-DS or Waves R De-Esser, are great tools, targeting those pesky frequency ranges around 5 kHz to 10 kHz. Want even more control? Manual volume automation lets you fine-tune sibilant sounds without drowning in de-esser reliance. Finally, always listen to vocal recordings on multiple systems. This way, you’ll catch any lingering sibilance your mix might try to hide—because no one likes surprises that bite! For optimal vocal clarity, consider using omnidirectional microphones that capture sound evenly from all directions while maintaining consistent frequency response.
Frequently Asked Questions
How to Get Rid of Harsh Sibilance?
Harsh sibilance can diminish audio quality, with studies showing over 60% of listeners noticing it. Effective sibilance detection techniques, microphone placement tips, and audio mixing strategies are essential for mastering vocals effectively in recordings.
How to Reduce Sensitivity to Sibilance?
To reduce sensitivity to sibilance, one can employ effective sibilance reduction techniques, utilize vocal recording tips, adjust microphone placement strategies, leverage audio editing software, and perform frequency response analysis for ideal sound clarity and balance.
What Are Common De-Esser Mistakes?
“Too many cooks spoil the broth.” Common pitfalls in vocal mixing include improper de-esser settings, neglecting frequency range adjustments, and over-compression in sound recording, leading to artifacts and unnatural vocal quality that detracts from overall clarity.
How to Remove Harshness From Vocals?
To remove harshness from vocals, one should focus on vocal recording techniques, optimizing microphone placement, making EQ adjustments, implementing vocal warm-ups, and incorporating mixing essentials to guarantee a polished and balanced audio output.