As an Amazon Associate, we earn from qualifying purchases. Some links on this site are affiliate links at no extra cost to you. Our recommendations are based on thorough research and editorial judgment.
Creating Consistent Audio Across Multiple Recording Sessions
To create consistent audio across multiple recording sessions, start by using the same microphone and preamp. This helps avoid changes in sound quality. Keep mic placement uniform, too—it’s all about that sweet spot! Control your room’s acoustics and document your setups for future reference. Employ tools like dynamic compressors to smooth out volume levels during mixing. Oh, and warm up your voice; trust us, it makes a difference. Stick around to uncover more tips and tricks.
Key Takeaways
- Use the same microphone and preamp in each session to ensure tonal consistency across recordings.
- Maintain uniform mic placement and stable room acoustics to prevent volume discrepancies.
- Implement documented project templates with predefined level settings for efficient and consistent workflows.
- Incorporate structured warm-up routines to enhance vocal performance and maintain pitch stability.
- Engage in peer feedback sessions to identify tonal balance issues and improve recording quality.
Importance of Consistency in Audio Recording
Consistency in audio recording is essential for an exceptional listening experience. When the audio level fluctuates, listeners can become distracted, pulling them away from the story. Pitch variations between recordings can sound jarring, making the editing process trickier, too. To avoid this headache, employing uniform mic placement and consistent recording techniques can greatly enhance the overall sound quality. Plus, structured warm-ups help vocal consistency, bringing uniformity across different sessions. It’s like doing vocal stretches before a big race—every bit helps! Reference tracks during mixing are also key; they can maintain tonal balance and guide the overall sound signature. In short, creating consistency in your recordings not only saves time but ultimately results in a polished final product that feels effortlessly engaging. Using rotatable control knobs for precise volume adjustments during recording sessions can help maintain consistent audio levels throughout your production.
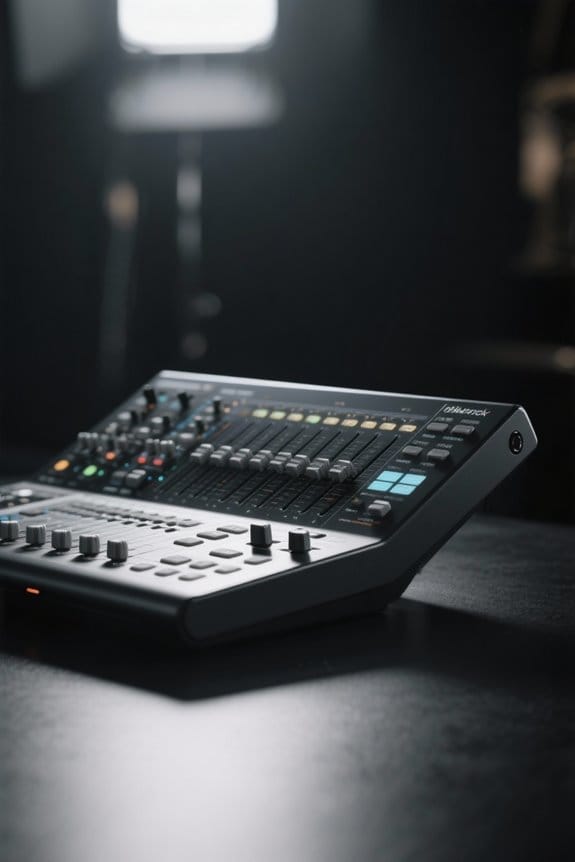
Establishing a Uniform Setup

To create uniform audio across various sessions, setting up a solid recording environment is absolutely critical. First, always use the same microphone and preamp; even minor differences can alter sound quality. Consider keeping your room acoustics stable as well; a quiet space guarantees consistent sound level. It’s also crucial to fix mic placement relative to your sound source. This helps maintain a uniform distance, which is key for tonal quality. Plus, using the same recording settings—like gain levels and software configurations—will prevent those annoying discrepancies in volume. Similar to how strong adhesive backing ensures LED strips stay firmly in place, proper mounting of audio equipment prevents unwanted vibrations and maintains consistency. Finally, document those project templates! Having established track setups means less guesswork on your next session. Remember, consistency is your best friend in achieving great audio!
Recommended Products
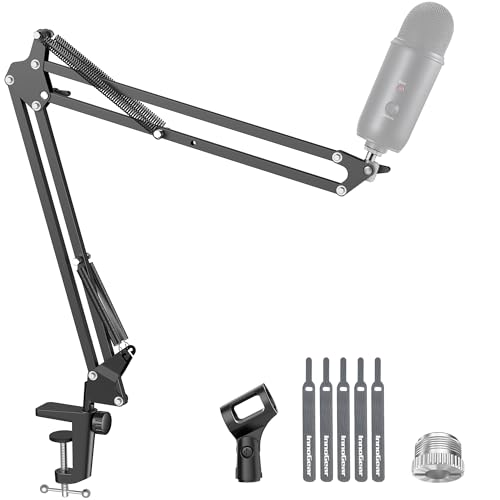
Free Position Mic Arm: This professional microphone stand is fully adjustable in all parts with 360° base rotation for 135° back and forth extension, 180° arm shaft for up-and-down movement, and 270° metal adapter to freely position microphones. It can be easily folded and pushed away for space-saving storage when it stands idle and pull it back for usage.
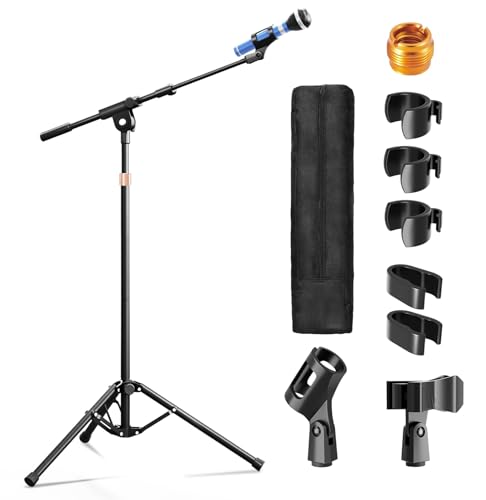
【Steady Tripod Stand】The heavy duty microphone stand base legs are 16"/40cm long, with a range of 11.8"- 27.6"/30-70cm expanded and contracted between the legs, which is longer than others to hold the microphone firmly in place, and the non-slip foot covers prevent mic tripod stand from moving around
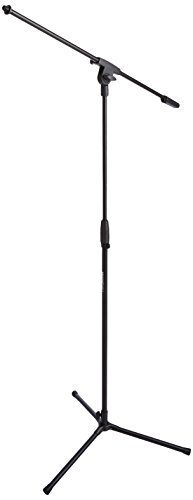
Adjustable microphone stand designed to hold a microphone securely in place (microphone clip sold separately) at the height you choose
Standardized Recording Techniques

Creating a uniform sound isn’t just about the gear; standardized recording techniques play a huge role. By consistently placing microphones in the same spots and using the same settings, artists can guarantee that the sound quality remains stable. Recording in familiar environments further minimizes unpredictable acoustic changes. Incorporating a reference track during each session can also help maintain tonal clarity—think of it as your audio GPS! Furthermore, standardizing software and plugins can streamline mixing; fewer surprises mean smoother workflows. Don’t forget the significance of warm-ups! Establishing a routine boosts vocal performance, making recordings even more consistent. So, whether you’re tracking the next hit or just laying down ideas, these techniques are crucial for achieving professionalism in every session. Using a cardioid pickup pattern helps minimize unwanted background noise while maintaining focus on the primary audio source.
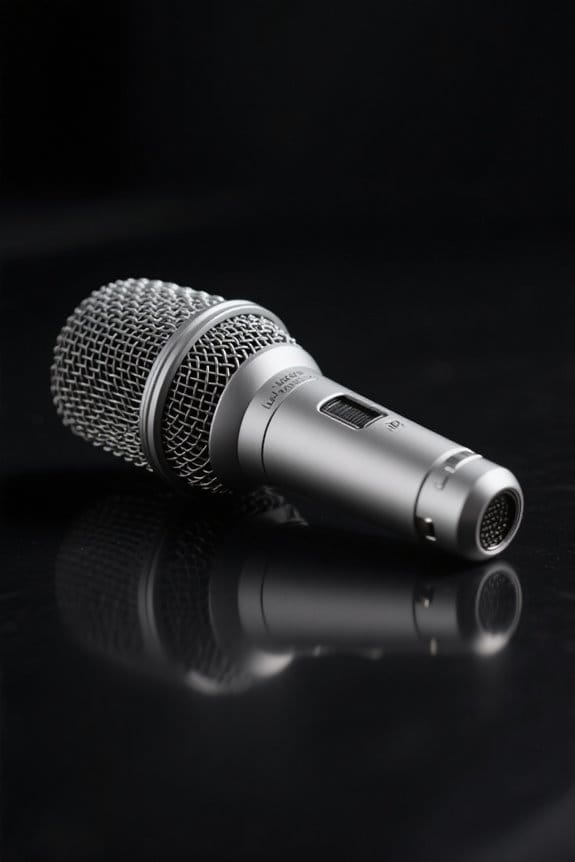
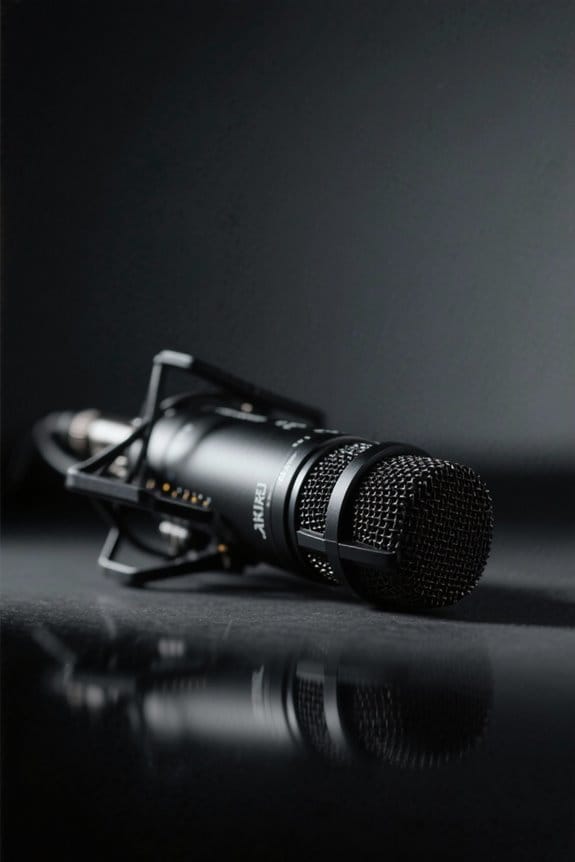
Utilizing the Same Microphone

When aiming for that polished audio sound, sticking with the same microphone can be a game-changer. Utilizing one specific microphone during recording sessions helps maintain a consistent sound character and tonal quality. Every microphone has its unique frequency response, so switching it up can lead to unwanted variances in sound. For instance, if a singer uses a dynamic microphone at a distance of six inches versus a condenser mic at three, the results can be dramatically different. Keeping the same mic placement also boosts audio consistency. Familiarity breeds optimization; knowing your microphone allows for better performance and less post-processing later. So, unless you really want to confuse your listeners, stick with your trusty mic! The Shure SM58’s balanced response makes it particularly reliable for maintaining vocal consistency across multiple recording sessions.
Recommended Products

[Authentic Sound Integrity] Experience natural sound reproduction with the podcast microphone with boom arm to preserve the audio sound without distortion. The XLR dynamic microphone boasts a SPL of 130dB, delivering original and consistent recordings. Cardioid pattern reduces ambient noise, ensuring your voice takes center stage, free from distracting background sounds. (For better input volume, record within 2'' to 6'' from the dynamic microphone. )

Optimized Vocal Reproduction: Crafted for excellent vocal performance, the PM-25 vocal microphone features a specially tuned EQ curve with warm, full-bodied lows and naturally bright highs. The balanced, neutral tone lets your voice sounds exactly as it should—rich, authentic, and expressive. With a wide dynamic range, this studio microphone captures every nuance, preserving the soul and power of your voice

With Cardioid Polar Pattern
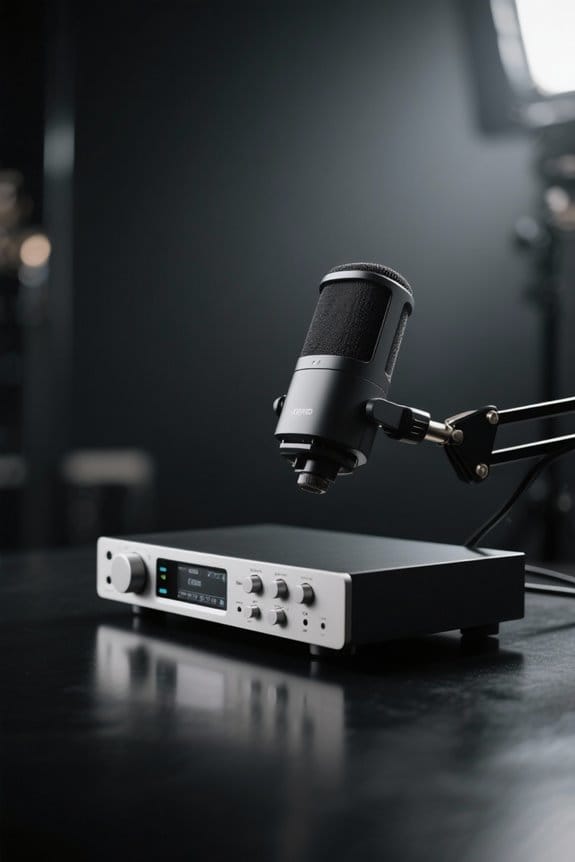
Maintaining Recording Environment Consistency

While it’s easy to overlook, the recording environment plays a significant role in shaping audio quality. For maintaining recording environment consistency, attention to acoustics, mic placement, and background noise is essential. Using the same microphone and audio interface minimizes changes in tonal quality, making sessions feel like a breeze. It’s like using your favorite coffee mug—familiarity is comforting! Controlling temperature and humidity also helps stabilize your sound, so avoid recording in a sauna! Consistent sound isolation methods, like acoustic panels and bass traps, enhance noise reduction, leading to clearer recordings. For optimal performance, select acoustic panels with NRC ratings above 0.9 to effectively minimize echoes and improve sound clarity. Documenting your setups, including equipment and environmental conditions, simplifies future sessions. It’s the guidebook you didn’t know you needed. With these tips, you’re well on your way to better audio!
Recommended Products

Purpose-Built for Trihedral Ceiling Corners – Designed for the three-surface junction where two walls meet the ceiling, placing deep porous foam at a common low-frequency buildup point.

Acoustic Principle- Bass Trap is a kind of sound absorbing structure specially used to absorb specific low-frequency standing wave. It is a special acoustic processing device installed in the corner and ceiling. It is perfectly good for improving the low frequency response, eliminating or delaying the standing wave, making the sound much clearer, and improving the quality of sound system.

Upgraded Density: Our bass traps now have an updated density 30 kg/m^3 to help eliminate low-frequency sounds created by speakers when you are podcasting, practicing a musical instrument, watching movies, or creating music to improve the purity of sound.
Consistent Level Settings for Balanced Audio
Audio consistency is like a well-tuned orchestra, where every instrument plays in harmony. To achieve this, consistent level settings during recording sessions are essential. Keeping a steady volume level prevents distracting jumps in loudness, offering listeners a smoother experience.
Using dynamic compressors can help balance softer and louder segments, allowing them to blend seamlessly. It’s also a smart move to have a loudness meter during mixing—it’s like having a visual guide, making adjustments easier.
Furthermore, establishing a template with predefined level settings can save time and guarantee that each session follows your desired sound management plan. So, don’t let audio inconsistencies throw your listeners off-key; keep that symphony flowing! Using oxygen-free copper cables can significantly enhance signal clarity and maintain consistent audio quality across recording sessions.
Recommended Products
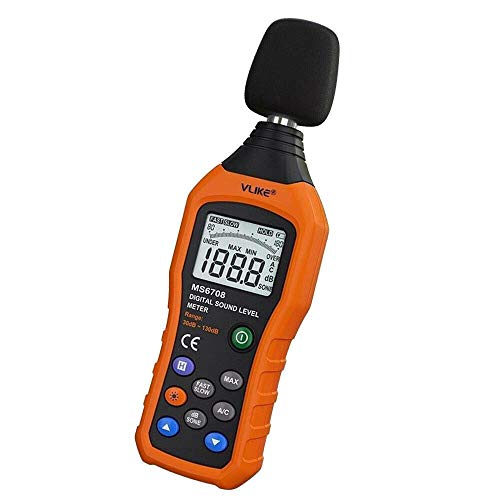
The sound level meter is an instrument used to real-time measure the sound level,such as sound level around factories,workshops,schools,residential,offices,road,audio etc (Battery not include), Can not keep and generate a report directly from the device

Sound db meter calibrated at factory, noise measurement range from 30 - 130dBA, accuracy: ±1.5dB, resolution: 0.1dB. Disable the automatic off function, sound meter can continuously measure noise value

USEFUL TOOL IN YOUR WORK & LIFE – This sound level meter is a great tool for checking, monitoring or controlling the sound level of any environments. It is widely applicable for personal, families, business, studies, industrial and etc.
Normalization and Cleanup of Audio
Achieving consistent audio goes beyond just setting levels; it also involves normalization and cleanup techniques. Normalization adjusts the average loudness across recordings, creating a balanced listening experience that avoids jarring volume shifts. Clean audio tracks are essential, so applying noise removal techniques can zap unwanted background sounds that commonly disrupt clarity. Want softer lines to shine? A dynamic compressor can amplify those without distorting louder sections—magic! Adding fade-in and fade-out effects makes shifts smoother, contributing to polished audio. Regularly using precision tools like the Draw Tool or Repair Tool allows for careful corrections while keeping the original sound intact. Remember, a little cleanup goes a long way—after all, nobody wants to hear that “oops” in their favorite podcast! For optimal vocal clarity, aim for recordings with a 48kHz sampling rate to capture the full range of human speech frequencies.
Tools for Refining Consistency
Consistency in audio can feel like a tricky puzzle to solve, but thankfully, there are plenty of tools out there to help piece it all together. Software like Celemony Melodyne can adjust pitch for vocal consistency across audio clips, though it’s a bit much for tiny discrepancies. Keeping a steady distance and angle from the microphone, along with using dynamic compressors, can smooth out varying volume levels in different recordings. Let’s not forget warm-up routines, like reading aloud, which enhance vocal steadiness. Finally, digital audio workstations (DAWs) with solid editing features can effectively clean up audio clips, removing noise and normalizing volume levels. With these tools, consistency is a lot more achievable—and maybe less of a head-scratcher! Using an interface with zero-latency monitoring capabilities allows you to hear and adjust your audio in real-time, preventing inconsistencies before they make it into your recording.
Managing Project Complexity and Workflow
When tackling audio projects, managing complexity can sometimes feel like trying to herd cats—chaotic and a bit tricky! To achieve consistency across multiple sessions, organizing audio files methodically is key. This helps streamline navigation and reduces confusion, especially when juggling numerous tracks. A consistent naming convention for files and tracks makes it a breeze to locate specific elements. Additionally, don’t hesitate to render or freeze tracks to boost system performance, particularly with high track counts. Using templates with pre-set markers can enhance workflow efficiency, too. Finally, keep an eye on system resources during recording sessions—timely adjustments can prevent disruptions and keep creativity flowing. Remember, a little organization goes a long way in the audio world! Incorporating zero-latency monitoring during recording provides real-time feedback and helps maintain consistent performance quality across sessions.
Community Feedback and Best Practices
While it may feel intimidating to nail down the perfect audio consistency across various sessions, community feedback can offer a treasure trove of insights. Engaging with online forums lets creators swap stories and tips on achieving that coveted audio uniformity. Feedback from peers can pinpoint tonal balance issues and volume discrepancies, which often go unnoticed. Establishing a hierarchy for mix elements guarantees critical aspects shine through clearly. Utilizing standardized templates is like giving your sessions a cheat sheet, streamlining the mixing process while guaranteeing a consistent approach. Collaborating with a supportive group gives producers access to effective techniques and tools, particularly for those pesky challenges that may arise from juggling multiple recordings. Plus, who doesn’t love a bit of community vibes? Having noise reduction technology in your recording setup helps maintain pristine audio quality by minimizing unwanted background interference across different sessions.
Continuous Improvement Through Practice
Practicing voiceover skills regularly can work wonders for achieving that smooth audio flow everyone hopes for. Continuous improvement in sound quality often stems from dedicated practice. Voice artists should consider spending at least thirty minutes warming up their voices before recording. This routine helps stabilize pitch and tone, reducing inconsistencies across sessions. Short, consistent practice sessions also relax vocal cords, making it easier to replicate that polished sound. Unlike amateurs who rush through recordings, taking time to refine technique is key. Artists can further analyze their performances by employing muting techniques to pinpoint discrepancies. This way, they make informed decisions that lead to consistent audio. After all, who wouldn’t want their voice to sound like velvet on the ears?
Frequently Asked Questions
What Is the 3 to 1 Rule Sound Recording?
The 3 to 1 rule in sound recording dictates that microphone placement should maintain a distance three times greater from the sound source than between the microphones themselves, minimizing phase cancellation and enhancing overall audio clarity.
How to Have a Consistent Sound When Recording an Album?
To achieve a consistent sound when recording an album, he employed track layering meticulously, ensuring each layer harmonized with the others. His vision shone through, uniting melodies like stars in a clear night sky.
How to Record Audio for Multiple People?
To record audio for multiple people, one must consider proper microphone placement, ensuring consistent positioning and distance. This approach minimizes background noise, captures clear vocals, and maintains even sound quality throughout the recording session.
How to Make Vocal Volume Consistent?
Seventy percent of audio engineers cite fluctuating vocal volume as a primary mixing challenge. Employing vocal techniques like dynamic compression and normalization can effectively create consistency, ensuring a professional sound that retains listener engagement throughout recordings.