As an Amazon Associate, we earn from qualifying purchases. Some links on this site are affiliate links at no extra cost to you. Our recommendations are based on thorough research and editorial judgment.

What Causes Microphone Feedback and How to Prevent It
Microphone feedback happens when sound from speakers gets picked up by the mic, creating that screechy noise we all love to hate. To prevent it, keep mics 6-10 feet away from speakers, and use directional mics that focus on voices. Don’t forget to mute unused mics, and consider using high-pass filters to cut low frequencies. Remember, a little fine-tuning goes a long way. Curious about other tips to keep your sound smooth? There’s more to discover!
Key Takeaways
- Microphone feedback occurs when sound from speakers reenters the microphone, creating a screeching loop due to recirculation of sound.
- Improper placement of microphones near loudspeakers increases the likelihood of feedback; maintain a distance of 6-10 feet when possible.
- Utilize directional microphones aimed at sound sources to reduce pickup of ambient noise and minimize feedback risks.
- Implement feedback suppression technology that analyzes sound levels for real-time adjustments and cuts problematic frequencies.
- Regularly monitor sound levels and reassess equipment positioning to maintain a balanced sound environment and prevent feedback issues.
Understanding Microphone Feedback
Microphone feedback can be a real headache, especially during live events. It happens when sound from speakers gets picked up again by the microphone, creating that annoying, screeching loop. To avoid microphone feedback, consider the headset position and room acoustics, as they play a vital role. Room dimensions can amplify specific frequencies, making feedback worse. Choosing the right microphone matters too—directional microphones, like cardioid models, help reduce feedback by picking up sound more selectively. Using high-pass filters can cut out those low rumblings, too. Plus, controlling microphone placement near loudspeakers is key. Remember to mute any unused microphones to minimize feedback pathways. With these strategies in mind, you can enjoy clearer sound without those pesky interruptions. Modern wireless microphones with active noise reduction capabilities can significantly decrease the chances of feedback during interviews and recordings.
Causes of Microphone Feedback
Feedback occurs when sound circles back from speakers to microphones, but understanding its causes is key to preventing that annoying screech. Microphone feedback often happens due to the recirculation of sound, especially in environments like concert halls where certain reflective surfaces amplify feedback frequency. Improper microphone placement, such as positioning too close to speakers, can easily cause feedback. Additionally, when the frequency response of the microphone doesn’t match the loudspeaker, feedback occurs more frequently. To control feedback, using a cardioid microphone is advisable, as its directional nature reduces susceptibility compared to omnidirectional mics. Finally, remember that the room’s geometry can also intensify or lessen feedback issues—an unexpected twist in your audio setup saga! Using high-density acoustic foam behind your microphone can significantly reduce unwanted sound reflections that contribute to feedback.
Correct Microphone Placement

Finding the right spot for a microphone can make or break a performance. Proper microphone placement is essential for clarity, especially when it comes to avoiding feedback. Positioning microphones close to the sound source minimizes background noise, leading to better sound quality. Directional microphones, like cardioid or supercardioid models, should be aimed toward performers and away from loudspeakers. Keeping microphones 6-10 feet away from these speakers greatly reduces feedback risks. Additionally, it’s wise not to place microphones directly on stage near loudspeakers. Instead, angle them smartly, using audio null points to enhance ideal placement. So, remember: a little distance goes a long way in the world of sound. Your audience—and your ears—will thank you! The Shure SM58 microphone offers excellent feedback rejection through its cardioid pattern design, making it a trusted choice for live performances.
Recommended Products

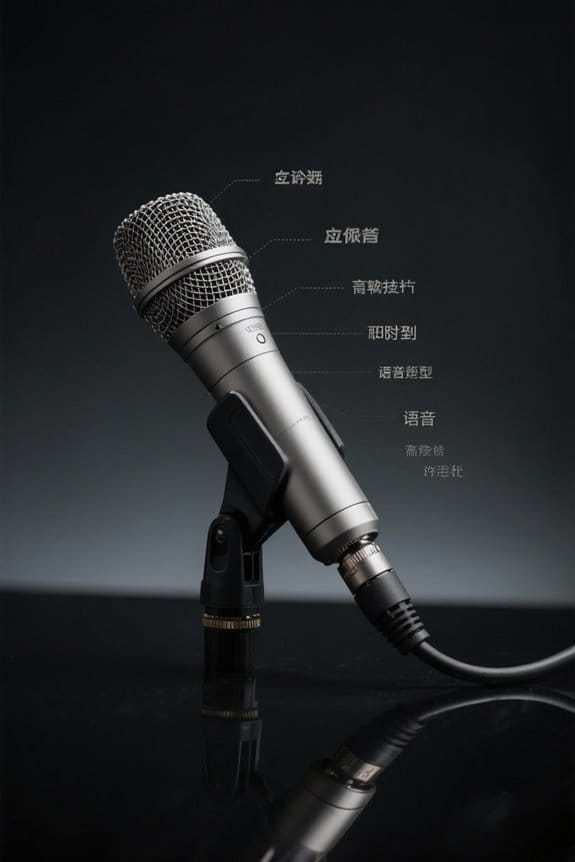
EXCEPTIONAL VOCAL CLARITY: This vocal microphone has a cardioid pickup pattern that isolates the main sound source while minimizing background noise and feedback, delivering clear and crisp vocal reproduction

LEGENDARY VOCAL CLARITY: A finely tuned frequency response with subtle midrange lift delivers warm, articulate vocals that cut through any mix, offering the unmistakable sound quality that has defined professional stages and studios for generations

LEGENDARY VOCAL CLARITY: With a tailored frequency response and enhanced midrange, the SM58-CN delivers vocals that cut through the mix, warm, crisp, and full of presence whether you’re singing lead, speaking on stage, or recording in the studio.
Speaker Placement Considerations

How essential is speaker placement in preventing unwanted audio feedback? Proper speaker positioning is key to reducing feedback. Position speakers as far away from microphones as possible—ideally, at least twice the distance from the sound source. This spacing minimizes feedback loops. Avoid placing speakers at head height or directly on stage; this increases the risk of microphones picking up sound and re-amplifying it. Instead, angle speakers toward the audience, boosting sound quality while lowering feedback chances. Remember, the venue’s acoustic properties affect sound behavior considerably. Using acoustic panels can help balance reflections. Models with a supercardioid pickup pattern excel at minimizing background noise and reducing feedback potential. Regularly reevaluating speaker placement will fine-tune audio clarity and considerably reduce feedback, creating a better listening experience for everyone involved. Sounds easy, right? Just a little planning goes a long way!
Recommended Products

Enhanced Sound Clarity: Saiqiang speaker isolation pads can reduce vibrations and resonance, providing cleaner, more accurate sound from your studio monitors. Speaker pads size: 8" X 6.3" X 1.4" for 3-5 Inches Speakers

【ADVANCED VIBREDUX HD FOAM】: Experience the acoustic excellence of Vibredux HD foam with Ekkogo's Studio Monitor Isolation Pads. Perfect for bookshelf speaker stands and desktop speaker stands, they offer superior sound proof foam for audio clarity.

ENHANCES AUDIO PERFORMANCE: This sound isolation pads for speakers studio monitor and subwoofer, isolates any vibration generated from the speakers or the desk up. Gives your audio clarity much better, bring you a better sound.
Utilizing Directional Microphones

Proper microphone selection can greatly enhance audio quality, especially in environments where clarity matters most. Directional microphones, like cardioid and hypercardioid types, considerably reduce feedback by focusing on sound from the front while rejecting noise from the sides and rear. This is super handy in live settings, where loudspeakers are present. By properly angling and positioning these microphones away from the speakers, you can capture the intended audio while minimizing feedback loops. The proximity effect can boost low frequencies when the mic is close, but high-pass filters can help manage that extra boom. Utilizing directional microphones in reflective spaces improves audio clarity considerably, making them a solid choice over omnidirectional models. Who needs more feedback in their life, right? The TONOR TC-777 microphone features a cardioid pickup pattern specifically designed to capture clear vocals while minimizing unwanted ambient noise.
Recommended Products

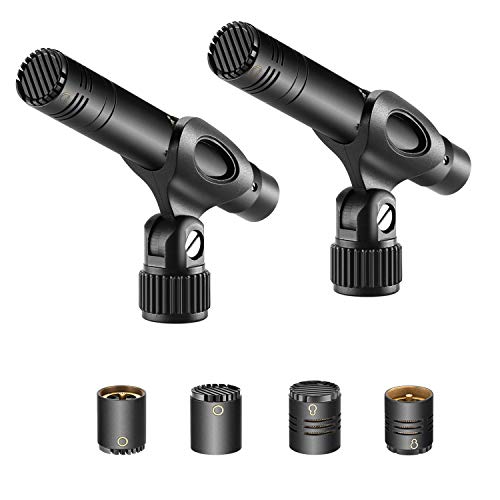
INTERCHANGEABLE CAPSULES THREE DIRECTIOANS: Includes cardioid, omni and super capsules for use in virtually most recording situation. You can get the sound you want, whether its subtle nuances of a studio recording or the dynamic sparkle of a live orchestra. Easy to mount and remove

TECHNICAL SPECIFICATIONS - Dynamic Mic Element, Uni-Directional, Zinc Alloy Body, 50Hz-15KHz Frequency, 600 Ohm Impedance, -54dB Sensitivity, Dimensions: Φ1.96'' x 6.41'', Weight: 1.48 lbs, Includes XLR Cable - Passive Design, No Power or Batteries Required, No On/Off Switch Needed: Simply Plug the XLR Cable In and Start Using Immediately
Techniques to Eliminate Feedback
Eliminating feedback during live performances can feel like an uphill battle, but with the right techniques, it becomes a manageable task. First, always mute unused microphones; open mics can become feedback monsters. Next, use directional microphones, like cardioid or supercardioid types, which focus on sound sources and ignore pesky speakers. Keep microphones close to the sound source—this limits volume and reduces feedback risk. Try the “ringing out” technique, where you slowly increase the main fader to pinpoint feedback frequencies, then use a graphic EQ to cut those frequencies. Finally, implement high-pass filters within your EQ settings to snuff out low-frequency sounds that often feed the feedback frenzy, especially with lavalier microphones. Trust these tips, and you’ll be a feedback-fighting hero! Consider using interfaces like the RDECaster Pro II which offers advanced processing tools including noise gates and EQ adjustments to help minimize unwanted feedback during recordings.
Employing EQ to Remove Feedback Frequencies
Steering through the world of equalization (EQ) can feel like decoding a secret language, but it’s an essential tool for any sound engineer looking to tackle microphone feedback. Knowing that feedback pitch often peaks between 250Hz to 500Hz (think hoots and howls) and above 2kHz (hello, screeches) is vital. High-pass filters can work wonders by managing low frequencies, reducing that unwanted low-end buildup that amplifies feedback. The “Ringing Out Technique” helps, too—raise the system level until feedback hits, then cut those offending frequencies using a graphic equalizer. Just remember, while you’re busy attenuating troublesome frequencies, be cautious—too much cutting can seriously mess with overall sound quality, and we don’t want any bad vibes at your next event!
Recommended Products
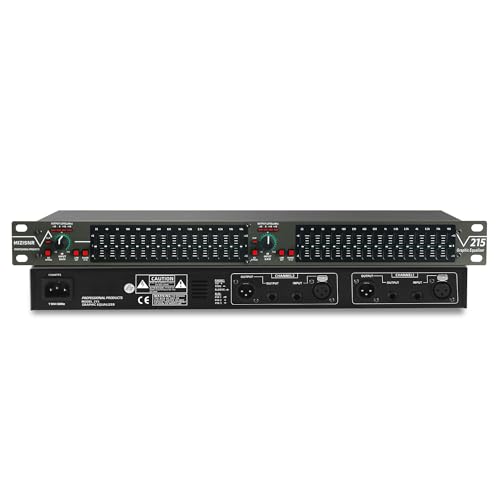
Professional Dual Channel Stereo Graphic Equalizer: Experience top-tier audio quality with this professional-grade dual-channel stereo graphic equalizer, designed to deliver an exceptional audio experience for audiophiles and professionals alike.

【Exceptional Audio Quality】Features one-button operation for instant activation. The system automatically detects and suppresses acoustic feedback in real-time, preventing up to 99% of howling and squeal for clear, uninterrupted audio

Featuring: Adjust gain Control / Output level Display/ EQ Slide Control / Subwoofer Xover Points / Subwoofer Switch
Utilizing Feedback Suppression Technology
While it’s often tempting to rely solely on manual adjustments, feedback suppression technology has made significant strides in simplifying the sound engineering process. Many modern mixers, like the Allen & Heath CQ Series or Yamaha DM Series, boast automatic feedback suppression that can identify problematic frequencies with just one button press. These systems analyze sound levels continuously, allowing sound engineers to minimize the potential for feedback during performances. By intelligently amplifying specific frequencies while cutting others, they create a balanced sound environment even in challenging acoustic spaces. This means, when a microphone is re-amplified, the risk of disruptive feedback is dramatically reduced. With such tools available, it’s almost like having a personal sound engineer on standby—without the need for coffee breaks! For optimal results, consider interfaces that support high-resolution audio capabilities of 24-bit/192kHz to ensure crystal-clear sound reproduction without unwanted feedback.
Recommended Products

【Intelligent Audio Processing】One-key startup activates the howling suppression function immediately. The 6.0 suppressor detects audio howling signals in real time, quickly and accurately suppresses feedback, and preserves the original sound quality of vocals and music without distortion.
4-IN-1 Line mixer for audio sources: this Compact 4-channel Line Mixer Supports Up To Multiple Audio Sources—Such As Electronic Drum , Electric Keyboards, Electric Guitar ,Computers, CD Players, or Gaming Consoles—and Mixes Them Into a Single Stereo or Mono Output. Ideal As a Mini Mixer for Expanding Your Audio Setup or Building a Basic Mixer System

【Audio device connection】The 4 Channel Audio Mixer is features USB audio interface, XLR, and 6.35mm jack, with a+48V phantom power button for microphone/line/guitar/bass/keyboard input. All channels support 3-channel equalizer, ultra-low noise, simple functionality, suitable for professionals and music enthusiasts.(Note: Condenser Mics Require +48V Phantom Power).
Additional Best Practices to Prevent Feedback
Even with advanced feedback suppression technology, sound engineers must still adopt best practices to minimize feedback. To effectively reduce feedback, position microphones as far away from loudspeakers as possible. This simple step helps prevent annoying feedback loops. Utilizing directional microphones, like cardioid or supercardioid, is another smart move, as they focus on specific sound sources while rejecting background noise, lowering feedback risk. Regularly muting unused microphones during events is essential for managing sound clarity. Implementing high-pass filters can also help cut out unnecessary low frequencies that can contribute to feedback issues. Finally, teaching performers ideal microphone handling techniques, like maintaining the right distance and angle, can make a big difference in reducing feedback. After all, no one wants a surprise concert solo from that pesky mic! Using a weighted metal base stand with rubber feet helps minimize unwanted vibrations that could contribute to feedback during recording sessions.
Frequently Asked Questions
How Do You Prevent Mic Feedback?
To prevent mic feedback, one should optimize sound settings, guarantee proper microphone positioning, manage volume levels, employ acoustic treatment, position speakers correctly, verify device compatibility, and maintain high cable quality to enhance audio clarity and stability.
What Creates Mic Feedback?
Mic feedback occurs when sound waves from speakers re-enter a microphone, creating a feedback loop. Factors include microphone gain, speaker placement, inappropriate volume levels, and the acoustic environment, all influencing audio routing and feedback potential.
How to Solve Feedback Problems?
To solve feedback problems, one must address ghost frequencies and sound reflections, optimize speaker placement, minimize excessive gain, adjust mic distance, implement acoustic treatment, and mitigate wireless interference for clearer audio quality.
How Do I Stop My Mic From Picking up Other People’s Voice?
To stop a mic from picking up other voices, utilize directional microphones with close mic positioning, implement noise gates, use proper volume control, and consider soundproofing techniques, like acoustic treatment and headphones during recordings or performances.