As an Amazon Associate, we earn from qualifying purchases. Some links on this site are affiliate links at no extra cost to you. Our recommendations are based on thorough research and editorial judgment.

Best Practices for Outdoor Location Recording With Lavalier Mics
For outdoor recording with lavalier mics, placement is key! Position the mic about a hand’s width from the mouth, using gaffer tape to keep it secure. Consider various hiding spots, like clothing seams or hair, to mask visibility while maintaining sound quality. Don’t forget to use windshields to cut down on gusty noises. Testing gear before rolling is essential; even a small rustle can ruin your take! Stick around for more tips on mastering audio outdoors!
Key Takeaways
- Position lavalier mics about a hand’s width from the mouth for optimal sound clarity and minimal background noise interference.
- Secure mics with strong gaffer tape, using strain relief loops below to reduce cable tension and movement sounds.
- Conceal mics by matching colors to clothing and using creative hiding spots, ensuring audio quality remains intact.
- Employ windshields and test equipment beforehand to mitigate wind noise and avoid audio issues during the recording.
- Engage talent in pre-production discussions for effective mic placements, comfort, and feedback during recording sessions.
Understanding Lavalier Microphones
Lavalier microphones, or lapel mics as they’re casually known, are the unsung heroes of audio recording. Designed to be clipped discreetly on clothing, these small devices excel in interviews and presentations, faithfully capturing dialogue. A key aspect of using a lavalier microphone is mic placement; securing it over the sternum strikes a balance between sound quality and minimizing clothing rustle. Remember, placing it too far under clothing might result in muffled audio or a loss of clarity, which nobody wants. For easy attachment, most lavalier mics come with clips and adhesive options. Just remember to route the cable neatly to avoid any pesky movement noise. With the right mic placement, your recordings can sound professional and clear, making you sound like a pro! For optimal audio quality in professional settings, consider pairing your lavalier with digital predictive switching technology found in high-end wireless systems to enhance signal stability.
Importance of Mic Placement

When it comes to outdoor recording, mic placement is everything. Proper positioning of a lav mic can make or break your audio quality. Ideally, place the mic capsule over the talent’s sternum for balanced sound. Keep it about a hand’s width from the mouth; this helps maintain a strong signal-to-noise ratio while minimizing background chatter. Mount the mic upside down to combat those pesky plosive sounds from letters like T and P. If you’re tucking it into clothing, do it thoughtfully to prevent rustling yet keep high frequencies intact. And hey, don’t forget to check and adjust mic placement as conditions change! Remember, a little shift could mean a world of difference! Using a mic with noise reduction technology that offers at least -30dB wind reduction will significantly improve your outdoor recordings.
Techniques for Securing Lavalier Mics

Securing a lav mic properly can make a significant difference in audio quality during recordings. Start by using strong gaffer tape to keep the mic capsule securely inside clothing, reducing visibility and movement noise. For added stability, consider using strain relief loops below the mic to decrease cable tension, which helps prevent any rustling during action-packed scenes. If you’re working with a T-shirt or fabric without edges, a vampire clip can work wonders, keeping the mic in place while it stays discreetly hidden. Also, innovative mounting solutions like the RØDE invisiLav help enhance stability and absorb unwanted noise. Regularly check mic placement to guarantee it remains unobstructed by clothing. Remember, squeaky sounds can ruin a great take! Using windshields and windscreens is essential for reducing unwanted wind noise when recording outdoors.
Recommended Products

Digital 24-bit/48 kHz wireless operation for ultimate sound quality and dependable performance
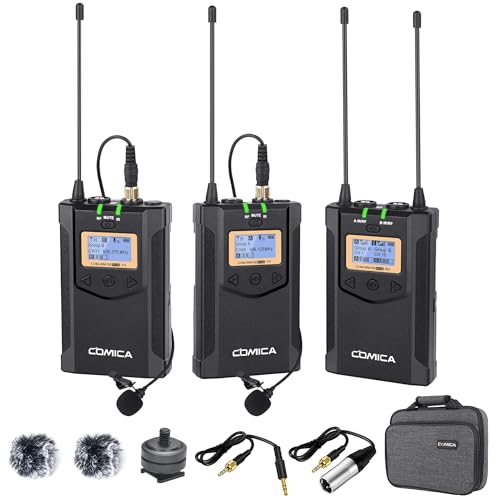
【Wide Compatibility】CVM-WM100 PLUS Wireless Lav Mic is equipped with a 3.5mm TRS output cable and an XLR output cable for DSLR cameras and camcorders. Wide used for YouTube recording Facebook Tiktok Livestream, Interviews, Wedding, Church, etc.

[INCREDIBLY SMALL] Weighing just 9g, LARK M2 wireless lavalier microphone is the lightest mini microphone on the market. With its lossless sound reproduction and top-of-the-line recording capabilities, it brings you unmatched recording performance. The wireless audio transmission can reach up to 1,000ft line-of-sight range. Perfect for filmmakers, vloggers, and podcasters.
Strategies for Concealing Lavalier Mics

Finding clever ways to conceal lavalier mics can really take your audio game up a notch. To effectively hide the microphone, use strong adhesive tape—like gaffer or medical tape—to secure the lav mics on clothing, which minimizes movement noise. Try creating a strain relief loop below the mic to reduce rustling sounds too.
Color matters; match the mic to the talent’s clothing or skin tone, choosing shades like beige, brown, or black for camouflage. Soft rubber mounts, such as the RØDE invisiLav, can also help absorb vibrations and keep things discreet. Don’t be afraid to get creative with hiding spots—think hair or costume seams—but remember, total concealment might lessen audio quality. Who wants that? For optimal outdoor recording, consider microphones with dual-layer windproof foam to enhance clarity and minimize environmental noise interference.
Managing Ambient Noise in Outdoor Settings

How can audio engineers guarantee clarity amid the chaos of nature? To tackle ambient noise in outdoor settings, placing lavalier mics as close to the subject’s mouth as possible is essential. This step improves the signal-to-noise ratio—fewer pesky background sounds. Consider using dynamic lav mics, too; they’re less sensitive to distant noises than condenser mics. Oh, and don’t forget a furry windshield! It’s a lifesaver against wind noise, keeping your audio crisp. Recording ambient sounds separately can help mix dialogue and nature sounds effectively later on. Finally, always monitor those audio levels. Avoiding peaking during sudden noises will keep your dialogue as clear as spring water, allowing your listeners to hear every juicy detail without distractions. For optimal vocal clarity in outdoor environments, consider using mics with a cardioid pickup pattern to effectively isolate the subject’s voice from surrounding environmental noise.
Recommended Products

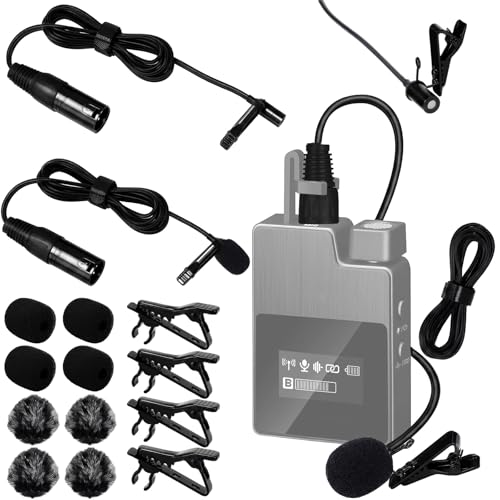
One-Click Noise Cancellation & Muting: TTQ wireless lavalier microphone features a cutting-edge DSP denoise chip, which provides effective environmental noise cancellation, and makes your video voice clear and clean. Eliminate noise or mute with one press, and finish shooting more easily.

FOUR CHANNELS DESIGN: With the wireless microphone system, you can connect to four microphones simultaneously, and easily control the volume of each mic individually. The selectable frequency bands (510 to 560 Mhz) and 25 adjustable channels provide you with versatile options
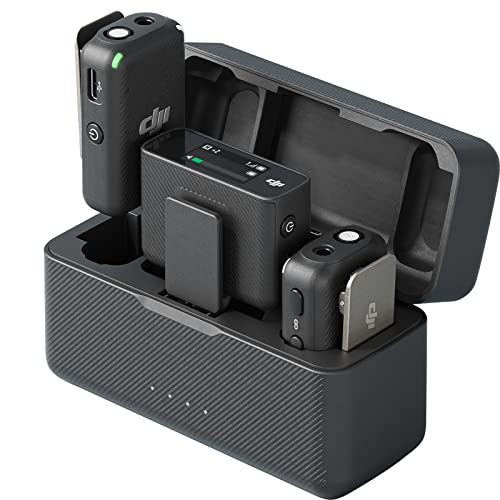
All-In-One Storage, Ready to Use - An all-in-one design makes it ultra-portable and accessible. Two transmitters and the receiver are pre-linked, charged, and securely stored in the charging case.
Utilizing Windshields for Clear Sound
Often, outdoor recordings can feel like a battle against the elements, but properly utilizing windshields can make a world of difference. These handy tools, made from foam or furry materials, effectively minimize wind noise that would otherwise ruin your sound. Furry windshields are especially good at capturing dialogue clearly, reducing wind turbulence while keeping audio fidelity intact. Choosing the right size for your lavalier mic is essential; a snug fit helps optimize protection against wind without sacrificing sound quality. Plus, remember to position your mic away from direct wind sources—facing a wall can help! Test your windshield’s effectiveness before your recording session. Trust us, the right windshield can save your audio from sounding like a windy day at the beach! For optimal performance, look for windshields with high-density foam materials that are specifically designed to absorb unwanted environmental noise.
Recommended Products

Fur Windjammers are designed to be used under clothing to reduce wind noise and clothing rustle.

MoveMic Furry Windscreen for Wireless Lavalier Microphone, Black
Package Includes: you will receive 4 omnidirectional lavalier microphones, each equipped with a 6.56 ft/ 2 M 3-pin XLR balanced cable, one foam windscreen, and one furry windscreen, suitable for interviews, stage events, conferences, broadcasting, and professional audio systems
Best Practices for Cable Management
While it may seem like an afterthought, effective cable management is essential for achieving high-quality outdoor recordings. Start by securing lavalier mic cables against the talent’s body with clips or by running them along clothing seams. This keeps them hidden and tangling at bay. Bundle any excess cable length using Velcro strips—trust me, those swaying cables can create unwanted noise. Consider fabric sleeves that match the clothing color; they hide the cables like magic! Don’t forget strain relief techniques, like creating a loop below the mic clip, which helps prevent cable pull. Finally, remember to check your cable management regularly during the shoot. Move around a bit, and you’ll see how easily things can shift! For optimal voice clarity during outdoor shoots, use microphones with cardioid pickup patterns to minimize environmental interference while maintaining proper cable placement.
Recommended Products

1.【Lavalier Design】IndoorLink E201 lavalier transmitter features a sleek clip-on design that keeps your hands free and eliminates the hassle of wires. This innovative design sets a new standard in simplicity and style for tour guide systems
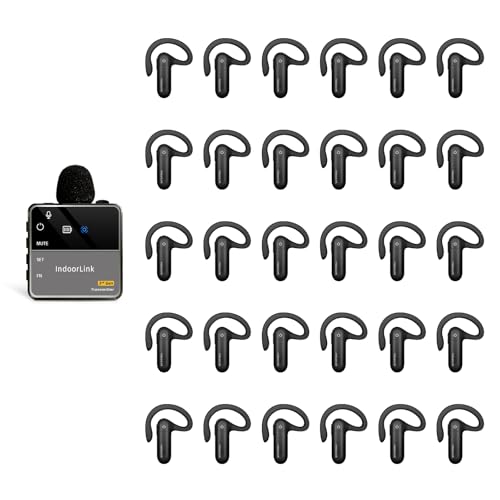
1.【Lavalier Design】IndoorLink E201 lavalier transmitter features a sleek clip-on design that keeps your hands free and eliminates the hassle of wires. This innovative design sets a new standard in simplicity and style for tour guide systems

Includes a dual channel receiver, 2 bodypack transmitters, and 2 omni-directional lavalier microphones
Testing Audio Quality Before Recording
Just because the cables are managed doesn’t mean the audio is perfect yet! Before recording, it’s vital to test the microphone in the actual environment. Ambient sounds can sneak up on you—like wind or traffic. Wearing headphones during tests allows for clearer monitoring, catching mic placement issues or background noise. Record short clips at various distances from the sound source; this helps find the sweet spot for clear dialogue. Don’t forget to move around, mimicking the talent’s actions to check for rustling noises. Also, compare wired and wireless mics to gauge signal strength—especially outdoors where obstructions may cause dropouts. Remember, a few minutes of testing can save hours of frustration later! Consider using a protective hard case for your recording equipment when testing in unpredictable outdoor environments to safeguard against moisture and impacts.
Recommended Products

FCC certified; church translation system can quick and easy device pairing; 12-18h working time; 99 channels allow multiple groups to operate simultaneously in the same area with no cross-talk or interference; Note: remove the white sponge when charging

【50H Ultra-Long Battery Life】The receiver of earhook tour guide system boasts a battery life of up to 50 hours; equipped with a 450mAh battery that can be fully charged in just 3 hours
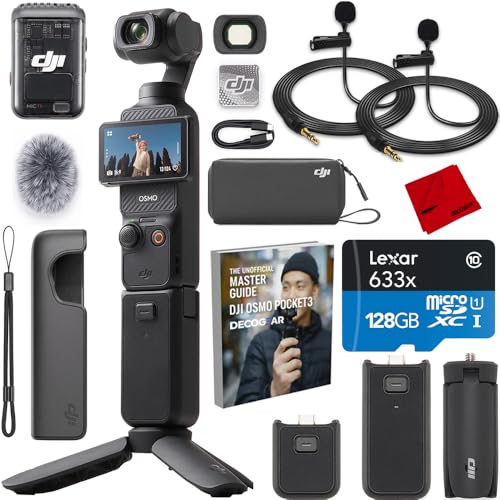
DJI USA Authorized - Full USA Protection | OSMO Pocket 3 - Capture Stunning Footage - This vlogging pocket gimbal camera features a 1-inch CMOS sensor and records in 4K resolution at an impressive 120fps. Capture breathtaking night views and sunsets with enhanced clarity. | Effortlessly Frame Your Shots - Get the ideal composition with Osmo Pocket 3's expansive 2-inch touch screen that rotates for both horizontal and vertical shooting.
Collaboration With Talent for Optimal Setup
Collaboration with talent is essential for achieving outstanding audio quality in outdoor recordings. Engaging in thorough pre-production discussions helps to pinpoint the best mic placements. This minimizes noise interference while maximizing sound capture. A fitting session allows talent to test various placements, guaranteeing comfort and effectiveness. Talent can also share thoughts about hiding the mic, addressing visibility concerns. Open communication during recording guarantees everyone feels at ease and can voice discomfort. Provide wardrobe guidance, suggesting fabrics that don’t rustle, as these could disrupt clear audio. Encourage relaxed movements and feedback on mic performance to boost overall sound quality. This teamwork makes a world of difference in creating a smooth, professional recording without the weird “rustle” interruptions. Consider microphones with active noise reduction capabilities to further enhance audio clarity in challenging outdoor environments.
Experimentation With Different Placement Techniques
Finding the right mic placement can be a game changer for outdoor recordings. Positioning the lavalier at sternum level often yields excellent sound quality, avoiding muffled recordings caused by clothing layers. Don’t forget to experiment with fastening techniques—using adhesive tape or vampire clips can secure the mic while cutting down on unwanted rustle.
For an extra stealthy approach, placing the mic under hair or at the brim of a hat can help. These techniques also limit fabric noise, perfect for outdoor settings. And remember, adjusting the mic based on clothing styles or environmental sounds is key. Regularly monitoring recordings through headphones helps adjust mic placement, ensuring clear dialogue while capturing a bit of that sweet ambient sound! Modern lavalier mics with AI noise cancellation features can significantly improve audio quality when dealing with challenging outdoor environments.
Learning From Community Experiences
While exploring outdoor recording, many find that learning from community experiences can be incredibly valuable. Sound professionals emphasize testing lavalier mic placements beforehand, ensuring clarity while reducing background noise. Many users recommend adding windscreens—like mole skin—to lav mics, combating wind noise effectively. By separating dialogue and environmental sounds into different tracks, participants in audio discussions advocate for better management of their recordings. The success stories shared reflect the choice between dynamic and condenser mics; dynamic mics are great for minimizing background noise, while condenser mics capture a richer sound spectrum. Collaboration with fellow sound enthusiasts can be essential, too, especially when troubleshooting unexpected noise. After all, who doesn’t need a buddy on bad audio days?
Frequently Asked Questions
Where Should a Lavalier Mic Be Placed?
Lavalier mic placement should focus on strategic positioning, ideally around the middle of the sternum. Effective sound capture techniques include securing the mic on outer layers and experimenting with upside-down placement to minimize distortion from plosive sounds.
What Is the 3 to 1 Rule for Microphones?
The 3 to 1 rule for microphones dictates that microphone placement should maintain a distance of three times from each sound source to avoid phase cancellation, greatly enhancing sound isolation and overall audio quality in recordings.
What Is One Drawback of Using Lavalier Mics?
One major drawback of lavalier mics is their knack for capturing the delightful symphony of background noise, effectively overshadowing dialogue, which, combined with mobility issues, can seriously dampen overall sound quality. What a charming conundrum!
What Is the Etiquette for a Lav Mic?
Proper lav mic etiquette involves regular maintenance to guarantee peak audio quality, discreet handling during recording, clear communication with talent about mic placement, and thoughtful wardrobe choices to avoid visibility and guarantee comfort throughout the shoot.