As an Amazon Associate, we earn from qualifying purchases. Some links on this site are affiliate links at no extra cost to you. Our recommendations are based on thorough research and editorial judgment.

Step-by-Step Guide to Setting Up Your First Podcast Studio
Setting up your first podcast studio can be exciting! Start by choosing a quiet, small room with soft surfaces to minimize echoes—think carpets and curtains. Next, invest in a quality microphone, like the Audio-Technica ATR2100, and some closed-back headphones for clear sound. Don’t forget good lighting, like a selfie ring light for that flattering glow. Organize your space neatly to keep things flowing smoothly. Stick around to discover more handy tips for creating your podcasting haven!
Key Takeaways
- Choose a quiet, small room with soft furnishings for optimal soundproofing and acoustics.
- Invest in a quality microphone, closed-back headphones, and an audio interface for professional audio quality.
- Position your microphone 2-4 inches from your mouth at a 45-degree angle, using a pop filter to reduce plosives.
- Test all equipment prior to recording and follow a structured outline to maintain focus during episodes.
- Regularly review analytics and adapt your content based on listener feedback to enhance engagement and improve quality.
Choosing the Right Space
When it comes to setting up a podcast studio, picking the right space is essential for achieving great sound quality. Ideally, choose a room with soft surfaces, like carpeting or fabric furniture, to minimize reverb and reduce echo. Rooms that are empty or have hard surfaces, like kitchens, can create echoes that mess with your audio quality—yikes! Opt for quieter locations away from street noise to limit disruptions during recording sessions. Small spaces, such as closets, work wonders for podcasting because their soft materials naturally dampen sound. Soundproofing is another great step for those who can manage it, but don’t sweat it if you’re starting small. Just remember: a little planning goes a long way in your podcasting journey! Consider installing acoustic curtains with removable felt linings to significantly improve sound absorption and create a more professional recording environment.
Soundproofing Your Podcast Studio

After selecting the right space for recording, soundproofing should be the next consideration for any podcaster. Effective soundproofing minimizes external noise and reduces unwanted reverb, which is crucial for professional audio quality. Using acoustic foam panels on walls and ceilings can absorb sound, while DIY methods like hanging blankets serve as budget solutions. Small rooms, like closets, are often ideal due to their soft surfaces eliminating echo. Avoid hard surfaces like kitchens; they’re infamous for amplifying noise! Instead, look for spaces with carpeting or rugs for better acoustics. Investing in soundproofing treatments can enhance your podcast’s audio clarity considerably. Remember, every little detail counts when you’re chasing that perfect sound—no pressure, right? The pyramid groove design found in many acoustic panels effectively reduces unwanted echoes and reverberations while maintaining a professional appearance.
Recommended Products

DESIGN – 6-panel acrylic enclosure with interlocking panel structure
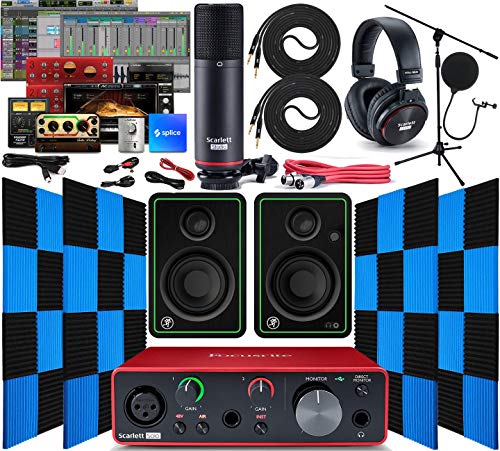
Complete Studio Bundle: Professional-grade Scarlett Solo 2x2 USB audio interface paired with Mackie CR3-X studio monitors and acoustic foam panels for a comprehensive recording setup
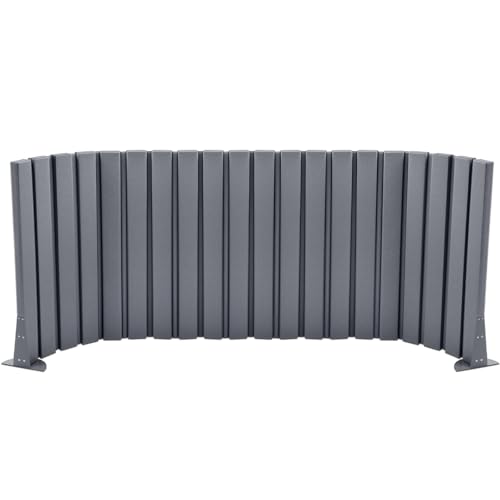
Soundproofing & Privacy:our acoustic room divider panel is crafted with acoustic foam and felt to help reduce noise and create a quieter, more private environment; The foldable design uses flexible, soft materials for safety, ideal for home office, workspace, study rooms, bedrooms, and office use, especially for remote workers, students, and professionals; Improve focus, reduce distractions, and enhance privacy with this freestanding acoustical wall
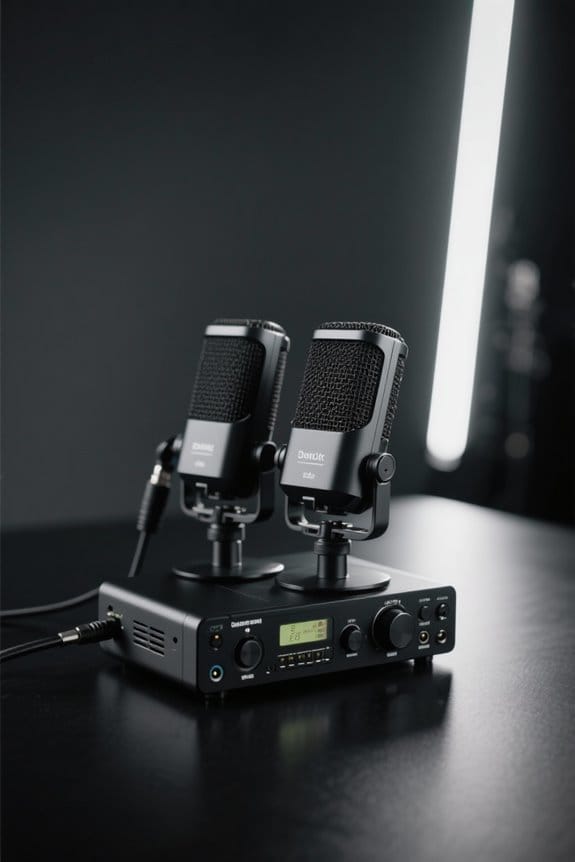
Essential Podcast Equipment

Essential podcast equipment sets the foundation for a successful recording session. A quality microphone, like the Audio-Technica ATR2100 for about $67, is vital for capturing good sound quality. Beginners might even consider a USB mic for simplicity. Closed-back headphones, such as the Sony MDR-7506, allow for accurate audio monitoring without noise bleed. While an audio interface, like the Behringer XENYX502, isn’t mandatory for starters, it can elevate sound quality. Don’t forget acoustic treatment; soundproof foam panels or even blankets can work wonders by reducing echo. Accessories like pop filters and sturdy microphone stands enhance recordings by minimizing plosive sounds. With the right studio setup, your podcast dreams can become a reality—so go boldly, future podcaster! Consider choosing equipment with cardioid pickup patterns to significantly reduce unwanted background noise and focus on capturing clear vocal recordings.
Recommended Products

SPECS - Length: 96" | Width: 80" | Material: Cotton and Polyester with Zig-Zag Stitching | Weight: 12 lbs each | Blanket and Thread Color: Black | Use: Sound Absorption, NOT Sound Blocking or Sound Proofing | NRC Rating: 0.35 | Quantity: (60) Sound Blankets

Three distinct tube microphones at the flip of a switch. FORWARD is bold, present and modern, but never harsh. NEUTRAL is smooth and earthy with a natural balancing of sibilant sounds. GENTLE is dark and sultry with a warm vintage feel, ideal for taming bright or abrasive sound sources.

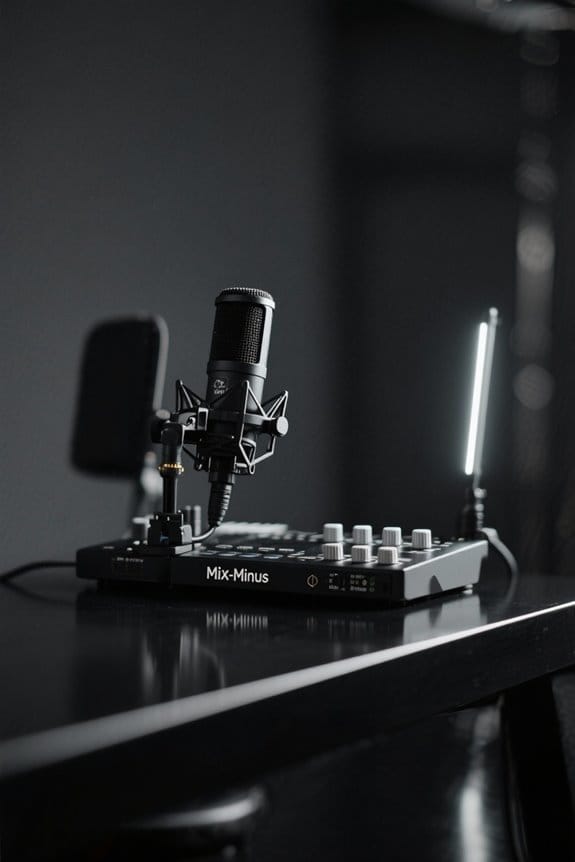
Selecting the Right Microphone
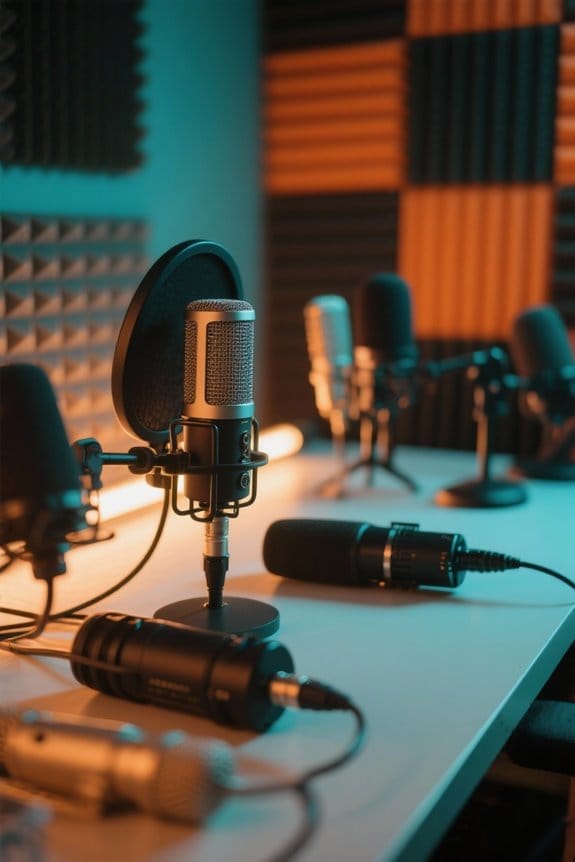
Setting up a podcast studio is like building your own sound oasis, and choosing the right microphone is a key piece of that puzzle. When selecting a microphone, consider budget-friendly USB options like the Audio-Technica ATR2100 for about $67, which provides great audio quality for beginners. For those aiming for professional-grade sound, the Shure SM7B is a fantastic choice at $399, but gear up for extra costs with boom arms and XLR cables. Many podcasters swear by dynamic microphones like the Shure SM-58 for $99 to minimize background noise. If you want something effortless, the Blue Yeti USB microphone at $99 is plug-and-play bliss. Remember, investing in a quality microphone boosts your podcast’s audio clarity and overall professionalism! For optimal recording quality, consider using a cardioid pickup pattern to focus on capturing your voice while reducing unwanted ambient sounds.
Recommended Products
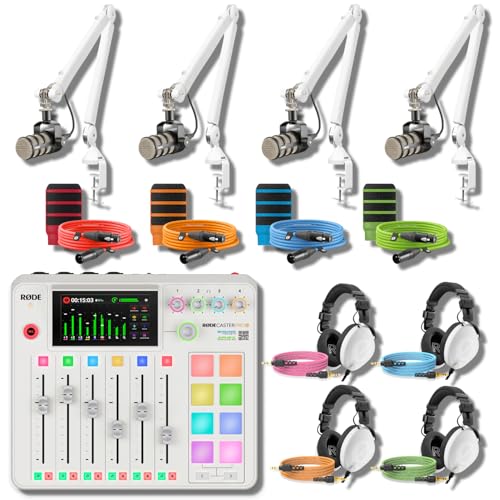
ALL-WHITE 4-HOST RIG — REFERENCE HEADPHONES AT EVERY CHAIR: A multi-host podcast needs more than four broadcast mics on white arms — every host needs studio-grade monitoring, not entry cueing cans. This bundle pairs the RodeCaster Pro II White console with 4 PodMic mics, 4 PSA1+ White arms, 4 NTH-100 White headphones, 4 color NTH cables, 4 color XLR cables, and 4 WS14 pop filters in Orange, Green, Pink, and Blue. Podcast producers and panel hosts — assign a color per host, start recording today.

Fully integrated audio production studio for podcasters, streamers, musicians and content creators

BUNDLE COMPONENTS: Rodecaster Pro II and SM7B Cardioid Dynamic Microphone, Headphones, 10' XLR Cable, 128GB SD Card, Boom Arm, and Dust Cover
Setting Up Your Recording Equipment

Creating an inviting podcast studio requires thoughtful planning around recording equipment. Start with a high-quality microphone, opting for budget-friendly choices like the Audio-Technica ATR2100 for $67 or the versatile Blue Yeti USB for $99. Next, invest in closed-back headphones, such as the Sony MDR-7506 (under $100), to guarantee clear audio monitoring. To enhance sound quality, consider using a USB audio interface, like the Behringer UCA202, to connect XLR microphones. Position your microphone about 2-4 inches away at a 45-degree angle, reducing plosives and harsh peaks. Don’t forget a pop filter to soften those pesky plosives, and a mic stand or boom arm for comfort. With these elements, you’re all set for a fantastic recording setup! For optimal voice capture in noisy environments, select a microphone with a cardioid polar pattern that focuses on sound directly in front while reducing background interference.
Recommended Products

Large-diaphragm FET Condenser Microphone with Cardioid Interchangeable Capsule

Sound profile optimized for vocal performance

Choosing Podcast Recording Software
What software makes recording a podcast as easy as pie? For beginners, user-friendly options like GarageBand are perfect for Mac users, offering built-in audio editing and simple navigation. Audacity stands out as a free software choice, supporting multi-track editing on both Mac and PC—talk about versatile! More experienced podcasters may lean toward Adobe Audition or Ecamm Live for their advanced features, but those come with a price tag—$20/month and $50/month, respectively. When choosing podcast recording software, key features to take into account include local recording capabilities, compatibility with various formats, and ease of editing. High sound quality standards are essential for maintaining listener engagement and podcast success. So, pick software that suits your skill level and watch your digital audio dreams come to life—no PhD in tech required!
Incorporating Visual Elements
Incorporating visual elements into a podcast can elevate the overall experience, especially as audiences increasingly gravitate toward engaging content. A strong visual component, like using a Logitech C920 camera, sharply improves video recording quality. For added flair, a green screen creates versatile backgrounds, making your podcast stunningly engaging. Don’t underestimate proper framing; keeping your shot centered with enough headroom gives a professional appearance. Consider accessories like the Elgato Key Light, which lets you adjust brightness and warmth, or the Elgato Streamdeck for adding sound drops and shifts during live streaming. These tools can transform your setup from “meh” to “wow,” making it fun and inviting for your viewers. Remember, your visuals should enhance, not distract—balance is key! Adding adjustable color temperatures through LED lighting can help you create the perfect mood for different segments of your show, from warm and intimate discussions to cool and professional interviews.
Lighting for Your Podcast Studio
Lighting can make or break a podcast, especially when viewers are tuning in from their cozy couches or bustling coffee shops. For video podcasts, good lighting enhances not just your image but also your professional brand image. The compact Elgato Key Light, priced around $199, provides soft and even illumination ideal for a podcast studio. If you’re on a budget, you might try the Lume Cube at $99.95, perfect when paired with a tripod. Selfie ring lights, typically around $90, offer flattering light that minimizes shadow. For a home studio setup, softbox lighting at about $75 helps create a gentle effect, banishing harsh shadows. So, light it up—your viewers will thank you! Consider installing edge-lit LED lights under your desk or shelving for an ambient glow that adds depth to your video setup while consuming minimal power at 80 lumens per watt.
Recommended Products

Portable 400Ws strobes with removable AC/DC batteries provide 550+ full-power flashes per charge

95+ CRI Chip LEDs paired with 1/2 stop soft diffusion panel

TRUE PARABOLIC STRUCTURE: This item has a true parabolic structure design, and the reflector is made of highly reflective inner silver mesh cloth, making reflected light combines smooth spread, beauty contrast and variable focus.
Organizing Your Studio Space
After getting the lighting just right in a podcast studio, the next big step is organizing the space itself. To set up effectively, choose a quiet room with soft surfaces, as they help reduce echo. Arrange your microphone, computer, and other equipment within easy reach to keep your workflow smooth. A sturdy desk is essential; it should stabilize your mic and audio interface. Don’t forget cable management—keeping those cords tidy avoids frustrations during recording. For soundproofing, use foam panels or even hanging blankets to minimize reverb. An organized podcast studio setup makes a world of difference in your recordings. It’s all about reducing distractions, maximizing sound quality, and, dare we say it, making a space you actually enjoy working in! Consider installing polyester fiber panels for superior noise reduction while maintaining an aesthetically pleasing environment.
Recording Tips for Beginners
Creating a great podcast isn’t just about having the right gear; it also involves mastering the art of recording. To achieve ideal sound quality, position your microphone 2-4 inches away at a 45-degree angle to minimize plosive sounds. Always record in a quiet environment, and think about soundproofing with carpets and soft furnishings to keep background noise at bay. Arrive early to test equipment, ensuring everything’s ready to roll. Following a structured outline helps keep your content focused, making it flow smoothly without filler. Don’t forget to maintain a conversational tone that connects emotionally with your audience—after all, this isn’t a robot reading the weather! Consider investing in a headset with noise-canceling technology to monitor your audio quality and catch any unwanted background sounds during recording. Happy recording, and remember, practice makes perfect!
Next Steps in Podcast Production
Once the initial recording setup is complete, the next steps in podcast production are where the real magic happens. Begin by testing microphone placements, ideally keeping them 2-4 inches from your mouth to capture the best audio. Next, immerse yourself in podcast editing with user-friendly software like Audacity or GarageBand. This guarantees your recordings sound polished and professional. Establish a consistent posting schedule, ideally weekly, to keep listener engagement high while building anticipation. Don’t forget to promote your podcast through social media and by joining relevant online communities to spread the word. Finally, regularly check your podcast hosting analytics to refine your content strategy based on feedback—after all, it’s all about connecting with your audience!
Frequently Asked Questions
How Much Do Podcasts With 10,000 Listeners Make?
Podcasts with about 10,000 listeners can earn between $300 to $2,000 per episode, leveraging diverse monetization strategies such as sponsorship opportunities, affiliate marketing potential, and premium content sales, greatly influenced by listener engagement techniques.
How Much Does It Cost to Start a Podcast Studio?
Starting a podcast studio can cost between $100 and over $1,000, depending on podcasting equipment, recording software, soundproofing techniques, editing tools, hosting platforms, and branding essentials necessary for effective listener engagement and monetization options.
Why Do so Many Podcasts Fail?
Many podcasts falter like unanchored ships, adrift without podcast planning and audience engagement. Technical challenges, inconsistent content, poor production quality, and lackluster marketing strategies sink them, leaving little room for niche selection and listener feedback-driven growth.
How to Start a Podcast Step by Step Guide for Beginners?
Starting a podcast involves niche selection, defining podcast format, mastering equipment basics, and audio editing. Additionally, careful episode planning, host dynamics, effective marketing strategies, enhancing listener engagement, exploring monetization options, and leveraging branding tips are essential.