As an Amazon Associate, we earn from qualifying purchases. Some links on this site are affiliate links at no extra cost to you. Our recommendations are based on thorough research and editorial judgment.

Proper Cable Management Techniques for Clean Audio Setups
Proper cable management can really clean up your audio setups. Start by evaluating your needs and ensuring you use quality cables, like those made from UP-OCC silver or copper. Labeling each cable helps you quickly identify connections, while accessories such as Velcro straps and cable trays keep everything neat. Don’t forget to store cables properly—over-under coiling is a good technique. Stick around, and you’ll get even more tips to elevate your audio experience!
Key Takeaways
- Conduct a thorough inventory of your audio devices to minimize unused cables and clutter in your setup.
- Use high-quality cables, ideally with gold-plated connectors and superior shielding, to enhance audio clarity and reduce interference.
- Label each cable clearly using color-coded labels for quick identification during setup and breakdown, improving efficiency and troubleshooting.
- Employ cable management accessories like Velcro straps, zip ties, and cable trays to keep cables organized and prevent tangling.
- Plan for future expansions by organizing your setup with reusable cable ties and considering power outlet locations and daisy-chain possibilities.
Why Bother With Audio Cable Management?
When it comes to creating a great audio setup, cable management might seem like a minor detail, but it can make a big difference. Neat cables don’t just look nicer; they enhance sound quality by minimizing signal interference. By using proper cable routing techniques—like keeping cables shorter and organized—you can reduce electromagnetic interference, ensuring your audio setup performs at its best. So, it’s time to assess your audio cables and their condition. Upgrading worn-out cables can boost clarity considerably. Investing in cable management accessories, like labels and bundling tools, saves time during setup and breakdown. Plus, who wants a tangled mess of cables? Organizing your cables means smoother jams and fewer headaches. Equipment like rack mount panels with clearly labeled ports can significantly improve your cable organization system and accessibility.
Assess Your Needs

How does one effectively tackle the challenge of evaluating audio needs? Start by conducting a thorough inventory of your audio system. Identify all devices, including power cords, instrument cables, and speaker wires. Keep track of which cables are active versus unused; this helps avoid future clutter and informs your next purchases.
Also, note the locations of power outlets and how you’ll daisy-chain devices. This helps streamline cable management. Consider all amplifiers and essential equipment, ensuring you have cables of various lengths ready to go. Planning for future expansions is wise; nobody wants to wrestle with tangled cables again! Using reusable cable ties can keep everything tidy and ready for your audio dreams. A little planning goes a long way! Just like multi-layer construction in acoustic curtains enhances noise reduction, proper cable organization improves overall system performance.
Start With Quality Cables

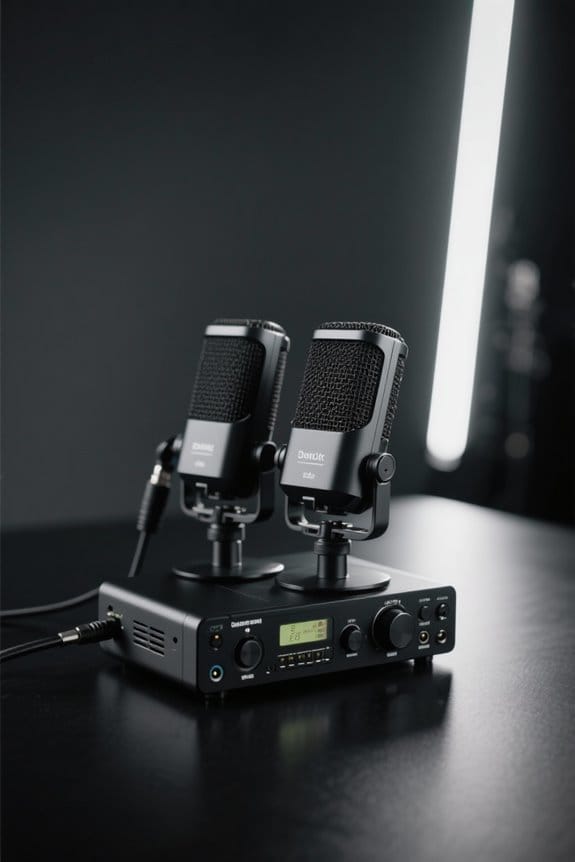
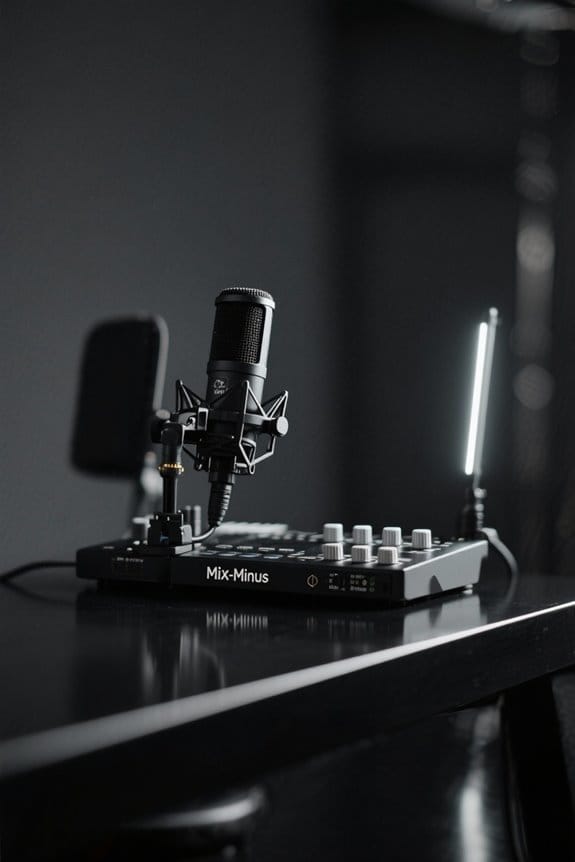
Quality makes a world of difference in audio setups. Starting with high-quality cables is key to achieving great audio clarity. Cables made from UP-OCC silver or copper minimize unwanted noise and interference from electromagnetic and radio frequency sources. For instance, using XLR cables for microphones or RCA cables for audio interconnects can enhance functionality. Proper cable management becomes easier because reliable cables often last longer, reducing troubleshooting headaches. Plus, with superior shielding and insulation, these cables help maintain a low noise floor. Investing in quality power cables guarantees that your system gets the best signal possible. Remember, degrading cables can dampen your audio experience, so don’t skimp—your ears will thank you! Choosing cables with gold-plated connectors ensures better conductivity and long-term protection against corrosion in professional audio environments.
Label Everything

After investing in high-quality cables for an audio setup, the next logical step is labeling each one. Proper labeling keeps cables organized and helps identify their purpose at a glance. Quick identification can save vital time during setup or breakdown, especially when you’re racing against the clock. Color-coded labels makes it easy to track connections, minimizing miscommunication during performances. A label maker or pre-printed cable labels guarantees everything is legible and uniformly designed, giving your setup that professional touch. Remember to mark cables not just by function but also by location within the audio system, simplifying future troubleshooting. Start this habit even with small systems, making expansions smoother. After all, nobody wants a tangled mess when you’re trying to impress! Teachers using voice amplifier systems benefit greatly from clear cable labeling to maintain optimal connectivity between microphones and speakers.
Use Cable Management Accessories

While setting up an audio system, the importance of using proper cable management accessories can’t be overstated. Accessories like Velcro straps and zip ties help secure cables together, preventing that chaotic mess everyone hates. For those pesky excess cables, cable trays or sleeves are lifesavers. They not only hide cables but also protect them from tangles and damage—talk about a win-win! Using channels or raceways can elevate your setup’s look, keeping everything neat along walls. Additionally, an organized approach with these tools can markedly reduce wear and tear on your cables. Plus, who doesn’t love a tidy space? So, invest in cable management accessories to enhance both safety and aesthetics in your audio sanctuary. The flame retardant materials used in many modern cable management solutions provide an extra layer of safety for your valuable audio equipment.
Properly Store Your Cables
Once the chaos of setting up audio equipment is tackled, attention turns to how to properly store those cables. Proper cable management involves more than just shoving wires into a drawer. To save you time later, use ties, like Velcro straps, to bundle cables gently, avoiding tight coils that can cause damage. Store them in a dry, cool space—think less sauna, more air-conditioned office. Additionally, consider cable organizers or boxes to protect against dust and mishaps; easel-style containers are great and can be found for around $20. Labeling each stored cable can really help you organize your setup. That way, when you need a specific power cable, you won’t be digging aimlessly. Trust us, future-you will thank present-you for this! For maximum protection and organization, look for storage solutions with dust-proof lids and multiple compartments to keep different types of cables separated and easily accessible.
Master the Over-Under Coiling Technique
Mastering the over-under coiling technique can revolutionize the way audio enthusiasts handle their cables. This essential one for anyone working with electronic cables and speaker cables allows for easy setup and breakdown without knots. By alternating loop directions, this technique helps maintain the integrity of wires inside, preventing kinking and tangling. It’s vital to take the time to practice: simply hold the cable and create loops in one direction, then switch to the opposite for each subsequent loop. Not only does this method promote flexibility in the cable, but it also extends overall lifespan. For longer cables, like those used in audio setups, over-under coiling makes storage a breeze, turning chaos into organized bliss. When working with oxygen-free copper cables commonly found in professional audio equipment, proper coiling becomes even more critical for maintaining signal quality and preventing unnecessary wear.
Frequently Asked Questions
How to Do Clean Cable Management?
To achieve clean cable management, utilize cable routing, Velcro ties, and cable sleeves. Employ under desk solutions like cable trays and clips, implement color coding, and consider wireless options for a streamlined, organized setup.
How to Tidy Audio Cables?
Lush cables sprawled across surfaces became a mere memory as they transformed into organized strands. Cable ties and sleeves embraced them, while clips secured routes, vibrant labels offered clarity, and trays concealed their quiet elegance.
How to Organize Cables Neatly?
To organize cables neatly, one should use cable ties, sleeves, and clips. Incorporating color coding, cable wraps, and boxes, along with raceways and straps, can greatly enhance cable management, ensuring efficiency and visual appeal.
How Do You Ensure Proper Cable Installation and Management?
Ninety percent of audio issues stem from poor cable management. To guarantee proper cable installation, utilizing cable routing, tying, sleeves, clips, labels, trays, tubes, ducts, and support can create an organized and efficient setup.