As an Amazon Associate, we earn from qualifying purchases. Some links on this site are affiliate links at no extra cost to you. Our recommendations are based on thorough research and editorial judgment.

How to Remove Clothing Rustle Noise From Lavalier Mics
To tackle clothing rustle noise from lavalier mics, place the mic at chest height, where it captures clear audio without thick fabric interference. Avoid hiding it under heavy materials; lighter fabrics like cotton work better than polyester. Use clips and lav concealers to secure the mic and minimize rustling. Experiment with placement to find the sweet spot! Want to get clearer sound? There’s much more to explore, especially about advanced techniques and gear!
Key Takeaways
- Ensure optimal lav mic placement at chest height to minimize rustle and enhance voice clarity.
- Use lav concealers and clips to stabilize the mic and reduce contact with clothing.
- Experiment with different microphone types and fabric materials to identify those that produce less rustling noise.
- Utilize modern audio software like DaVinci Resolve Studio 20 for effective noise reduction and isolation techniques.
- Familiarize yourself with sound isolation best practices to improve overall audio clarity during recordings.
WHAT IS A LAV MIC?
A lav mic, short for lavalier microphone, is a tiny audio powerhouse. Designed to clip onto clothing, it offers hands-free operation while capturing clear audio close to the speaker’s mouth. Imagine this: you’re conducting an interview, and instead of fussing with handheld mics, you just trust the lav mic clipped to your shirt. These mics shine in interviews, presentations, theater, and filmmaking, delivering intimate sound that keeps listeners engaged. Whether the speaker moves around or shifts slightly, the lav mic maintains steady audio levels, ensuring clarity. Plus, with their proximity to the voice source, they cut down on background noise better than boom mics do. Just don’t let your clothing rustle, or all that clarity goes down the drain! Using an inline attenuator with -35dB attenuation can help prevent distortion when recording in loud environments or with strong vocal signals.
Recommended Products

Next-generation advanced 2.4GHz wireless system that delivers broadcast-quality sound of 2-people to cameras, smartphones, tablets, computers and more

FOR BUSY CREATORS WHO CARE ABOUT SOUND: Freelance content creators and videographers need a fast, easy wireless audio solution that doesn't compromise on quality. Sennheiser's Profile Wireless fills the gap left by popular 2.4 GHz systems
2-person next-generation wireless microphone system that delivers high-quality sound to cameras, Apple iPhone 15, Android mobile devices, newer iPads, recorders, mixers, and other 3.5mm TRS or TRRS input and USB-C devices
THE CARDINAL SIN: BAD LAV PLACEMENT

When it comes to lav mic placement, there’s one cardinal sin to avoid: putting it in the wrong spot. Improper placement can completely ruin audio quality, leading to muffled sounds or off-axis recordings. Ideally, the lav mic should sit at chest height, where it’s best positioned to capture your voice clearly while minimizing noise reduction from clothing movement.
Hiding the mic under thick fabric? That’s a no-go! It kills clarity and changes tonal quality, making listeners reach for the volume knob. Knowing how different fabrics interact with the mic makes a big difference. Remember, it’s not rocket science, it’s just audio! Avoid this fundamental mistake, and you’ll sound a whole lot better—trust us, your audience will thank you! Consider using a mic with active noise reduction capabilities to further minimize unwanted clothing rustle and background interference.
Recommended Products

Professional-grade wearable microphone designed for use in a wide range of applications including filmmaking, broadcast, streaming and video calls.

1/8" (3.5 mm) TRRS connector plugs into any mobile phone or tablet with a headset microphone input jack
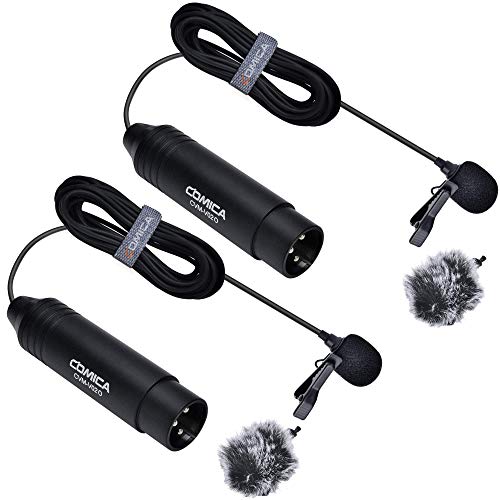
【Low Distortion】 Flat frequency response for perfect sound output, retains original voice quality, without making voice sound robotic and mechanical.
CLOTHING RUSTLE

Clothing rustle can be the pesky gremlin in your audio recordings, and it often sneaks up when least expected. This noise occurs when fabric rubs against a lavalier mic, disrupting your audio quality. Different fabrics play a big role; materials like polyester or nylon may create more rustle than soft cotton. To minimize this noise, proper mic placement is key, ideally near the chest area, tucked carefully within clothing. Accessories such as lav concealers or clips help stabilize the mic, greatly reducing rustling. If problems persist, consider using software like Hush Pro, which employs clever machine learning to zap away unwanted noise. Just as motion sensor features help preserve energy in cabinet lighting, proper mic placement techniques help preserve audio quality. With the right approach, you can enjoy crisp, clear audio and leave that annoying rustle behind!
MUFFLED SOUND

Muffled sound can sneak into your recordings, turning crisp dialogue into a vague echo. This usually happens when lavalier microphones are tucked under thick clothing, which blocks sound waves. Consequently, the audio lacks clarity. To fix muffled sound, proper mic placement is key—position the lav mic closer to your mouth and away from fabric. Utilizing lav concealers or clips can help keep the mic secure and reduce unwanted contact with clothing. Investing in high-quality lavalier mics will also minimize this effect; they’re designed for capturing clear dialogue, unlike cheaper options. Additionally, using windshields and choosing appropriate fabrics can enhance sound clarity, making your recordings crisp and professional. Nobody wants their voice to sound like a distant memory! For optimal results, look for microphones with signal-to-noise ratio of at least 80 dB to help combat background interference and clothing noise.
OFF-AXIS SOUND

Audio clarity is key for great recordings, and off-axis sound can throw a wrench in the gears. When a lavalier microphone is placed incorrectly, off-axis sound can sneak in, making the dialogue sound distant or muffled. This often happens if the mic isn’t positioned close to the speaker’s mouth. Fabrics worn close to the mic can amplify this issue, as clothing rustle can overpower the intended voice. To combat this, placing the lav mic properly is essential; it should capture clear vocal input while minimizing that pesky off-axis interference. Testing various angles might seem tedious, but it’s worth it to find that sweet spot for perfect audio—just imagine the peace of mind when sound problems disappear! Similar to how high-drain devices like cameras require reliable power sources, lavalier mics need proper positioning to maintain optimal performance.
LAVALIERE CLIPPING, DISTORTION & BAD LEVELS
Finding the right spot for a lavalier mic isn’t just about battling off-axis sound; it also plays a big role in preventing clipping and distortion. Clipping occurs when the mic’s audio signal exceeds the system’s maximum level, creating an unpleasant sound that’s harder to ignore than your Aunt Edna’s singing. To avoid this, adjusting gain settings is essential. Aim for a balanced level that captures dynamic performances without turning your audio into a digital nightmare. While capturing a safety track at a lower volume was once common, devices like the Lark Max 2 leverage 32-bit float recording, offering a wider dynamic range. Regularly monitoring audio levels during recording is key to catching distortion early, keeping your sound crisp and clear. For optimal audio clarity, consider using a microphone with cardioid polar pattern capabilities, which helps isolate the voice while rejecting unwanted background noise.
Recommended Products

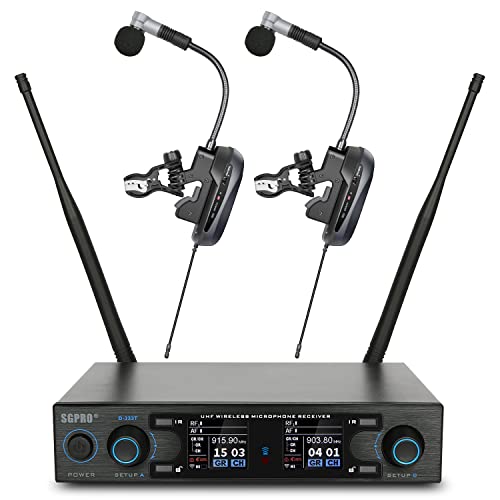
Fully digital UHF system designed for filmmaking & video applications
Superior Condenser Microphone Capsule for Brass Instruments Such As Various Saxophones & Trumpets
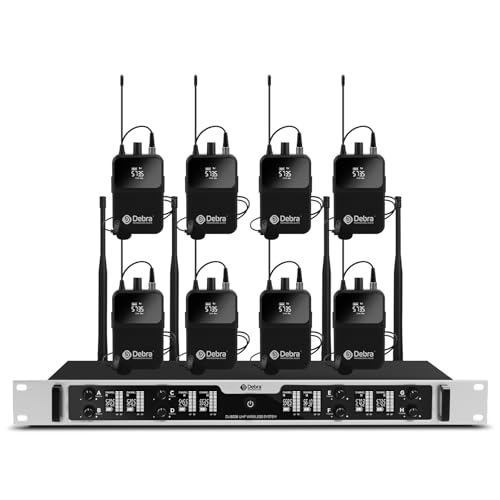
8-Channel UHF Wireless System: Equipped with 8 independent UHF channels, this wireless microphone system supports multi-person use simultaneously without interference. Ideal for conferences, churches, live performances, and karaoke events.
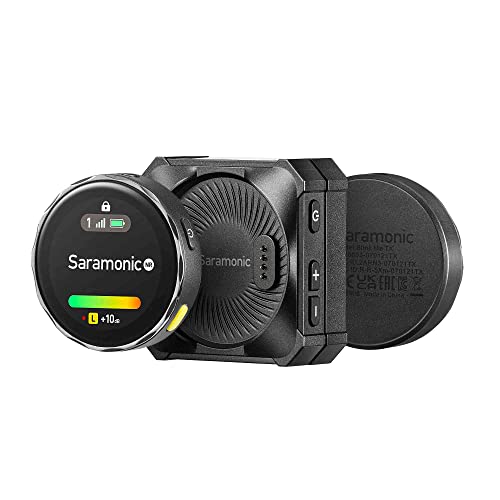
LAV MIC INTERFERENCE & LOST FILES
When it comes to capturing pristine sound, lavalier microphones can be a game changer, but they come with their own set of challenges. One major issue is wireless dropouts, which can lead to complete audio loss. Imagine recording a great interview only to have silence where your subject’s words should be—awful, right? The Lark Max 2 uses 2.4 GHz frequency hopping to keep background noise at bay and maintain a strong signal. Plus, it features internal storage for backup, just in case. Choosing reliable wireless systems helps prevent lost files and guarantees you capture every precious moment. Remember, a solid signal equals fewer headaches in post-production! So, gear up smartly to keep those audio treasures safe! Using a mic with cardioid pattern capabilities can significantly reduce unwanted ambient noise while focusing on the speaker’s voice.
THE MONITORING PROBLEM: ARE WE GOOD ON SOUND?
Monitoring sound while recording can feel a bit like chasing a greased pig—it’s tricky! Creators often struggle to catch clothing rustle, especially in dynamic settings like stand-up comedy. Traditional methods can limit movement, making it hard to guarantee sound fidelity. Enter wireless audio monitoring systems; these gems let you move around freely while keeping an ear on the sound. Plus, the latest AI Noise Cancellation tech can tackle rustle in real-time, enhancing audio clarity. For those using Pro Tools, integrating built-in frame-level timecode simplifies syncing audio with video. That way, any pesky disturbances are easily addressed during post-production. So, keep those ears sharp and tech savvy to nail that perfect sound! Modern 4-level noise reduction options found in premium clip-on microphones provide unprecedented control over unwanted sound interference.
Recommended Products

Includes QLXD2/SM58, WL185, QLXD1, QLXD4, microphone clip, 2 zipper bags, 4 AA batteries, power supply, two 1/2 wave Antennas, 2 BNC cables, 2 BNC bulkhead adapters, rack mount kit, and user guide

SL HEADMIC SET DW-4-US R

Includes WL185, QLXD1, QLXD4, power supply, 2 AA batteries, two 1/2 wave Antennas, 2 BNC cables, zipper bag, 2 BNC bulkhead adapters, rack mount kit, and user guide
THE NOISE NIGHTMARE & THE SYNCING STRUGGLE
While the excitement of capturing high-quality audio is palpable, the noise that accompanies lavalier mics can send shivers down any creator’s spine. Clothing rustle is the most common culprit, often caused by fabric brushing against the mic. To tackle this noise nightmare, take a look at your mic placement—settling it too high or low can amplify unwanted sounds. Advanced audio software, like DaVinci Resolve Studio 20, features de-noisers and voice isolation tools that can work wonders. Many creators suggest using clean samples of rustling noises for better removal results. Remember, trial and error is key; different methods might work for varying situations. So, don’t be discouraged if you don’t strike gold on your first attempt! Using microphones with a cardioid pickup pattern can significantly reduce unwanted background noise and clothing interference.
Recommended Products

SLX-D Digital Wireless Microphone System, includes one SLXD4D Dual Receiver and two SLXD2 Handheld Transmitters with Nexadyne 8/C Cardioid Dynamic Microphone Capsules

WIRELESS FREQUENCY BAND SELECTION: Before purchasing, please ensure that the wireless frequency band you select works in your area (refer to Shure website for details > search Shure Wireless Frequency Finder).

Rugged all-in-one wireless system for singers and presenters
Frequently Asked Questions
How to Remove Lav Rustle?
To remove lav rustle, one must navigate the delicate winds of audio editing, utilizing specialized tools to isolate unwanted noise, while strategically placing mics to harness clarity, transforming chaos into harmonious dialogue devoid of distractions.
How to Hide a Lavalier Microphone Under Clothing?
To hide a lavalier microphone under clothing, ascertain proper mic placement near the speaker’s mouth, use lav concealers or clips, and select smoother fabrics which help reduce noise while maintaining ideal sound quality during recordings.
How to Reduce Noise in Lavalier?
To reduce noise in lavalier microphones, proper microphone placement is essential. Securely positioning the mic, using specialized clips, and employing noise reduction software can effectively minimize interference and enhance overall audio quality during recordings.
How to Remove Static Buzzing Noise From Your Microphone?
To remove static buzzing noise from a microphone, one should implement noise isolation techniques, utilize noise reduction plugins, adjust gain settings, apply spectral repair tools, and guarantee high-quality cables for maximum audio clarity and minimal interference.