As an Amazon Associate, we earn from qualifying purchases. Some links on this site are affiliate links at no extra cost to you. Our recommendations are based on thorough research and editorial judgment.

How to Connect Multiple Microphones to One Audio Interface
To connect multiple microphones to one audio interface, first, verify your interface has enough XLR inputs—at least four is ideal. Use balanced XLR cables to minimize noise. Check that your chosen mics are compatible with phantom power if you’re using condenser mics. Set proper gain levels for each mic to avoid sound clipping, and consider using a mixer for better control. It’s easier than juggling bowling pins, and there’s more to know about optimizing your audio setup!
Key Takeaways
- Ensure your audio interface has sufficient XLR inputs to accommodate all microphones you plan to connect.
- Use balanced XLR cables to reduce noise interference during signal transmission.
- Monitor the gain levels individually for each mic using a mixer or the audio interface adjustments.
- Consider using an XLR splitter for shared connections while maintaining separate gain control if needed.
- Perform regular sound checks to confirm consistent audio levels and clarity from each microphone.
Understanding Audio Interfaces and Microphone Compatibility
When it comes to connecting multiple microphones to an audio interface, understanding the fundamentals of audio interfaces is key. Most audio interfaces have a range of XLR inputs, allowing for several XLR microphones simultaneously. However, some interfaces, like the budget-friendly ones, might only offer two channels, limiting your options. USB microphones are super convenient but can only connect one per USB port, which limits their use in multi-mic setups. Always check compatibility too; using high-quality preamps that match your microphones is essential to avoid signal loss. Plus, don’t forget about phantom power for those condenser mics! It’s like trying to bake a cake without flour—possible, but it won’t be pretty. So, plan your setup wisely! Interfaces like the PreSonus AudioBox 96 offer excellent value with dual Class-A mic preamps and MIDI I/O capabilities for versatile recording setups.
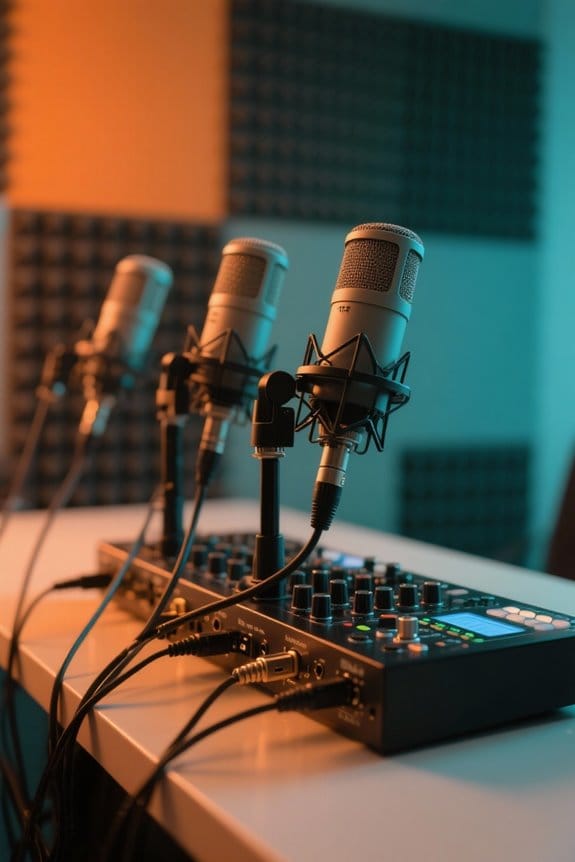
Essential Equipment Needed for Multi-Mic Setup

Connecting multiple microphones in a studio setup requires a few essential pieces of equipment to guarantee everything runs smoothly. First, you’ll need a quality audio interface with multiple XLR inputs, like the Focusrite Scarlett 18i8, which supports up to four microphones. Each microphone connects via XLR cables, delivering high-quality audio signal transmission. For those who want extra control, consider a mixer such as the Behringer Eurorack MX802A to tweak levels before sending signals to the audio interface. Oh, and remember, XLR microphones generally offer better audio quality than their USB counterparts. Finally, if you’re using condenser mics, make sure your audio interface provides phantom power—it’s an important feature for ideal performance. Happy recording! For enhanced vocal clarity in noisy environments, consider investing in lavalier microphones with noise cancellation technology similar to the DJI Mic 2 and SYNCO Wireless systems.
Recommended Products

Flagship 88-note weighted-action synthesizer keyboard with thousands of electronic and acoustic sounds powered by Roland’s advanced ZEN-Core, V-Piano and SuperNATURAL technologies, with authentic acoustic grand sound and response

【Compatible with Solidcom C1】The C1 PRO single HUB and wired headset have been upgraded from the original C1: C1 PRO wired headset connector has been upgraded and noise cancellation added; Other fully compatible with the Solidcom C1 system for flexible and expandable team communication. C1 Pro headsets can be given to members who are working in a noisy environment like the stage front, so others can hear crystal-clear sound. The system works in a 1.9GHz frequency band with an 1100ft radius LOS transmission range, 150Hz-7KHz frequency response, and premium AEC performance.

DIGIC X PROCESSOR WITH 8K VIDEO: Offers outstanding definition and realism with 16x the resolution of FHD video and an ISO range of 100-51200 (expandable to 102400) for crisp and vibrant photos and movie-theater-quality videos at up to 8K/60P
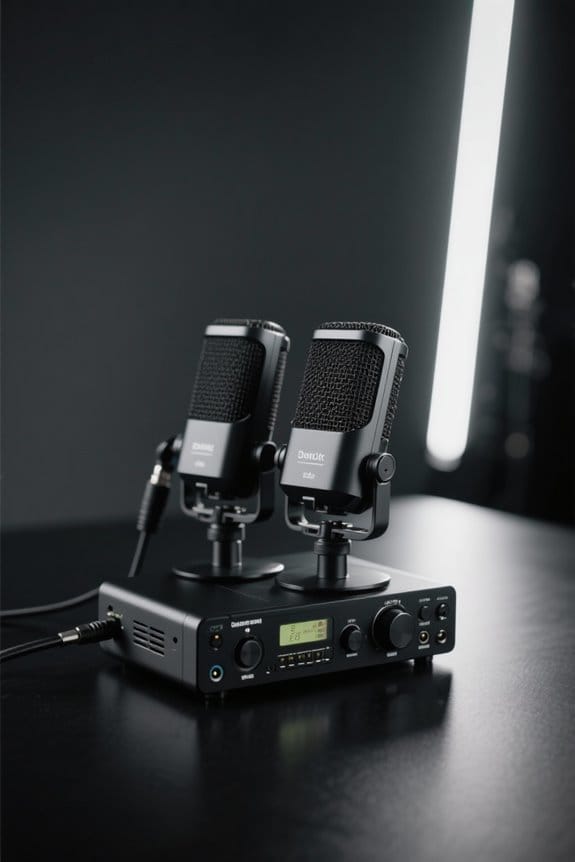
Connecting Multiple XLR Microphones to an Audio Interface

For those looking to bring multiple microphones into the fold, the setup is straightforward but requires attention to detail. Start by checking your audio interface: does it have enough XLR inputs? Most interfaces designed for things like podcasting boast onboard preamps for each XLR input, enhancing sound quality. You’ll want to use balanced XLR cables, which help reduce noise—because who wants unwanted crackles? It’s also essential to know the total input capacity, as some interfaces only offer two or four inputs. If you’re feeling adventurous, some gear allows daisy-chaining multiple devices. Just remember, there’s a limit to how much you can handle at once—don’t go inviting the entire band! Happy recording!
Recommended Products

HD Video Switcher with SDI and Scaled HDMI Inputs

INCREDIBLE IMAGE QUALITY: Features Full-Frame 6K image sensor with native resolution of 6048 x 4032 and Leica L lens mount; 13 stops of dynamic range to capture even the slightest details; Dual gain ISO up to 25,600 to minimize grain and noise in all lighting conditions; Built-in OLPF for better detail handling.

INCREDIBLE IMAGE QUALITY: Features Super 35 image sensor with native resolution of 6144 x 3456 and an active EF/EF-S lens mount; 13 stops of dynamic range to capture even the slightest details; Dual gain ISO up to 25,600 to minimize grain and noise in all lighting conditions; Built-in 2, 4, and 6 stop ND filters.
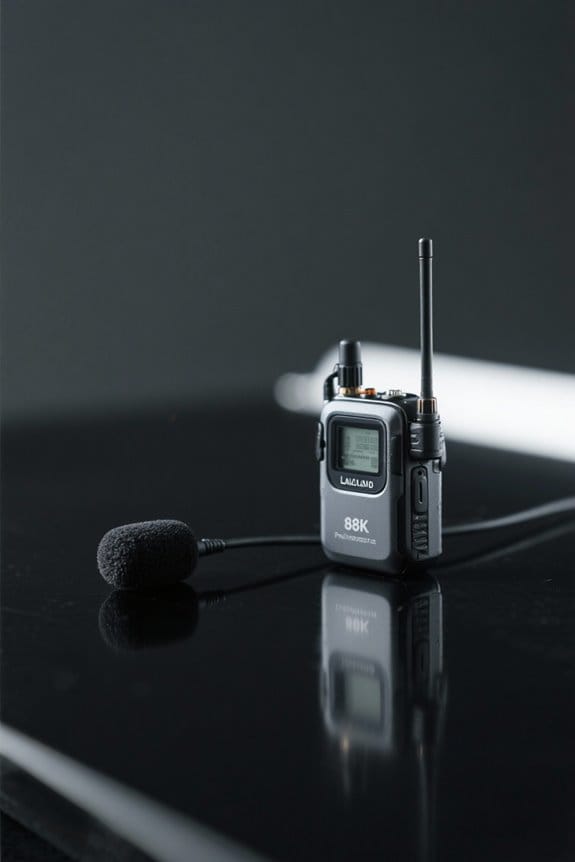
Using USB Microphones for Podcast Recording
How can anyone resist the allure of a USB microphone? These nifty audio devices connect easily to computers, making them perfect for beginners. However, using multiple USB mics can get tricky. Operating systems usually recognize only one USB microphone at a time, which can limit your podcasting dreams. If you’re determined to use more than one, audio routing software like VoiceMeeter or ASIO4ALL may come to the rescue, allowing for multiple microphones to work together. Just keep in mind that to get those separate tracks, you might need to record on different computers. For serious podcasters, XLR microphones paired with an audio interface typically deliver better quality, but hey, USB mics are great when you’re starting out! Consider adding adjustable lighting features to your recording space to create the perfect ambiance for your podcasting sessions.
Recommended Products

Three distinct tube microphones at the flip of a switch. FORWARD is bold, present and modern, but never harsh. NEUTRAL is smooth and earthy with a natural balancing of sibilant sounds. GENTLE is dark and sultry with a warm vintage feel, ideal for taming bright or abrasive sound sources.

For Recording Studios and Touring

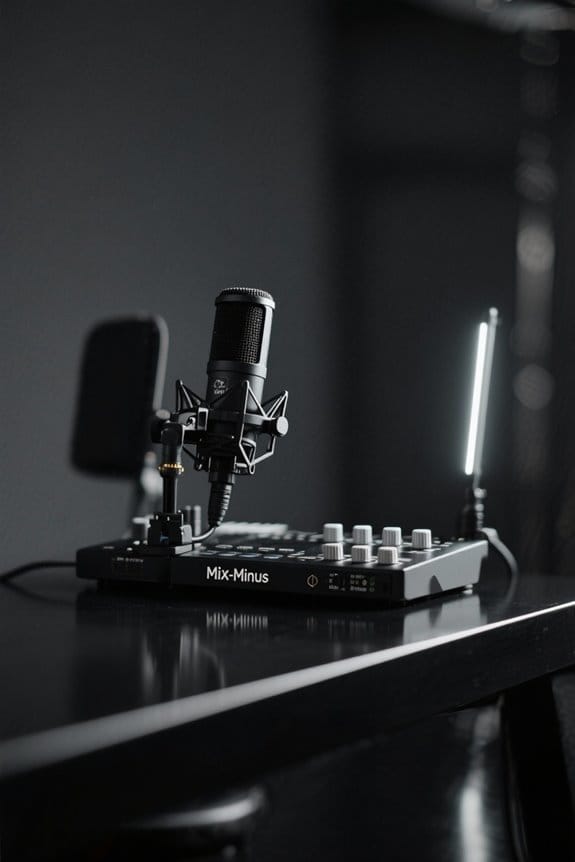
Setting Up Gain Levels for Optimal Sound Quality

While setting up gain levels might seem like a technical nightmare, it’s actually quite manageable with a bit of know-how. First, connect each microphone to its own input on the audio interface to allow for individual gain control. To achieve ideal gain levels, speak into the microphones while adjusting the gain until the signal peaks around -12dB to -6dB. This helps prevent clipping and maintains separate audio quality. Regularly monitor levels with headphones during recording to guarantee consistent sound quality. After setting the initial gain levels, remember to conduct a sound check. You might find that some voices are louder than others – a minor tweak here can make all the difference! Consider using multitrack recording capabilities to layer different audio sources and enhance the overall listening experience. Happy recording!
Recording Software Options for Multi-Mic Sessions
Choosing the right recording software can feel like picking a favorite ice cream flavor—there are just so many options! For those using multiple microphones, software like Audacity allows for seamless recording on separate tracks, making it an accessible choice. Adobe Audition offers advanced features for multitrack recording, ensuring professional sound quality even with various audio inputs. Logic Pro X stands out by supporting aggregate devices, letting you connect multiple USB audio microphones effortlessly. GarageBand is great for those who prefer simplicity, neatly organizing tracks for easy editing. Meanwhile, Reaper shines with its lightweight design and extensive plugin support, fitting for novices and pros alike. It’s a sweet selection for any audio enthusiast! Most recording software pairs well with the RDE NT1 microphone for its exceptional ultra-low self-noise and warm sound signature that enhances vocal recordings.
Best Practices for Noise Reduction in Recordings
When it comes to recording audio with multiple microphones, reducing unwanted noise is essential for achieving a polished sound. Using directional microphones can greatly help, as they focus on the speaker’s voice while rejecting surrounding sounds. Setting up in a quiet room with sound-absorbing materials, like foam panels or rugs, offers great noise reduction advantages. Also, employing a high-pass filter on your audio interface can cut out low-frequency noise, like that pesky traffic rumble—nobody wants that! Monitoring levels with headphones guarantees you catch noise issues in real time. Placing mics closer to the speaker reduces the need for gain, limiting noise intake. High-density foam panels are particularly effective at absorbing various frequency ranges while providing superior soundproofing efficiency. With these tips, recording quality improves, making your audio sound professional!
Troubleshooting Common Multi-Mic Connection Issues
Troubleshooting common multi-mic connection issues can feel like solving a puzzle—frustrating at times but all part of the fun! Start by ensuring each microphone is correctly connected using XLR cables. Loose connections spell disaster for sound quality. Next, check your audio interface or DAW settings, making sure each mic is assigned to its designated channel; this helps avoid confusion with audio tracks. If you’re using two separate USB mics, consider audio routing software to manage those tricky inputs. Remember to monitor input levels to catch clipping or low signals early. For phase issues or uneven levels, try reversing the polarity on one mic channel. Adjust mic placement to minimize bleed and voilà—you’re back in business! Using microphones with cardioid pickup patterns can significantly reduce unwanted background noise and cross-talk between multiple mics.
Recommended Products

DuoPre XLR Microphone preamps, including 48V Phantom power for condenser microphones and up to 69dB of gain. Each preamp uses two gain stages to provide a full and accurate sound across the entire gain range with enough power for even the most gain hungry mics.

Bundle Includes: 1 x Panasonic HC-X2 4K Camcorder, 1 x SanDisk SecureDigital 64GB Extreme PRO Memory Card, 1 x 3 Piece Filter Kit, 1 x Wide Angle Lens, 1 x Large Bag, 1 x LED Light, 1 x 67mm Telephoto Lens, 1 x Memory Card Reader, 1 x Memory Card Wallet, 1 x Cleaning Kit, 1 x HDMI Cable

Bundle Includes: 1 x Panasonic HC-X20 4K Mobile Camcorder with Rich Connectivity, 1 x SanDisk SecureDigital 64GB Extreme PRO Memory Card, 1 x Large Bag, 1 x Memory Card Reader, 1 x Memory Card Wallet, 1 x Lens Cap Keeper, 1 x Cleaning Kit, 1 x HDMI Cable
Enhancing Your Setup With Additional Accessories
Elevating a multi-mic setup isn’t just about having a handful of microphones; it’s about enhancing the entire audio experience. Consider investing in an XLR splitter to allow multiple microphones to share a single input on your audio interface. This setup minimizes quality loss while connecting several mics at once. If you want more flexibility, using a mixer, like the Behringer Eurorack MX802A, lets you control each mic’s gain individually. A high-quality microphone preamp, such as the ART Tube MP, is also key to boosting signals for clarity and professionalism. Finally, don’t forget to grab some sturdy microphone stands and acoustic treatments to minimize background noise. Making these additions can greatly improve your recording quality and overall experience! For optimal performance, look for systems that support 24-bit audio quality to maintain professional-grade sound throughout your setup.
Recommended Products

Sixteen XLR sends and four 1/4" TRS returns mounted in a steel box
1 Through) Passive Microphone Splitter with Jensen Transformer

1U Rackmountable 8-channel Microphone/Line-level Splitter with 1 XLR Direct Output 2 Transformer Balanced XLR Outputs
Frequently Asked Questions
Can You Connect Multiple Mics to One Receiver?
Yes, connecting multiple mics to one receiver is possible—though perhaps irony lies in the complexity. Proper wireless microphone systems demand careful selection, comparing microphone types, adjusting gain settings, and following essential recording setup tips for success.
What Is the 3 to 1 Rule in Micing?
The 3 to 1 rule in micing guarantees proper microphone placement to enhance sound quality by positioning mics three times farther apart than their distance to the sound source, considering acoustic factors and gear compatibility in recording techniques.
How to Record 4 Microphones at Once?
To record four microphones simultaneously, one must choose an appropriate audio interface, guarantee sound quality considerations are met, utilize effective microphone setup tips, and select suitable recording software options for seamless multitrack recording.
Do Mic Splitters Work?
Mic splitters can effectively distribute signals from a single microphone, but their functionality often compromises audio quality, particularly with passive types. Proper impedance matching and wiring considerations are essential; otherwise, consider alternative solutions for ideal performance.