As an Amazon Associate, we earn from qualifying purchases. Some links on this site are affiliate links at no extra cost to you. Our recommendations are based on thorough research and editorial judgment.

How Far Should You Be From Your Podcast Microphone?
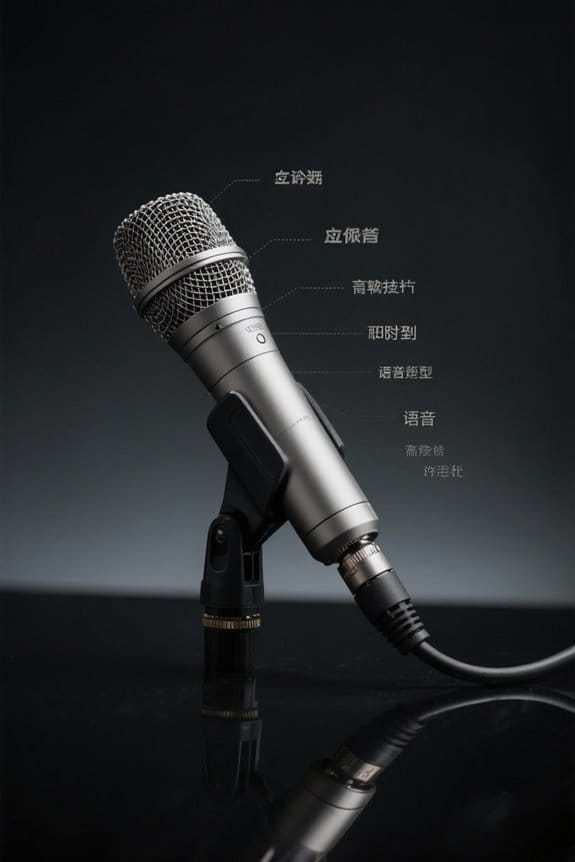
When podcasting, the distance from your microphone really matters. Dynamic mics sound best 2-3 inches away from your mouth, while condenser mics shine at 4-6 inches. Being too close can cause distortion—it’s like yelling in someone’s ear! On the flip side, sitting too far away may let all that pesky room noise sneak in. A good rule is to stay between 6-12 inches. Let’s explore how to perfect that setup for clearer sound!
Key Takeaways
- Maintain a distance of 4-6 inches for condenser microphones to achieve clear audio quality.
- For dynamic microphones, aim for a distance of 2-3 inches for optimal clarity in noisy environments.
- Ensure the microphone is slightly off-axis to minimize distortion while maintaining a distance of 6-12 inches.
- Use stands or boom arms to consistently keep the microphone at the ideal distance during recordings.
- Regularly test and adjust your microphone placement to reduce distortion and background noise.
Understanding Microphone Distance
Have you ever wondered how far your podcast microphone should really be from your mouth? Understanding microphone distance can drastically improve your audio quality. For condenser mics, aim for about 4-6 inches from your mouth, while dynamic mics work best at just 2-3 inches. Too close and you might distort your voice; too far, and you’ll end up with unwanted room noise. A good rule? Keep it 6-12 inches away, slightly off-axis, so you don’t blow into the mic like you’re trying to extinguish a candle. Consistency is key! Using a boom arm or stand can help maintain that sweet spot. Much like stepless dimming allows for precise light control, finding the right microphone distance gives you optimal control over your voice quality. So, remember: proper microphone technique can turn a good recording into a great one!
The Ideal Distance for Different Microphones

Finding the sweet spot for microphone distance can make or break a podcast recording. For condenser microphones, the ideal distance is usually 4-6 inches. This range helps capture clear audio while cutting down on background noise. Dynamic microphones, on the other hand, shine best at just 2-3 inches. They capture sound well, even when things get noisy—no extra power needed! But don’t get too cozy; being too close, under 2 inches, risks clipping and distortion. Keep it comfy at about 15-30 cm (6-12 inches) for a perfect balance of sound clarity and control of ambient noise. Remember, knowing your microphone type and using good mic technique can make all the difference in sounding professional. Happy podcasting! Just like motion sensor features in modern lighting, some microphones come with smart technology that automatically adjusts sensitivity based on your distance.
Importance of Proper Mic Placement

Proper microphone placement is key to achieving great sound quality in podcasting. Ideally, you should position your dynamic microphone 2-3 inches away from your mouth. This distance helps maintain audio clarity while avoiding pesky clipping sounds. If you’re using a condenser microphone, aim for 4-6 inches instead.
Using a microphone stand can make this process much easier and keep your hands free for elaborate gestures! Experiment with mic angles; a slight off-axis position can enhance sound quality and minimize distortion—who knew you could get creative with your setup? Remember, consistent monitoring while you speak can help fine-tune your mic placement. So, adjust as needed, and watch your podcast’s audio transform from “meh” to magnificent! Consider using high-purity copper cables to further reduce electromagnetic interference and maintain pristine audio quality during your recordings.
Effects of Distance on Audio Quality

When it comes to audio quality, distance from the microphone plays a pivotal role. An ideal range of 6 to 12 inches improves clarity and reduces distortion. Being too close can produce a booming low-frequency sound known as the proximity effect, while too great a distance invites unwanted room noise. For a dynamic microphone, getting as close as 2 to 3 inches can capture a clear sound, but condenser microphones thrive at about 4 to 6 inches. Adjusting distance during recording can considerably impact audio levels, so watching your placement is essential. A fun tip? Try holding up a “hang loose” sign with four finger-widths as a visual guide to find that sweet spot for stellar audio quality! The cardioid pickup pattern featured in many professional microphones helps minimize background noise while maintaining consistent vocal clarity at these recommended distances.
Using Pop Filters for Better Sound

Achieving great audio isn’t just about mic placement; it’s also about how to eliminate pesky sounds. A pop filter can be a game changer. Positioned just one to two inches away from the microphone, it diffuses plosive sounds from those tricky letters like “p” and “b.” This little tool enhances recording clarity by keeping volume spikes at bay when speaking closely. It’s usually a mesh or metal disk attached to a flexible gooseneck, so adjusting it is a breeze! Plus, using a pop filter simplifies post-production—less editing required for pesky plosives means more time for fun stuff like planning your next episode. Who wants to spend hours fixing audio when you could be, you know, podcasting? When setting up your pop filter, make sure your microphone stand’s height adjustment allows for proper positioning to maintain consistent sound quality during long recording sessions.
Recommended Products

Double Layered Screen Pop Filters:The first screen blocks air blasts as any pop filter normally would; The gap in between then disperses any remaining air pressure, so by the time it passes the second screen, the blast is easily contained to produce great quality recordings.

DUAL-LAYER POP FILTER: The first screen blocks air blasts as any pop filter normally would; The gap in between then disperses any remaining air pressure, so by the time it passes the second screen, the blast is easily contained to produce great quality recordings

Professional Windscreen - Fit your Rode PodMicr Microphone perfectly and does a great job! No more PLOSIVES!
Techniques for Monitoring Voice Levels
How can podcasters effectively keep their voice levels consistent while recording? Monitoring voice levels is key to maintaining clear podcasts audio. A good rule of thumb is to position the microphone about 6 to 12 inches away from your mouth. This distance helps prevent distortion while ensuring clarity. Using headphones is essential for real-time sound checks. They’ll let you listen for volume changes as you move around. If you notice a dip, adjust your distance from the mic accordingly. Practicing your microphone technique will also sharpen your skills. Plus, consider using a pop filter to minimize plosive sounds that can throw off your voice levels. Who knew sounding professional could be this simple? Adjust as needed, and your listeners will thank you! For optimal recording quality, look for microphones with a signal-to-noise ratio of at least 96 dB to minimize unwanted background noise.
The Role of Polar Patterns in Microphone Positioning
Maintaining consistent voice levels is just one aspect of crafting high-quality podcast audio, but there’s more to contemplate. The polar pattern of a microphone plays a significant role in how sound is captured. For instance, cardioid microphones are incredibly sensitive to sounds directly in front, while rejecting noise from the sides and back. Understanding this helps podcasters position their microphones effectively, which means knowing when to stay a bit farther away from the microphone. Mic technique takes practice! Properly aligning microphones 180 degrees apart can effectively reduce crosstalk, improving clarity. A broader polar pattern might require getting closer to maintain that crisp audio quality. With the right positioning guided by polar patterns, podcast recording can sound professional—just like you want! The cardioid pickup pattern is especially effective at isolating the speaker’s voice while minimizing unwanted ambient noise in the recording environment.
Acoustic Considerations for Recording Environments
In the domain of podcasting, the recording environment can make or break audio quality. The distance between the mic and speaker is essential, ideally set between 6 to 12 inches (15-30 cm) for clarity. Proximity enhances low frequencies but can lead to pesky mouth noises if too close. On the other hand, standing too far may invite unwanted echoes and background sounds, turning your smooth podcast into an auditory obstacle course. Small rooms with soft furnishings help absorb sound, reducing those pesky echoes. Absorptive materials like blankets or foam panels can improve sound quality considerably. So, don’t skip the experimenting! Finding that sweet spot in your recording process is key to achieving the audio balance that keeps your listeners engaged. Installing triple weave curtains can significantly enhance sound absorption and minimize external noise interference during recording sessions.
Common Mistakes in Mic Distance
Finding the right spot near a microphone can sometimes feel like a balancing act. Many podcasters make the first step by attaching their mic to a mic stand, but positioning it incorrectly can lead to poor audio. If you’re too close—under 2 inches—you risk clipping and distortion. On the flip side, being more than 12 inches away means the mic will pick up background noise, making your voice sound fuzzy and distant. An ideal distance? For dynamic mics, aim for 2-3 inches, while condenser mics do best at 4-6 inches. Remember, keeping a consistent distance is vital. It’s not just about the numbers; it’s about having that clear, balanced sound that’s essential for engaging listeners. Just like motion sensor lighting, proper positioning ensures optimal performance while minimizing unwanted interference and maximizing clarity.
Tools to Maintain Consistent Mic Positioning
Achieving the perfect mic placement can feel like a game of chess, but the right tools make it a whole lot easier. A boom arm or microphone stand helps you maintain consistent mic distance, ideally 6-12 inches, while allowing for adjustable positioning. This keeps you comfy and ready to speak without awkward fidgeting. Plus, a pop filter, placed 1-2 inches from the mic, shields against those pesky plosives while keeping your voice crystal clear. To remind yourself of that 15-30 cm range, consider using a simple “hang loose” sign—bonus points for style! Regularly checking your microphone placement is essential for avoiding sound distortion. After all, great audio can make or break your podcast’s vibe! For ultimate stability during recordings, choose stands with weighted metal bases that minimize unwanted movement noise and prevent tipping.
Recommended Products
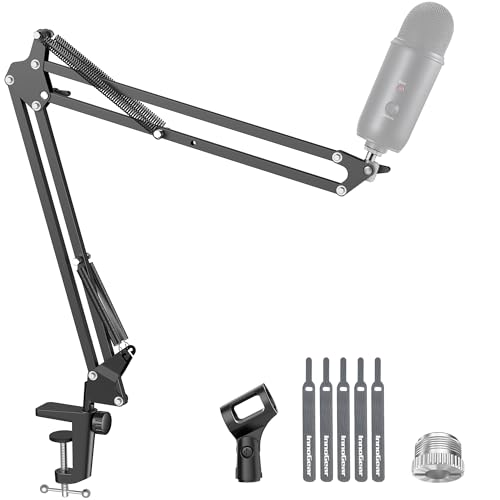
Free Position Mic Arm: This professional microphone stand is fully adjustable in all parts with 360° base rotation for 135° back and forth extension, 180° arm shaft for up-and-down movement, and 270° metal adapter to freely position microphones. It can be easily folded and pushed away for space-saving storage when it stands idle and pull it back for usage.

[Sturdy Metal] The all metal microphone arm stand provides stability and sturdy protection for your podcast microphone whether you're gaming, podcasting, recording or streaming. The C-clamp can stay attached to a flat desktop and will not slip, making it less likely to scratch your desktop. Even if you vigorously collide with the arm stand or extend it fully to a certain height, the boom arm won't wobble and still remain stable and sturdy. (The microphone is not included)
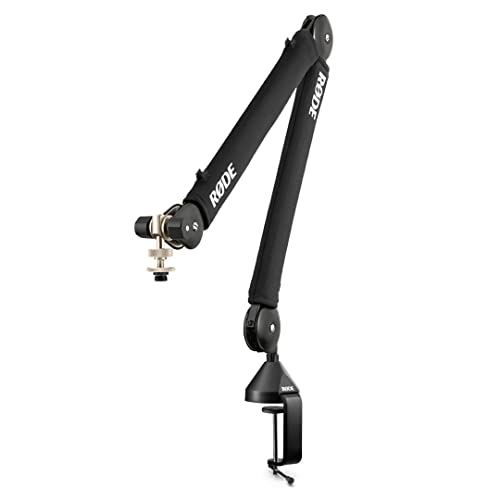
Broadcast-style Professional Studio Desk Boom Arm with Stard Microphone Threading
Testing and Adjusting Your Setup
Testing and adjusting the microphone setup can greatly impact the audio quality of a podcast. The ideal distance from your microphone generally sits between 6 to 12 inches. For dynamic mics, aim for 2-3 inches, while condenser mics do their best 4-6 inches away. Consistency is key: maintaining the same distance prevents audio level fluctuations and keeps your sound clear. Don’t forget to test different angles, too—these adjustments can add richness and clarity to your recordings. Regularly check your microphone settings and practice that perfect distance to enhance audio quality, reducing distortion and background noise. After all, you wouldn’t want your listeners to hear the cat scratching at the sofa instead of your golden voice, right?
Final Thoughts on Mic Distance for Podcasters
When it comes to mic distance, precision makes all the difference. For podcasting, keeping a distance of 6 to 12 inches is typically ideal for best sound quality. If you’re using a dynamic mic, aim for 2 to 3 inches. Positioning too close can cause clipping, which is definitely not the sound you want. On the flip side, being too far can lead to unwanted room noise—yikes! To help with this, some podcasters use visual aids, like a “hang loose” sign, for guidance. Ultimately, mastering microphone distance is essential for sounding professional in your podcast. It minimizes intense post-production fixes, saving time and sanity. Trust the process; your listeners will thank you for it!
Frequently Asked Questions
Where Should a Podcast Microphone Be Placed?
A podcast microphone should be positioned at mouth level, with angle adjustments made slightly off-axis to minimize sound reflection and background noise. This ideal height and angle enhance clarity while preventing distortion during recordings.
What Is the 3 to 1 Rule of Mic Placement?
The 3 to 1 rule emphasizes strategic microphone distance: placing microphones three times further apart than their distance from the sound source enhances audio clarity. Proper spacing facilitates effective voice projection, essential for achieving professional-level recordings.
How Far Should My Mic Be Away From Me?
A microphone should ideally be positioned 6 to 12 inches away for maximum sound quality. This proximity enhances voice clarity, guarantees consistent recording volume, and helps prevent distortion, greatly improving overall audio performance.
What Is the Distance Rule for Microphones?
The distance rule for microphones emphasizes ideal positioning within 2-12 inches, depending on the type used. Proper microphone proximity enhances audio clarity and sound quality, preventing distortion while ensuring balanced recordings during various speaking levels.