As an Amazon Associate, we earn from qualifying purchases. Some links on this site are affiliate links at no extra cost to you. Our recommendations are based on thorough research and editorial judgment.

Connecting a Lavalier Mic to Your Smartphone: Complete Guide
Connecting a lavalier mic to your smartphone boosts audio quality greatly. Start by checking compatibility with your device, then power on the mic. For Android, enable Bluetooth and pair it. On iPhones, use a Lightning adapter or TRRS cable. Don’t forget to select the mic as your input source! Always test with a short clip to catch any hiccups. If you keep going, you’ll access even more tips and tricks for flawless audio recordings!
Key Takeaways
- Verify that your lavalier mic is compatible with your smartphone model and power it on before beginning the connection process.
- For a wireless connection, enable Bluetooth pairing mode on the microphone and connect through your smartphone’s Bluetooth settings.
- Use a TRRS cable or USB-C adapter for wired connections, ensuring you select the correct audio input settings on your device.
- Test the setup by recording a short audio clip to check for clarity and proper input selection.
- Troubleshoot any issues by checking microphone power, range, and cables for damage to ensure optimal performance.
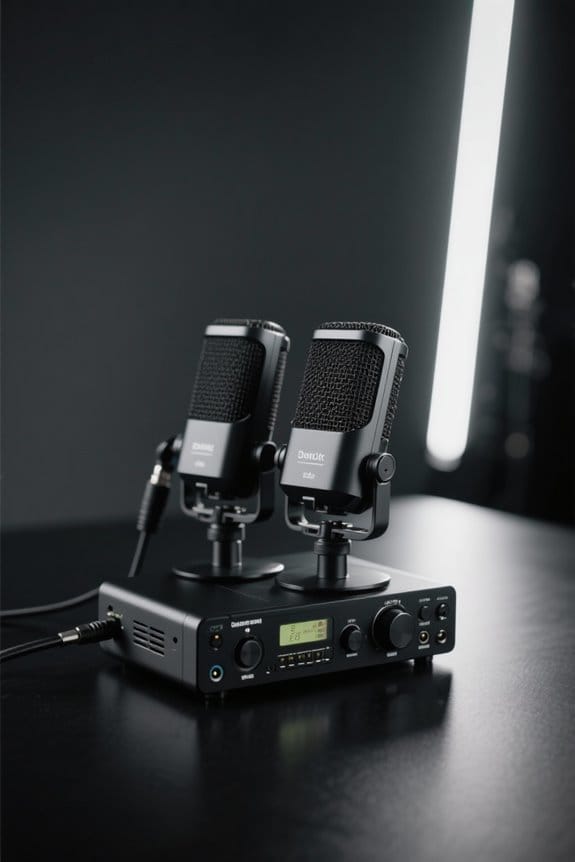
Understanding the Importance of Using an External Microphone
Using an external microphone can considerably transform smartphone recordings. Smartphone audio quality often lags behind video quality, making it tricky for content creators to achieve that professional touch. Onboard microphones simply haven’t advanced much, leaving a notable gap in sound performance. Enter external microphones, like lavalier mics. These handy devices dramatically boost audio quality, turning mediocre sound into fantastic fidelity. Plus, they come designed specifically for smartphone compatibility, so you don’t have to worry about complex setups or the latest tech jigsaw puzzle. This improvement doesn’t just enhance audio; it raises the overall production value of videos and podcasts, too. So, if you want your audience to hear you clearly, ditch the built-in mic! It’s a game changer! Just like motion sensor lights can automatically illuminate dark spaces when needed, a quality external microphone activates only when you’re ready to record, ensuring optimal audio capture.
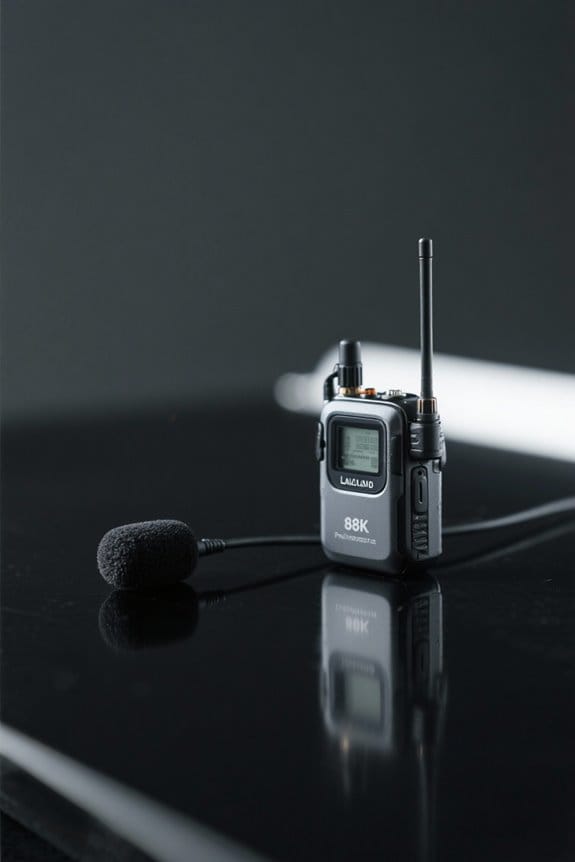
Types of Wireless Lavalier Microphones

When it comes to choosing a wireless lavalier microphone, two main types usually stand out: analog and digital. Analog wireless lavalier microphones serve their purpose but often lack the clarity that digital models provide. Digital microphones are known for offering high-quality audio and better resistance to interference, making them ideal for creators.
Popular choices, like the Hollyland Lark M2S, are designed for mobile users and can connect easily to smartphones via USB-C or Lightning ports. They often feature automatic pairing and boast impressive battery lives, with some lasting up to 20 hours. So, whether you’re filming a vlog or recording a podcast, choosing the right wireless lavalier microphone can considerably enhance your sound quality. And let’s face it, nobody likes fuzzy audio! Modern wireless lavalier microphones equipped with AI noise cancellation can significantly improve audio quality in challenging environments.
Recommended Products

1.【Long Working Range】IndoorLink one way tour guide system has equipped with our proprietary "RangeBoost" technology, The E211 wireless handheld transmitter of audio wireless tour guide system ensures robust signal strength and exceptional interference resistance. It delivers stable transmission over a distance of up to 180 meters (600 feet), which is three times the range of traditional 2.4GHz whisper tour guide system.

Simpler to manage; Retekess T130S tour guide microphone and speaker features enhanced one-key controls; activate group mute or shutdown all receivers via transmitter, eliminating manual individual adjustments; ideal for large group coordination
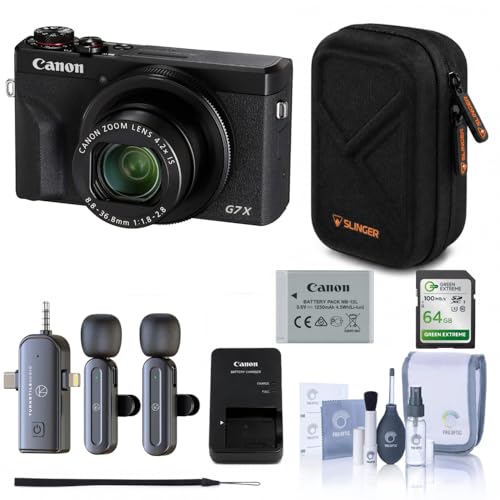
COMPLETE CONTENT CREATOR BUNDLE - Includes Canon PowerShot G7 X Mark III camera, 64GB U3 SDXC memory card, wireless lavalier microphone system, hardshell carrying case, multi-card reader, and complete optics cleaning kit.
Steps to Connect a Wireless Lavalier Mic to Android Smart Devices

Connecting a wireless lavalier mic to an Android device can feel intimidating at first, especially if it’s your first time. To start, verify your wireless lavalier mic is compatible and powered on. Next, enable the Bluetooth pairing mode on the mic. Open your Android device’s Bluetooth settings, and find your mic on the list to connect. If you prefer a more wired approach, using a TRRS cable will do the trick; just plug it into your device’s audio jack or a suitable USB-C adapter. Once connected, don’t forget to adjust the audio input settings in your sound options to select the mic as your source. Finally, record a test clip to confirm everything sounds right—consider it your sound-check rehearsal! For optimal audio quality, aim for recordings at 24-bit/192kHz quality, which is the professional standard for crystal-clear sound capture.
Recommended Products

Digital wireless eliminates noise, interference and static bursts
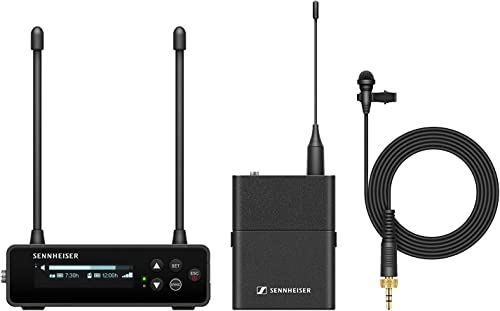
Fully digital UHF system designed for filmmaking & video applications
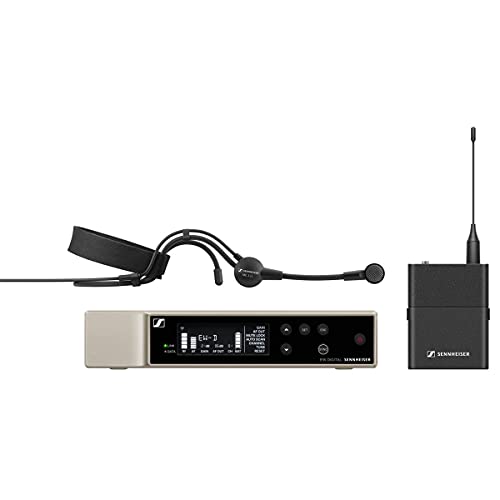
Digital wireless eliminates noise, interference and static bursts
Steps to Connect a Wireless Lavalier Mic to Iphones

Setting up a wireless lavalier mic for an iPhone isn’t as intimidating as it may seem. First, check that your mic system, like the K3 One Drag Two, works with iOS and uses the 2.4G frequency for best performance. Next, power up the wireless microphone and pair it with the receiver—both need to be in pairing mode. Then, connect the receiver to your phone using a Lightning adapter or TRRS cable; make sure it fits snugly for stable audio transmission. Don’t forget to explore your iPhone’s audio settings to select the wireless mic as the input source—this is essential! Finally, test your setup by recording a short clip to guarantee clear sound. Happy recording! For optimal results, consider a mic with noise reduction technologies that actively minimizes ambient sounds during recording.
Recommended Products
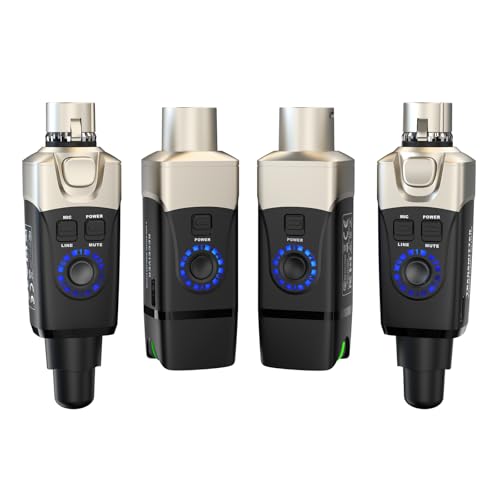
Versatile Compatibility: Support 6 sets in the same place simultaneously. Works with any dynamic/Harmonic microphone, Audio mixer, PA system, Provides stable and reliable wireless transmission.Works with any active loudspeakers, Perfect for venues, weddings and mobile DJ's

ZOOM Q8N-4K: The Zoom Q8n-4K captures crisp 4K ultra-high-definition video with a powerful 160-degree wide-angle lens. Ten built-in scene presets for indoor and outdoor settings make for rapid setup and crisp video recording in nearly any environment

Digital 2.4GHz & Auto-Pairing: SYNCO G1(A2) Wireless Microphone System features 2.4GHz frequency spectrum and Syncoder technology, which avoids confusing domain of UHF and offers a secure and stable audio system. It supports the automatic connection between TX & RX after power on and easy operations if you need manual pairing
Connecting Wireless Microphones to Cameras and DSLRs

Many aspiring filmmakers discover the joys of using wireless microphones, boosting their audio capabilities while keeping their setups neat and tidy. Connecting a wireless lavalier, like the RODE Wireless GO II, is easy. First, power on both the transmitter and receiver, and verify they’re paired by checking those little indicator lights—trust us, they tell a story! Then, grab a 3.5mm audio cable to connect the receiver to your camera’s microphone input. Voila! You’re ready to record. Just don’t forget to monitor your audio levels while filming. It’s also essential to configure the input settings to guarantee peak performance—no one wants interference during filming. With this setup, you can move freely, capturing crystal-clear audio. Happy shooting! For optimal outdoor recording, choose a microphone with noise reduction modes and a windproof cover to ensure professional-quality sound in any environment.
Recommended Products

Includes QLXD2/SM58, WL185, QLXD1, QLXD4, microphone clip, 2 zipper bags, 4 AA batteries, power supply, two 1/2 wave Antennas, 2 BNC cables, 2 BNC bulkhead adapters, rack mount kit, and user guide

Sennheiser Pro Audio portable wireless combo set (ew 500 FILM G4-AW+)

Canon PowerShot G7 X Mark III- 20.2MP 1" Stacked CMOS Sensor, DIGIC 8 Image Processor, 4.2x Optical Zoom f/1.8-2.8 Lens, 24-100mm (35mm Equivalent), 3.0" 1.04m-dot touchscreen w/ 180° upward tilting, In-camera battery charging, Built-in Bluetooth and Wi-Fi
How to Connect Wireless Lavalier Microphones to Windows Computers
When it comes to capturing great audio, wireless lavalier microphones can work wonders, just like they do for filmmakers using cameras. To connect a wireless microphone to a Windows computer, first unbox the transmitter and receiver, ensuring they’re paired. If not, press the pairing buttons on both units—simple, right? Next, use the provided USB-C adapter to hook the receiver into your computer’s USB port. Easy peasy! Now, right-click the “Speaker” icon on your taskbar to access audio settings. Select “Wireless Microphone RX” from the input device dropdown menu so your computer recognizes the wireless microphone. Finally, always check those audio levels in your recording software to confirm everything’s working before hitting “record.” Happy mic-ing! For optimal audio quality and minimal interference, consider using a direct box with balanced XLR outputs between your wireless receiver and computer interface.
How to Connect Wireless Lavalier Microphones to Mac Computers
Connecting a wireless lavalier microphone to a Mac computer is surprisingly straightforward, especially if you’re enthusiastic to step up your audio game. First, plug the receiver into your Mac’s USB-C port—no wizardry required! Next, open “System Settings” and find “Sound Settings.” Click on the “Input” tab to access your audio options. Make sure the name of your receiver shows up in the dropdown menu, which will guarantee that you’re ready to capture sound. At this point, it’s smart to check audio levels to optimize sound quality before recording. After all, nobody wants to sound like they’re in a wind tunnel, right? With these steps, you’re all set to get high-quality audio for your projects! For optimal recording clarity, look for microphones with noise reduction capability of at least -30dB to ensure professional-grade sound capture.
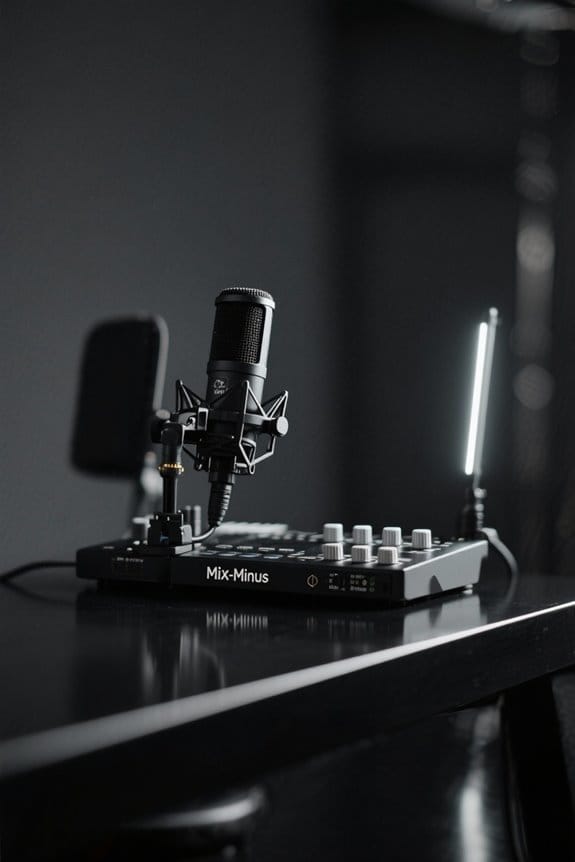
Audio Monitoring Techniques for Optimal Sound Quality
How can audio monitoring transform a recording session? It can truly make a world of difference! Audio monitoring allows users to guarantee peak sound quality by keeping an ear on audio levels as they record. Many wireless lavalier mics come with headphone outputs, enabling real-time monitoring. This is especially handy in busy environments where noise reduction is key. For a great experience, high-quality headphones like the RØDE NTH-100 are ideal, offering crisp sound reproduction. To ensure optimal recording conditions, consider using a sturdy mic stand that provides stability and prevents unwanted vibrations during monitoring. By regularly checking audio levels, users can catch distortions or feedback early on, making immediate corrections possible. So, don’t skip this step; it’s the difference between good audio and a recording that makes listeners cringe! Happy recording!
Troubleshooting Common Connection Issues
Troubleshooting common connection issues can feel like a scavenger hunt, and it’s often just a few steps to clear up the confusion. First, verify your wireless lavalier mic is fully charged and within the 92-foot range. Next, check that the microphone is properly paired with your smartphone. Each model has specific guidelines, so don’t skip that!
Now, let’s address those settings. Make sure the correct audio input source is selected, especially if you’re using USB-C, Lightning, or TRRS connections. Don’t forget to inspect the cable for any damage, as faulty connectors can lead to sound issues. If you’re still facing interference, consider shifting your location to avoid obstacles or tweak the frequency settings for a clearer connection. Happy troubleshooting! For optimal sound quality, look for microphones that offer 48kHz recording capabilities to achieve studio-grade audio capture.
Recommended Accessories and Related Products for Wireless Lavalier Mics
When it comes to maximizing the potential of a wireless lavalier mic, having the right accessories can make all the difference. First up, TRRS to TRS adaptors are essential for connecting mics to smartphones, which typically use TRRS connectors. Nobody wants to be that person fumbling with connections! A portable charging case is also a game-changer, ensuring your devices stay powered up during those marathon shoots. Plus, don’t overlook the importance of quality monitoring headphones, like the NTH-100. They’re perfect for checking audio levels in real time, letting you catch any slip-ups before they become a nightmare. Add a high-quality windscreen for outdoor shoots, and you’re well on your way to professional-sounding audio that’ll wow your audience! Consider getting a USB-C charging cable with built-in safety features to protect against overload and short circuits while powering your wireless accessories.
Recommended Products

Dual-channel Wireless Shotgun Mic: The shotqun microphone innovatively integrates a wireless RF module to support wireless transmission and single/dual channel options. providing a more fiexible solution for professional recording

48kHz/24bit Audio Capture: Immerse your audience in crystal-clear sound with the Comica Vimo Q wireless microphones' 48kHz/24bit recording capability, ensuring every detail is captured in natural, high-fidelity audio. (Exclusive to USB-C Digital Output Mode)
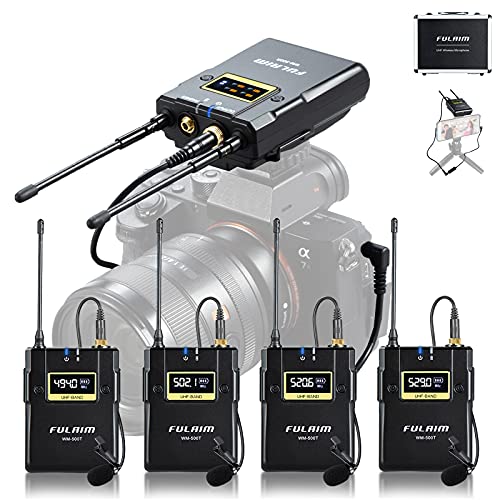
[ Superior Sound & Noise Reduction ] - The FULAIM WM500 professional microphone with UHF Ultra High-Frequency radio wave technology and dual-antenna design, which enhances the anti-interference ability to ensure stable signal transmission and record clear sound. Bulit-in WNCR acoustic noise reduction technology, dial the "LCF" position to open the noise reduction function, can significantly reduce environmental and wind noise.
Frequently Asked Questions
How to Connect a Lavalier Mic to a Phone?
Over 70% of smartphone users value improved audio quality for recordings. To connect a lavalier mic, check for smartphone compatibility, use adapters if necessary, and follow audio quality tips for ideal sound enhancement.
What Is the 3 1 Rule for Mic Placement?
The 3 1 Rule for mic placement recommends positioning a microphone 3 to 6 inches from the speaker’s mouth, ensuring ideal audio clarity and effective recording techniques while considering microphone acoustics to avoid background noise.
How Do You Set up a Lavalier Microphone?
Setting up a lavalier microphone is like tuning an orchestra for maximum audio quality. Begin with compatible microphone types, follow essential setup tips, and make certain the device is correctly connected for clear sound capture during recordings.
Why Won’t My Lavalier Microphone Connect to My Smartphone or Computer Laptop Using the Supplied 3.5 Mm Cable?
Connection issues may arise from cable compatibility, specifically using a TRS instead of a TRRS connector. Additionally, incorrect device settings and damaged equipment can disrupt the successful connection of a lavalier microphone to smartphones or laptops.